How to Make DIY Moon Sand: Your Ultimate Guide to Soft, Malleable Fun!
As an avid crafter and a proud parent (or should I say, "mess-making enabler"?), I can confidently say that moon sand is one of the most delightful DIY projects I’ve tackled. Whether your little ones are looking for a creative outlet or you simply want to indulge your own inner child, moon sand is an imaginative sensory experience that’s a breeze to make at home.
What Is Moon Sand?
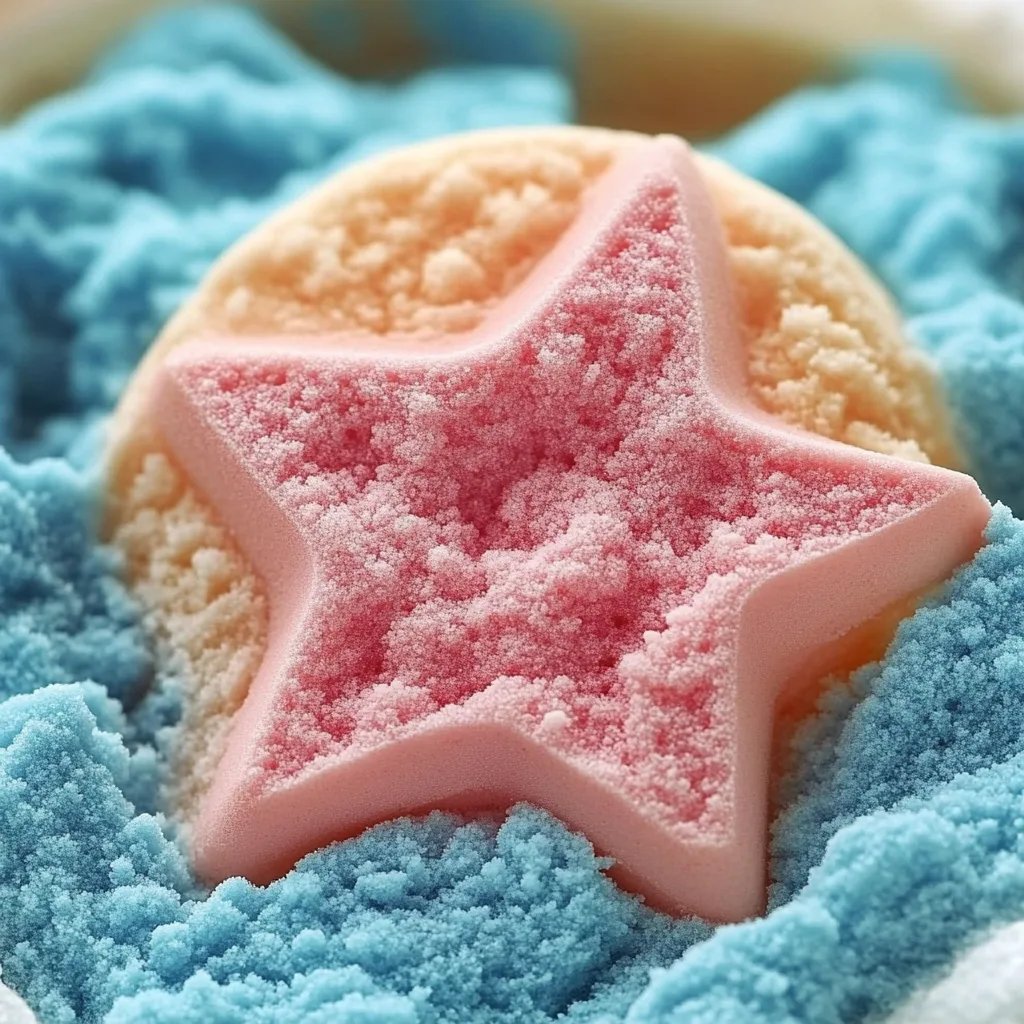
Moon sand, often referred to as kinetic sand, is a soft, moldable substance that holds its shape beautifully when compacted but crumbles easily when manipulated. The texture is a truly unique experience that closely resembles wet beach sand, without the mess. This magical substance can be used for various playtime activities, from molding castles to creating intricate sculptures. It’s perfect for sensory play, educational activities, or just good old-fashioned fun!
Why Is Moon Sand So Popular?
The allure of moon sand lies in its versatility. Not only is it an incredible sensory experience for children, but it’s also an amazing tool for developing fine motor skills, encouraging imaginative play, and providing calming experiences. Furthermore, making moon sand at home is easy, inexpensive, and comes with the bonus of customization. That’s right—choose your colors, scents, and additional materials to personalize the experience!
When and How to Use Moon Sand
You can enjoy moon sand indoors or outdoors, at parties, playdates, or quiet afternoons at home. It’s an excellent option for birthday parties, thematic play, or even as a fun, educational project on rainy days.
But enough talking; let’s get into the nitty-gritty of creating this delightful substance!
Materials Needed
Before diving in, gather the following materials:
- Flour: 8 cups (the base of your moon sand)
- Vegetable Oil: 1 cup (this gives the sand its smooth texture)
- Optional: Food coloring (for color), glitter (for sparkle), or scented oils (for an aromatic experience)
- A large mixing bowl
- A spoon or hands for mixing
- A storage container (like a plastic tub with a lid)
Step-by-Step Tutorial to Make DIY Moon Sand
Step 1: Measure and Combine Flour and Oil
In a large mixing bowl, combine the 8 cups of flour and 1 cup of vegetable oil. I recommend using all-purpose flour for the best results.
Why It Matters: The flour provides structure, while the oil adds that delightful softness and helps the moon sand maintain its shape.
What Could Go Wrong: If you use too much oil, the moon sand can become too greasy and loose. If that happens, worry not! Simply add a little more flour until you achieve the right consistency.
Step 2: Mix Thoroughly
Using your hands or a spoon, mix the flour and oil together until fully combined. You’ll want to ensure that there are no dry clumps of flour remaining, which can lead to inconsistent textures.
Why It Matters: Proper mixing ensures that the sand has a uniform texture. This is where the magic begins!
What Could Go Wrong: If you notice dry patches, just keep mixing—sometimes, it can take a moment to blend everything thoroughly.
Step 3: Add Color and Scent (Optional)
If you want to add some flair, this is the time to introduce a few drops of food coloring or a splash of your chosen scent. I usually add the color during the mixing process for an even distribution.
Why It Matters: This step personalizes your moon sand, making it visually appealing and more engaging for play!
Tips: For deeper color, start with a few drops and mix thoroughly. If you need more, add gradually. Remember that darker colors can be messy, so a little goes a long way.
Step 4: Test the Consistency
Once everything is well mixed, it’s crucial to get your hands into the moon sand and test its consistency. It should feel smooth, but also hold its shape when you squeeze it.
Why It Matters: Ensuring the right texture is key to an enjoyable crafting experience.
What Could Go Wrong: If it's too crumbly, add small amounts of oil (one tablespoon at a time) and mix until you get the right feel. If it's too wet or mushy, sprinkle in a bit more flour.
Step 5: Store and Enjoy!
Once you’re happy with your moon sand, transfer it into a storage container. Seal it tightly when not in use to maintain its texture for future play!
Why It Matters: Storing your moon sand helps keep it fresh and ready for future fun adventures.
Tips, Safety Warnings, and Creative Variations
- Sensory Play for All Ages: Moon sand isn’t just for kids! Consider incorporating it into relaxation activities for adults too. It's a wonderful tool for mindfulness or stress relief.
- Safety First: Although the basic ingredients are safe, keep moon sand away from small children who may put things in their mouths, especially if you’ve added additional decorations.
- Experiment with Textures: Try replacing some of the flour with cornstarch, or mix in different colored sands for additional textures. Play with various additives like beads or foam balls for visual interest!
Alternative Methods or Ingredient Substitutions
- Gluten-Free Option: You can substitute traditional flour with gluten-free alternatives, such as rice flour or cornstarch, if someone has gluten sensitivities.
- Additional Binding Agents: Some recipes suggest using sand instead of flour for a more authentic tactile experience—just be sure it’s clean and free from debris.
Personal Anecdote
I remember the first time I made moon sand with my kids during a rainstorm. We were all stuck indoors, and my little ones were bouncing off the walls. After about 30 minutes of mixing and dyeing our concoction, we ended up with a colorful mound of squishy goodness. I still recall the excited squeals that echoed around our living room as we shaped and reshaped our creations. It turned what could have been a dreary day into a cherished memory.
In Conclusion
Making DIY moon sand is not only a fun and engaging project for the kids—it’s also a fantastic way to unwind and get creative yourself! With just a few simple ingredients and some hands-on mixing, you’ll have a beautiful batch of moon sand ready to bridge the gap between sensory play and creative expression. So roll up your sleeves, unleash your inner child, and enjoy the delightful world of moon sand. Happy crafting!