How to Make DIY Moon Sand: Your Comprehensive Guide
Hello, crafty friends! Today, I’m super excited to share one of my favorite DIY projects that's perfect for kids and adults alike—moon sand! If you haven’t heard about this magical creation yet, let me introduce you to its whimsical world.
What Is Moon Sand?
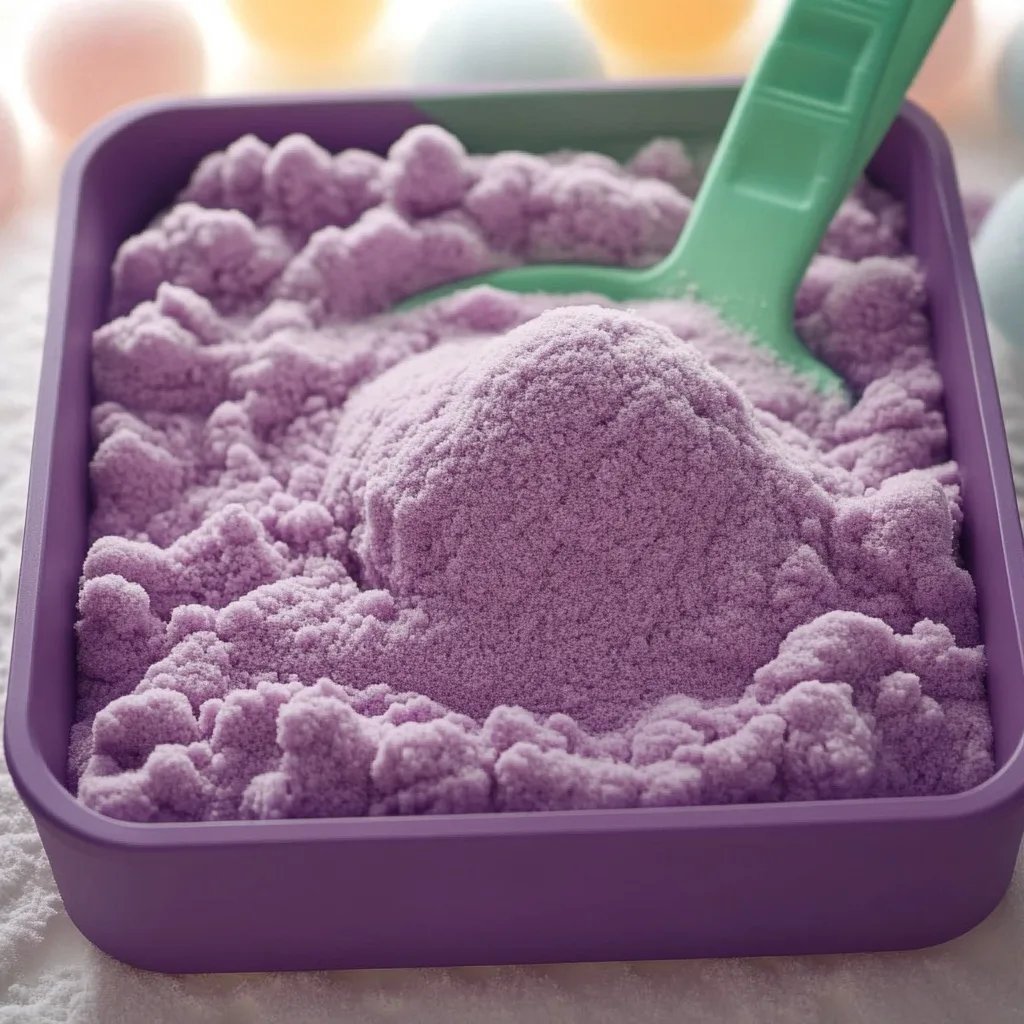
Moon sand, sometimes known as "kinetic sand," is a moldable, squishy substance that holds its shape when pressed together. It’s incredibly satisfying to touch, and it feels like a cross between sand and dough. The texture is fine, making it perfect for sculpting, building sandcastles, or simply running your fingers through as a stress reliever. It has gained immense popularity for playtime activities, sensory bins, and even as a creative outlet for adults!
When I first encountered moon sand, I was captivated by how fun it is to play with. I found it to be a fantastic alternative to traditional play sand, especially for indoor activities where cleanup could be a hassle. Plus, you can make it in any color you desire, tailoring it to your creative vision!
When Can Moon Sand Be Used?
Moon sand fits seamlessly into various settings:
- At Home: Engage kids during rainy days or after school.
- Parties: It’s an excellent activity to include in birthday parties.
- Educational Activities: Use it for sensory play, helping children improve fine motor skills.
- Relaxation: Adults can also enjoy moon sand for a calming sensory experience.
Let’s dive into the fun part—making moon sand!
Materials Needed
Before we get started, gather these simple and accessible materials:
- Flour (8 cups)
- Vegetable Oil (1 cup)
- Optional: Food Coloring
- Mixing Bowl
- Storage Container
- Sand Toys (optional) for added fun!
Step-by-Step Tutorial: Making Moon Sand
Step 1: Measure Your Ingredients
I always start by measuring out my ingredients first — it saves time and keeps my workspace tidy. For this moon sand recipe, take 8 cups of flour and pour it into a large mixing bowl.
Why It Matters: Accurate measurements ensure the best texture. Too much flour can lead to a dry mixture, while not enough can make it overly greasy.
Potential Pitfall: Using the wrong flour type (like whole wheat) can impact texture. Stick with all-purpose flour for the best results.
Step 2: Add the Vegetable Oil
Next, measure 1 cup of vegetable oil and pour it into the bowl with the flour. Use your hands or a spatula to start mixing it together thoroughly.
Why It Matters: The oil allows the flour to stick together, creating that mesmerizing moldable texture!
Possible Issue: If your mixture feels too crumbly, add a little more oil—just a spoonful at a time. If it’s too oily, sprinkle in extra flour gradually until you reach the desired consistency.
Step 3: Customize with Food Coloring (Optional)
Here comes the fun part—adding color! If you want vibrant, colorful moon sand, now’s the time to add a few drops of food coloring.
How To: Use gloves to prevent staining your hands or add the food coloring gradually while mixing to see how the color deepens.
Why It Matters: Color not only makes it visually appealing but also can stimulate sensory exploration for children.
Tip: Divide the moon sand into portions for different colors! You can create rainbow-themed sand for extra fun.
Step 4: Mix Thoroughly
I like to use a combination of my hands and a spatula to ensure that everything is combined evenly. Make sure there are no dry flour pockets left in the mixture; all the flour should be coated with oil.
Why This Step Matters: Even mixing provides a consistent texture that allows for better molding and shaping.
Potential Mistake: If you find clumps of flour after mixing, knead it further—this will help break up any stubborn bits.
Step 5: Test Your Moon Sand
Now it’s time for the best part! I always like to take a small handful of the sand and squeeze it in my hand. If it holds its shape when released, you’ve nailed the consistency!
What to Look For: Perfect moon sand should feel slightly damp but not sticky or greasy.
If it’s too dry, add a tiny bit more oil. If it’s too moist, mix in more flour carefully.
Step 6: Storage
Once you’ve achieved your desired moon sand consistency, transfer it to an airtight container for storage. This will keep your creation fresh for weeks!
Safety Tip: Make sure to keep it out of reach of very young children who might be tempted to try and chew on it or get it everywhere!
Creative Variations
As someone who loves to explore new ideas, I sometimes add essential oils or spices like cinnamon for fragrance, creating a sensory-rich experience.
- Giant Moon Sand: Scale up your recipe for larger batches in a kiddie pool for epic outdoor play.
- Seasonal Themes: Change the color or add seasonal accents (like glitter for the holiday season).
Troubleshooting Common Issues
- Too Crumbly: If your moon sand is too crumbly, it lacks moisture. Just add a little more oil until you get the right texture.
- Too Sticky: A wet feel means you need more flour. Gradually mix in small amounts.
Final Thoughts
And there you have it! Making moon sand is a fun, engaging project that invites creativity. Whether you’re an experienced crafter or a beginner, don’t hesitate to get your family involved in this process. Not only does it make for a fantastic activity, but it also creates lasting memories filled with laughter and joy.
Don’t forget to experiment and make the moon sand your own. Try adding scents, different colors, or playing with textures. I hope you enjoy crafting your moon sand as much as I have. Get ready to unleash your creativity!
Happy crafting! 🌙✨