How to Make DIY Kinetic Sand: A Step-by-Step Guide from an Experienced Crafter
Hello fellow crafters and curious creators! Today, I’m thrilled to share my journey of making DIY kinetic sand, a fantastic craft project that brings endless enjoyment to kids and adults alike. Kinetic sand is a magical blend of sand and polymer that molds beautifully and flows through your fingers. It's no wonder it has skyrocketed in popularity—offering endless creative possibilities while being soothing and therapeutic.
Whether you want to keep your children entertained during a rainy day or need a stress-relief tool for yourself, kinetic sand fits perfectly into various scenarios. You can use it for sensory play, artistic expression, or even as a unique decorative piece. Let’s dive into the marvelous world of kinetic sand, where you'll learn how to make your very own batch right at home!
What Is Kinetic Sand?
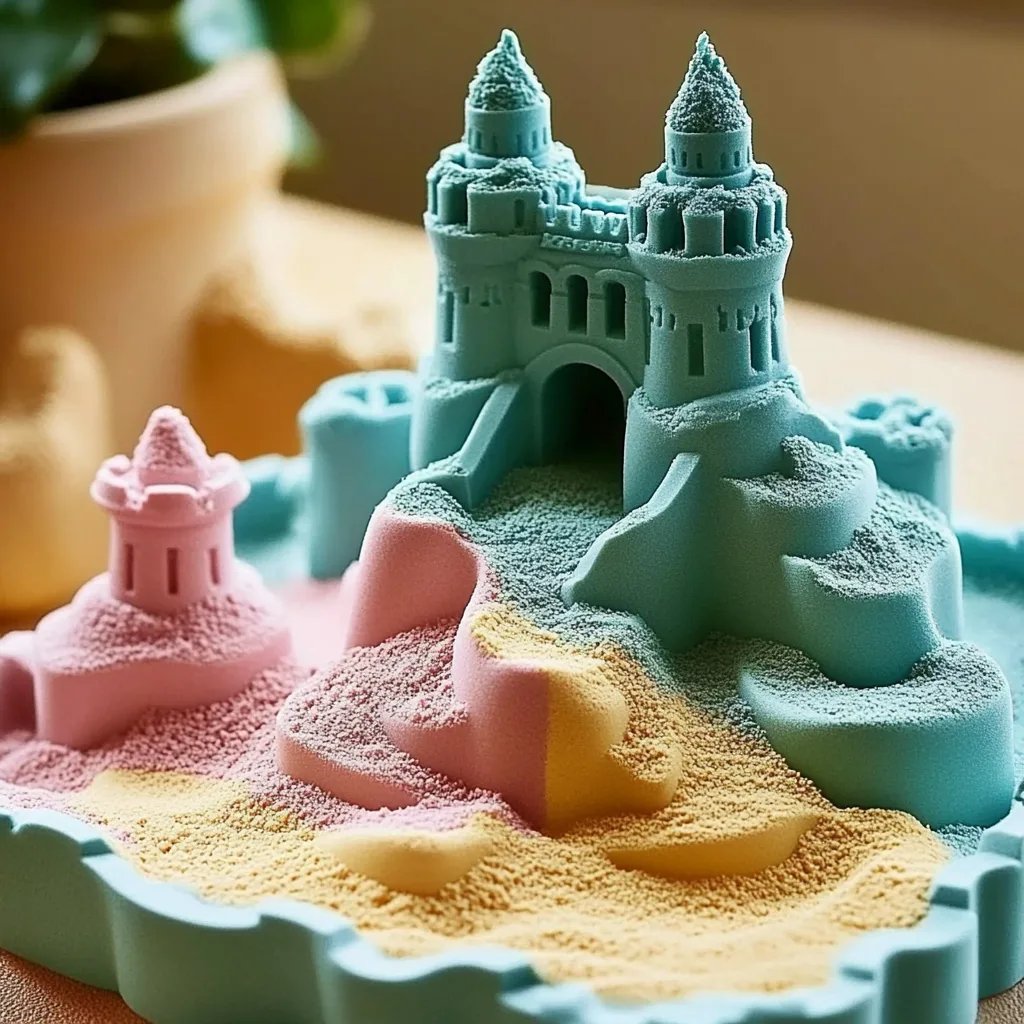
Kinetic sand is a specially formulated mixture that combines fine sand with a binding agent, allowing it to stick together while being easy to mold. Unlike traditional sand, kinetic sand is non-toxic, comes in various colors, and feels incredibly satisfying to touch. It flows like a liquid but maintains a cohesive structure, making it perfect for crafting day-to-day structures or just indulging in some sensory fun.
Gathering Your Materials
Before we jump into the actual mixing, let’s gather our materials. You'll need:
- Fine sand (5 cups): Look for play sand or rainbow sand. Avoid coarse types, as they will not have the same texture.
- Cornstarch (2.5 cups): This ingredient acts as the binding agent, giving kinetic sand its unique consistency.
- Water (1.5 cups): Hydration helps with the malleability of the sand.
- Dish soap (1 tablespoon): This addition adds a delightful smoothness and prevents the mixture from becoming too sticky.
- Food coloring (optional): Feel free to unleash your creativity with different colors!
- Mixing bowl: A large bowl will work best for blending everything together.
- Storage container: An airtight container helps keep your kinetic sand fresh.
Step-by-Step Tutorial
Step 1: Prepare Your Workspace
First things first—let's set the stage. Find a clean, flat workspace to create your kinetic sand. Cover the area with newspaper or a plastic tablecloth to catch any spills. I find this to be a crucial step because as exciting as crafting is, cleanup can be a real chore!
Step 2: Mix the Dry Ingredients
In a large mixing bowl, combine 5 cups of fine sand with 2.5 cups of cornstarch. The sand will provide the texture, while the cornstarch will help bind it together. I recommend using a whisk or your hands to mix these dry ingredients thoroughly. This ensures a more even distribution of the cornstarch, which greatly impacts the final consistency.
*What Could Go Wrong?*
If you skip this step or mix inadequately, you might end up with clumps of cornstarch that won’t dissolve when you introduce the wet ingredients. If your first batch doesn’t come out as expected, don’t fret; just add a little extra whisking, or consider starting again with better mixed dry ingredients.
Step 3: Combine the Wet Ingredients
In a separate bowl, mix 1.5 cups of water with 1 tablespoon of dish soap. If you're adding food coloring, now’s the time to stir it in! Start with a few drops, and adjust as needed until you achieve your desired color.
*Why This Matters*
Mixing the wet ingredients separately allows you to control the color and consistency before introducing it to the dry mix. If mixed all together at once, you might find it hard to achieve an even color without excessive mixing.
Step 4: Combine Wet and Dry Mixtures
Slowly pour the wet mixture into the dry ingredients, stirring continuously. At first, the mixture may appear too dry. Keep mixing and adding water gradually, as needed, until you achieve a play-dough-like consistency. This is the moment where the magic happens!
Step 5: Knead It
Once combined, it’s time to get your hands in there! Knead the mixture until it becomes smooth and pliable. This can take a few minutes, so don’t rush. Kneading activates the cornstarch and helps the kinetic sand achieve its signature texture.
*What Could Go Wrong?*
If your sand feels crumbly, it may need more water. Add water in small increments, but if it becomes too sticky, you can counterbalance with more sand and cornstarch (use a 2:1 ratio).
Step 6: Storage
Once you've achieved that perfect consistency, it's time to store your kinetic sand. The best way to keep it fresh is in an airtight container. This will help it maintain its texture for weeks, if not longer!
Fun Tips and Creative Variations
- Add Scent: For an extra sensory dimension, consider adding a few drops of essential oil to your mixture. Lavender is calming, while lemon is invigorating.
- Use Glitter: Incorporating glitter can add sparkle to your kinetic sand, making it visually enchanting, especially for themed activities (think fairy gardens or outer space motifs).
- Experiment with Textures: Mixing in items like tiny plastic dinosaurs, shells, or beads can add an exciting tactile element.
- Try Different Colors: Create a rainbow of kinetic sand by splitting the mixture into several smaller batches and dyeing them different colors.
Safety Warnings
While kinetic sand is non-toxic and safe for play, keep an eye on younger kids during playtime to prevent any accidental ingestion, particularly of small decorations. Additionally, environmental factors can influence the final product; sand should be clean and free from sharp objects.
Final Thoughts
Making DIY kinetic sand is not only a fun and tactile crafting experience, but it also leads to hours of creative enjoyment. I hope this guide makes your crafting journey seamless and enjoyable. Don’t hesitate to modify the ingredients and processes to suit your needs. Experimentation is half the fun!
As you embark on this journey, remember to embrace the process, celebrate your creations, and most importantly, have fun! Happy crafting! 🌟