How to Make DIY Glitter Gel Air Fresheners: A Step-by-Step Guide
Hello, fellow crafters! Today, I'm thrilled to share with you one of my all-time favorite DIY projects: creating glitter gel air fresheners. Not only do these delightful little creations infuse your space with wonderful scents, but they also add a touch of sparkle and charm to any room. Whether you want to impress guests, treat yourself, or find the perfect gift for a friend, these DIY air fresheners are an ideal choice.
Why Glitter Gel Air Fresheners?
Glitter gel air fresheners have become increasingly popular for several reasons. They are not only visually appealing but also customizable, allowing you to select your preferred scents and colors. With the rise of eco-conscious living, making your own air fresheners minimizes chemical exposure that often comes with store-bought versions. Plus, the craft is cost-effective and relatively simple, making it perfect for beginners and seasoned crafters alike!
You can use these gel air fresheners in various settings: your home, office, or even in the car. They also make lovely gifts for friends and family during holidays, housewarming parties, or just as a thoughtful gesture.
Now that I've whetted your appetite, let’s dive into the nitty-gritty of making your very own glitter gel air fresheners!
Materials Needed
To get started on this sparkly venture, you will need the following supplies:
- 2 cups of water
- 1 cup of gelatin (unflavored)
- Essential oils (your choice of scent, about 20-30 drops)
- Glitter (fine or chunky, whichever you prefer)
- Food coloring (optional)
- Containers (mason jars, small bowls, or any decorative containers)
- Lemon juice (1 tablespoon, as a natural preservative)
- Whisk
- Mixing bowl
- Stirring stick or spoon
- Measuring cups
Step-by-Step Tutorial
Step 1: Prepare Your Workspace
Before diving into your project, take a moment to clear and organize your workspace. I recommend laying down some newspaper or a craft mat to catch spills. The materials involved in this project can sometimes be sticky or messy, so preparation is key!
Step 2: Heat the Water
In a medium pot, heat 2 cups of water over medium heat but do not bring it to a boil. You want it hot enough to dissolve the gelatin but not boiling, as boiling can produce a gummy texture in your final product.
Step 3: Add the Gelatin
Once your water is steaming (you’ll see small bubbles forming around the edges of the pot), gradually whisk in 1 cup of unflavored gelatin. This step is crucial because it is what gives your air freshener its gel-like consistency. Stir continuously for about 1-2 minutes until the gelatin fully dissolves. Watch for lumps—if you see any, keep whisking!
> Tip: If you accidentally added too much heat or let it boil, your mixture might become clumpy or grainy. If this happens, simply remove it from the heat and let it cool slightly before whisking again.
Step 4: Add Scents and Colors
Next, it’s time to add scents to your gel. Add 20-30 drops of your chosen essential oil. I find lavender is calming, citrus is refreshing, and eucalyptus is invigorating! This is where you can get creative—mix and match scents if you wish! Follow with a tablespoon of lemon juice, which acts as a natural preservative.
If you're feeling adventurous, add a few drops of food coloring for a vibrant hue. Just remember that a little goes a long way! Mix until everything is combined.
Step 5: Introduce the Glitter
Now, for the best part—the glitter! Add your desired amount of glitter to the mixture, stirring slowly to distribute it evenly. This will add a beautiful sparkle that transforms your air freshener into a decorative piece.
> Tip: Different glitters can yield different effects—chunky glitter will create a more textured look, while fine glitter gives a more uniform shimmer. Experiment to find your favourite!
Step 6: Pour Into Containers
Carefully pour the gelatin mixture into your prepared containers. Make sure to fill them just below the rim to avoid overflow. If you’re working with jars, you can use a funnel to make this step easier and cleaner.
Step 7: Allow to Set
Allow your gel air fresheners to set at room temperature for about 6-8 hours or until completely firm. You can also place them in the refrigerator to speed up the process, but I recommend allowing them to set at room temperature to prevent condensation.
> Tip: Avoid touching the gel while it's setting, as this may cause unsightly fingerprints on the surface.
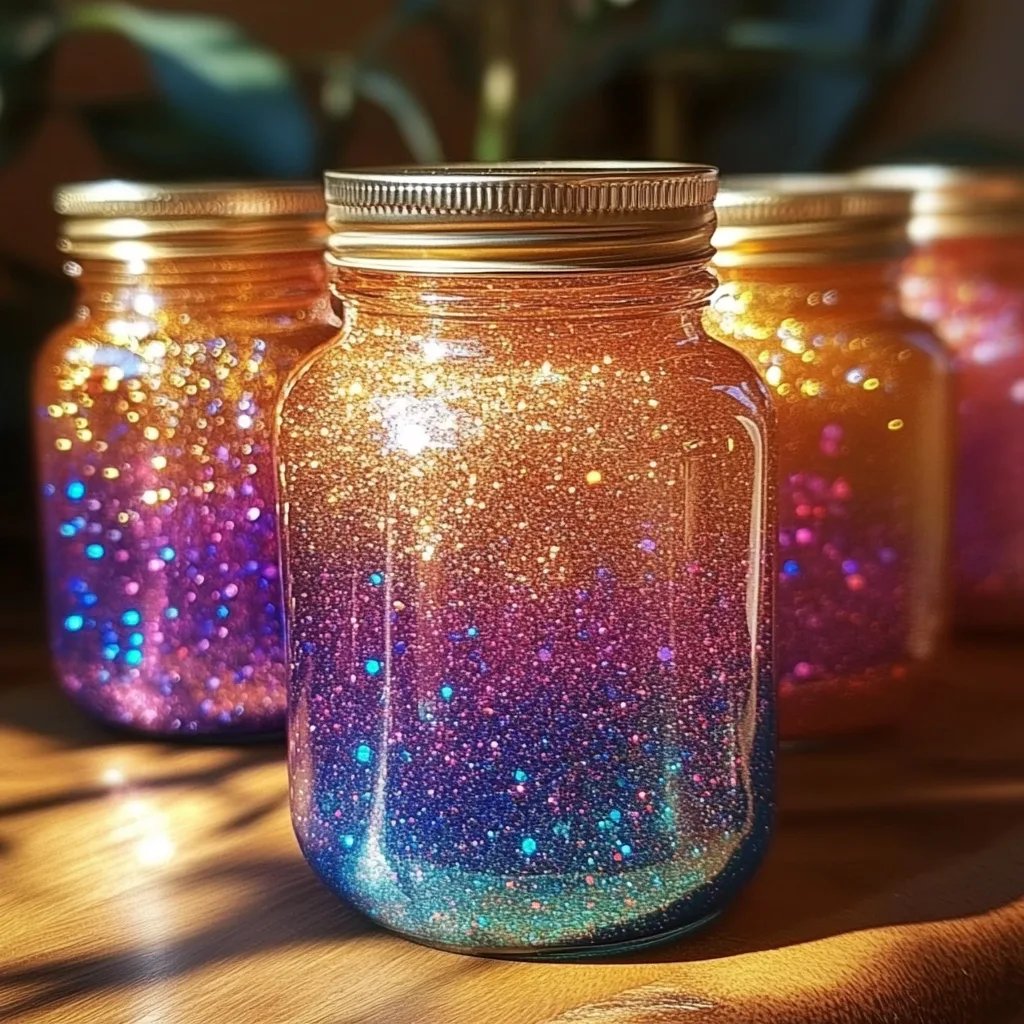
Step 8: Enjoy and Display
Once set, place your glitter gel air fresheners wherever you’d like! A sunny windowsill or a cozy bookshelf allows them to catch the light and sparkle beautifully, enhancing both the aesthetics and the scent of your space.
Troubleshooting and Common Issues
- Gel Isn't Firming Up: If your mixture isn’t firming up after the designated time, it might be due to insufficient gelatin. Make another batch, ensuring to measure the gelatin accurately.
- Cloudy Appearance: If your gel appears cloudy, it may be due to the water boiling. Ensure to heat it gently next time.
Creative Variations
Now that you’ve mastered the basic glitter gel air freshener, here are a few variations to consider:
- Seasonal Scents: Change your scents with the seasons—think pumpkin spice for fall, peppermint for winter, fresh flowers in spring, and citrus for summer!
- Layered Gel: Create a layered effect by adding different colors and scents one layer at a time. Allow each layer to set before pouring the next!
- Add Botanicals: For an elevated look, include dried flowers, herbs, or even small seashells in your gel before it sets.
Final Thoughts
Making DIY glitter gel air fresheners is not only therapeutic but also results in a functional and beautiful product that brings joy to any space. I'm constantly amazed by how customizable these gels can be, making them perfect for all occasions and personal styles.
Remember, crafting is all about having fun and experimenting, so don’t hesitate to modify this recipe to suit your preferences. Enjoy the process, and may your home be filled with delightful scents and sparkling charm!
Happy crafting! 🌟