How to Make DIY Flower Salt Painting for Kids: A Joyful and Creative Crafting Experience
Hello fellow crafters! Today, I’m excited to share one of my favorite projects: DIY Flower Salt Painting. This vibrant and imaginative activity is perfect for children of all ages—it sparks creativity, develops fine motor skills, and provides a unique sensory experience. Plus, it’s easy to set up, using simple materials that you likely already have at home. Whether you’re looking for a rainy-day activity, a fun weekend project, or a unique addition to a classroom art lesson, this craft is sure to leave lasting smiles!
What is DIY Flower Salt Painting and Why is it Popular?
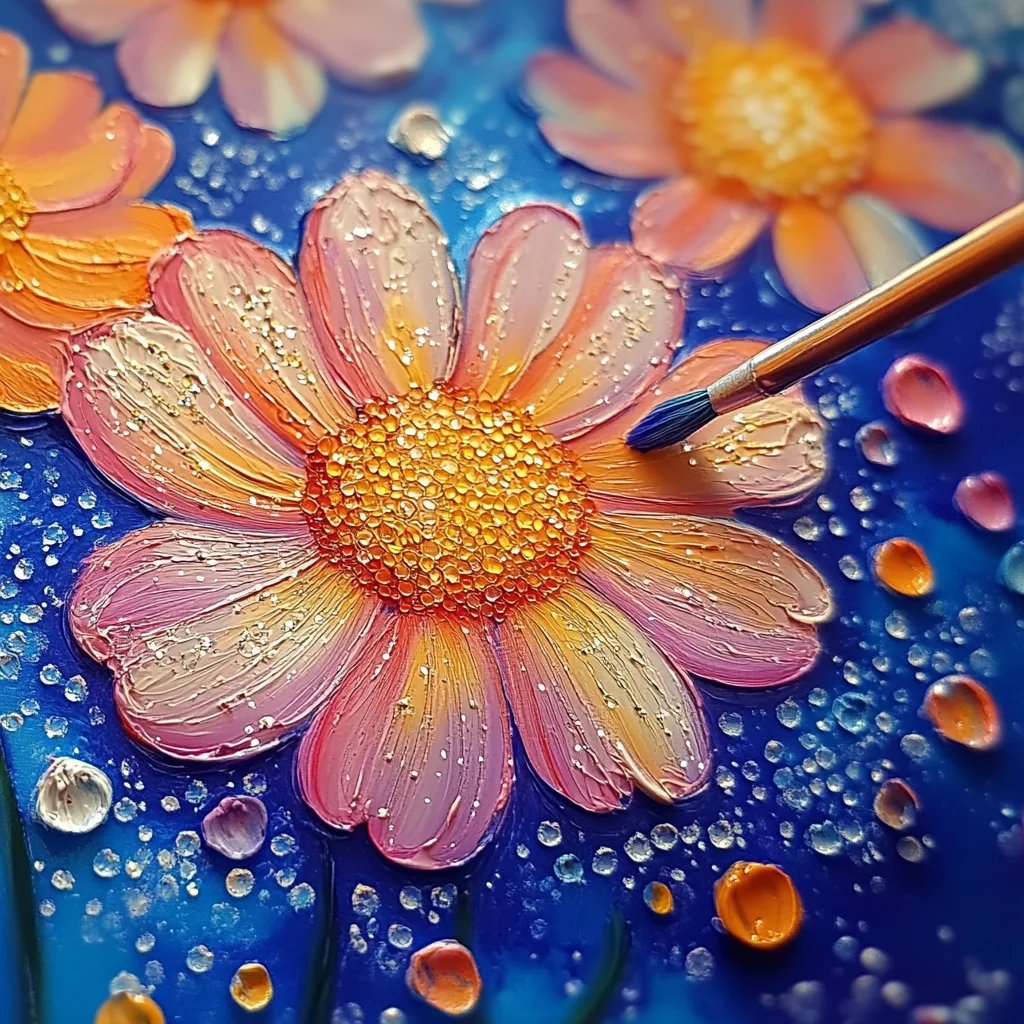
DIY Flower Salt Painting is a delightful art form that combines salt, watercolors, and creativity to create stunning floral designs. The process of applying salt to glue creates a beautiful texture that absorbs the colors beautifully, resulting in vibrant, eye-catching pieces that can be displayed at home or given as gifts.
Kids love this craft because it’s not only visually stimulating but also allows them to experiment with colors and textures. Moreover, it can be a meditative experience where they learn patience and attention to detail.
When to Use This Craft
This flower salt painting project is perfect for numerous settings:
- Rainy Days: Keep your kids engaged while enhancing their creativity indoors.
- Birthday Parties: Set up an art station for guests to unleash their creativity.
- School Projects: Teachers can incorporate this into art lessons to explore color theory and textures.
- Home Decor: Use it as a thoughtful gift or a personal art display.
Materials Needed
Before diving in, let’s gather our supplies. The beauty of this project lies in its simplicity. Here’s what you’ll need:
- Paper: Thick watercolor paper works best (it can handle the moisture).
- Elmer’s white school glue: This will help in creating the design and holding the salt.
- Salt: Regular table salt or coarse salt will work.
- Watercolor paints: You can use pan watercolors, liquid watercolors, or even edible dye if you’d like to explore alternatives.
- Paintbrushes: A variety of sizes, including a bigger brush for backgrounds and a smaller one for details.
- Container for water: For rinsing brushes.
- Paper towels: For cleanup.
- Pencil: For sketching your design.
- Optional: Glitter or food coloring can be added for extra sparkle!
Tips for Success
- Have a workspace covered with newspaper or a drop cloth to catch any mess.
- Bibs or old clothing can help protect your child's attire from paint splatters.
Step-by-Step Tutorial
Now that we have everything ready, let's dive into the process—step by step!
Step 1: Sketch Your Flower Design
I love starting by sketching my design lightly with a pencil. You can opt for simple shapes or more intricate flowers—let’s keep it fun and easy!
Why This Matters: Sketching gives you a clear outline to follow, which can minimize mistakes when applying glue.
Tip: If mistakes happen, don’t worry! You can adjust the design as you go, filling in gaps or incorporating new elements.
Step 2: Apply the Glue
Using the Elmer’s glue, trace over your pencil sketch.
Why This Matters: The glue serves as the adhesive for the salt, providing texture and holding the colors as they blend.
What Could Go Wrong: If too much glue is applied, it can lead to a gloopy texture. To fix it, simply use a toothpick or the end of a paintbrush to scrape off excess glue.
Step 3: Sprinkle Salt
After the glue is applied, generously sprinkle salt over the glued areas. Make sure to cover it completely.
Why This Matters: The salt will hold watercolors brilliantly, causing them to bleed and create stunning effects.
Tip: Do this over a tray or a clean surface to catch excess salt for reuse.
Step 4: Shake Excess Salt
Gently shake off the excess salt once the glue is dry to the touch. You can tap the sheet lightly against the workspace to ensure a gentle falling of salt.
What Could Go Wrong: If there’s too much salt stuck, the colors may not blend effectively. In that case, just make sure to have an even coating and tap off any bits that aren’t attached to glue.
Step 5: Start Painting!
Use your watercolor paints to add vibrant colors to the salt-covered areas. Watch the colors spread and blend beautifully across the salt!
Why This Matters: The salt absorbs the moisture from the watercolors, creating amazing, unexpected textures.
Tip: Engage your child in a conversation about color mixing as they create—this can enhance their understanding of colors!
Step 6: Let It Dry
Allow the artwork to dry completely—this may take a few hours depending on the thickness of the paint.
Why This Matters: Drying ensures the colors set and the salt remains intact.
Step 7: Display or Gift Your Artwork
Once dry, you can frame it, hang it up, or even gift it to a loved one!
Tip: Consider writing a small note with your child about what inspired their design—it adds a personal touch!
Alternative Methods and Ingredient Substitutions
If you don’t have watercolor paints, you can experiment with food coloring, liquid tempera paints, or even natural dyes made from fruits and vegetables! Simply mix the dye with a bit of water to get the right consistency.
Safety Warnings
Always supervise young children during the crafting process, particularly with materials like food coloring or if using scissors. Make sure to use non-toxic products to ensure safety. In the event of spills, a damp cloth can clean up relative easy—just be prepared for a bit of a mess!
Personal Anecdotes
I remember the first time I tried flower salt painting with my niece. She was initially skeptical, but her eyes lit up with wonder as the colors began to bloom across the paper. The laughter and excitement that day reminded me of the sheer joy that crafting can bring—it's not just about the final product, but the entire experience shared together.
Creative Variations
- Seasonal Themes: Change your flower designs according to seasons—daisies for spring, autumn leaves, and even winter snowflakes!
- Layered Techniques: Once your first layer is dry, consider adding a second layer of salt and painting over it for even more depth.
- Multi-Media: Add beads or sequins to adhere to the glue before applying salt for added texture and sparkle.
Conclusion
DIY Flower Salt Painting is not just an enjoyable craft; it’s a pathway to creativity, exploration, and quality time spent with loved ones. I hope this guide encourages you to step into the world of crafting with your children, creating beautiful memories one project at a time. So gather those materials, unleash your imagination, and let the art flow! Happy crafting!