How to Make DIY Fizzy Chalk Paint: A Step-by-Step Guide for Creative Crafters
Hello, fellow crafting enthusiasts! Today, I’m excited to dive into the vibrant world of DIY Fizzy Chalk Paint. As a seasoned crafter with years of experience under my belt, I have a profound appreciation for materials that inspire creativity and make projects fun for both kids and adults. Fizzy Chalk Paint has gained popularity for its unique fizzling effect when it comes into contact with water, transforming any surface into a colorful canvas. It's fantastic for outdoor projects, art for kids, and even as a mesmerizing activity during parties. Plus, it's a cinch to make—if I can do it, so can you!
The Magic of Fizzy Chalk Paint
Fizzy Chalk Paint isn't just your typical paint; it's an experience! Imagine pouring vibrant colors and watching them bubble and fizz while they spread across a sidewalk or driveway. This dynamic paint is not only visually stunning but also safe and easy to clean up. It can be used for creative expressions on chalkboards, walkways, sidewalks, and even for fun summer art projects.
Now, let’s get down to the fun part: making it yourself!
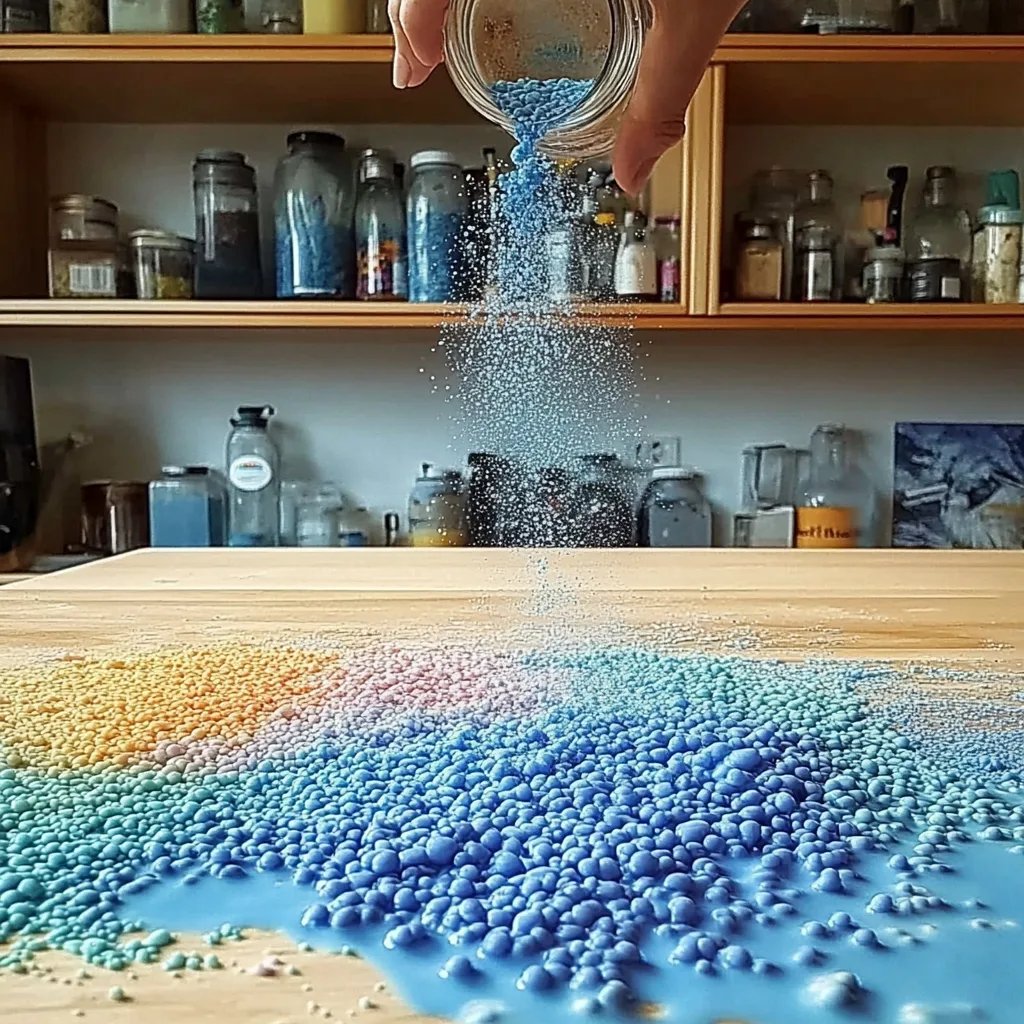
Materials You'll Need
Before we jump into our DIY process, let's gather the materials. Trust me, you won’t need to break the bank or make a trip to a specialty store for these supplies:
- Baking Soda (1 cup) – This is what creates the fizz when combined with vinegar.
- Cornstarch (½ cup) – Gives the paint its body and helps it adhere to surfaces.
- Water (1 cup) – The medium that brings everything together.
- White Vinegar (½ cup) – This will cause the fizz and add acidity to the paint, which gives it a unique texture.
- Food Coloring – Choose vibrant colors that inspire you (gel food coloring works best).
- Mixing Bowls – A few small bowls for mixing different colors.
- Spoons/Whisks – For mixing your concoction.
- Containers – Empty squeeze bottles or small cups for storing finished paint.
- Protective Gear – Use gloves and an apron since food coloring can stain.
Step-by-Step Tutorial: Making Fizzy Chalk Paint
Now that we have our materials ready, let's get started with the step-by-step process. I’ll also share my insights throughout to make sure you get it right the first time.
Step 1: Combine the Dry Ingredients
In a mixing bowl, combine 1 cup of baking soda and ½ cup of cornstarch. Use a whisk to mix them well.
Why It Matters: This step is crucial because mixing the dry ingredients thoroughly ensures that the paint has a consistent texture. If they aren’t well mixed, you may end up with clumpy paint.
Step 2: Add Water
Gradually add 1 cup of water to the dry mixture, stirring constantly until you achieve a smooth consistency. It should look like pancake batter but a bit thinner.
Tip: If your mixture is too thick, you can add a bit more water. If it's too runny, sprinkle in a touch of cornstarch to thicken it up.
Step 3: Distribute and Color
Now, divide this mixture into several smaller bowls, depending on how many colors you want. Add a few drops of your chosen food coloring to each bowl and stir until the color is mixed evenly.
Personal Anecdote: One of the first times I experimented with this paint, I got carried away with the food coloring. The result was a rainbow that was too vibrant! While it was visually stunning, I learned that a little goes a long way.
Step 4: Introduce the Fizz
In another bowl or a separate container, pour ½ cup of white vinegar. When you’re ready to use the paint, you’ll add this vinegar to it. This is where the magic happens!
Safety Warning: Handle the vinegar carefully around any sensitive materials (like delicate leaves or certain fabrics if you're painting outdoors), as the acidity can be concerning in some cases.
Step 5: Store in Containers
Transfer your colorful mixtures into squeeze bottles or small cups for convenience. If using squeeze bottles, make sure to label each one!
What Could Go Wrong: If the paint hardens in the containers, add a bit of water to revive it when you’re ready to use it again.
Creative Variations and Tips
- Texture Additions: For a bit of grit, try adding some plain sand or fine salt to your paint mixtures. This creates an interesting texture once it dries.
- Using Different Surfaces: While it’s fantastic on sidewalks, you can also use it on other outdoor surfaces like rocks, wood, or even paper for a different touch.
- Glitter for Extra Fun: Mix in some non-toxic glitter for a sparkling effect! Just like with food coloring, a little goes a long way.
- Fizzy Surprise: To maximize the fizz effect, pour the vinegar over the paint just before use. This gives it that fresh fizzing glory without losing its vibrancy.
Cleanup Tips
When you’re done painting, cleanup is relatively simple! Since this paint is water-based, it washes off surfaces very easily with just soap and water. If you’re working on concrete or other outdoors surfaces, a good spray from a hose will do the trick!
Conclusion
Creating DIY Fizzy Chalk Paint is not just a delightful crafting activity; it’s a way to engage creativity and bring art to life! I hope this detailed guide helps spark your inspiration and encourages you to make your own variations of fizzy paint. Remember, crafting is about experimenting and having fun. Don't be afraid to let loose and enjoy the process—the messier, the better!
Happy crafting, and may your creations be as vibrant and bubbly as the paint itself!