How to Make DIY Fizzing Slime: A Crafter’s Guide to Fun and Creativity
Hello, fellow crafters! If you’ve stumbled across this article, you’re probably curious about the captivating world of DIY fizzing slime. Let me tell you, this delightful concoction has become all the rage for good reason! Fizzing slime not only captivates the imaginations of children but also provides endless hours of sensory play and experimentation. It’s perfect for rainy days, birthday parties, or simply whenever the mood strikes. As an experienced crafter, I’m excited to share my favorite recipe with you, complete with tips, tricks, and ideas to make your fizzing slime an extraordinary experience!
What is Fizzing Slime?
Fizzing slime is a squishy, stretchy substance that bubbles and zips in reaction to a fizzy ingredient, usually an acid-base reaction between baking soda and vinegar or citric acid. The reaction creates carbon dioxide gas, which results in delightful fizzes and pops. It’s a fantastic blend of science and art, allowing you to play and learn simultaneously. Whether you’re looking for a fun activity with kids, a unique party favor, or simply a creative outlet, fizzing slime will surely deliver!
Gather Your Materials
Before diving into the slime-making journey, let’s gather everything we’ll need. Here’s a comprehensive list of materials:
Basic Ingredients:
- White school glue (PVA glue): Provides the foundation of the slime.
- Baking soda: Essential for the fizzing reaction.
- Contact lens solution (saline solution): This will give your slime its stretchiness.
- Water: For the right consistency.
- Vinegar (or citric acid): The key ingredient for fizzing.
- Food coloring (optional): To give your slime a fun twist!
- Glitter (optional): Because who doesn’t love a little sparkle?
Tools:
- Mixing bowl
- Stirring stick or spoon
- Measuring cups
- Measuring spoons
- Airtight container for storage
Step-by-Step Tutorial
Let’s get ready to make some fizzing slime! Follow these steps with care, and you’ll be enjoying your very own batch of bubbly slime in no time.
Step 1: Prepare the Base
Why This Matters: The glue acts as a binder for slime, and using the right type ensures a successful consistency.
- Start by pouring 1 cup of white school glue into your mixing bowl. You can use more or less, but this is a great starting point.
- Add 1/2 cup of water to dilute the glue slightly. This makes it easier to work with and helps achieve a smoother consistency. Stir the mixture well until combined.
Step 2: Add the Fizzing Agent
Why This Matters: Adding baking soda not only increases the slime's thickness but is also crucial for creating that fizzy reaction we’re looking for in our project.
- Mix in 1 teaspoon of baking soda. Stir until the baking soda is fully dissolved. This helps in creating that fluffy texture.
Step 3: Create the Slime
Why This Matters: The slime’s stretchiness comes from the saline solution; this step is essential for achieving that desired gooey texture.
- Now it’s time to add the contact lens solution! Start with 1 tablespoon and stir. You can add more if needed, but do so gradually until you reach your preferred slime consistency. The mixture should start to pull away from the sides of the bowl.
- If you'd like to add food coloring, now’s the time! A few drops will do, and you can mix it until you achieve your desired hue.
Step 4: Kneading the Slime
Why This Matters: Kneading helps improve the texture and prevents stickiness; it’s a fun tactile step that enhances your experience!
- Once the mixture is cohesive, take the slime out of the bowl and begin kneading it with your hands. If it’s too sticky, don’t fret! Add a little more contact lens solution while kneading until it feels just right.
Step 5: Fizzing Reaction Time
Why This Matters: This step is the main event! The fizzing reaction is what makes this slime project so exciting.
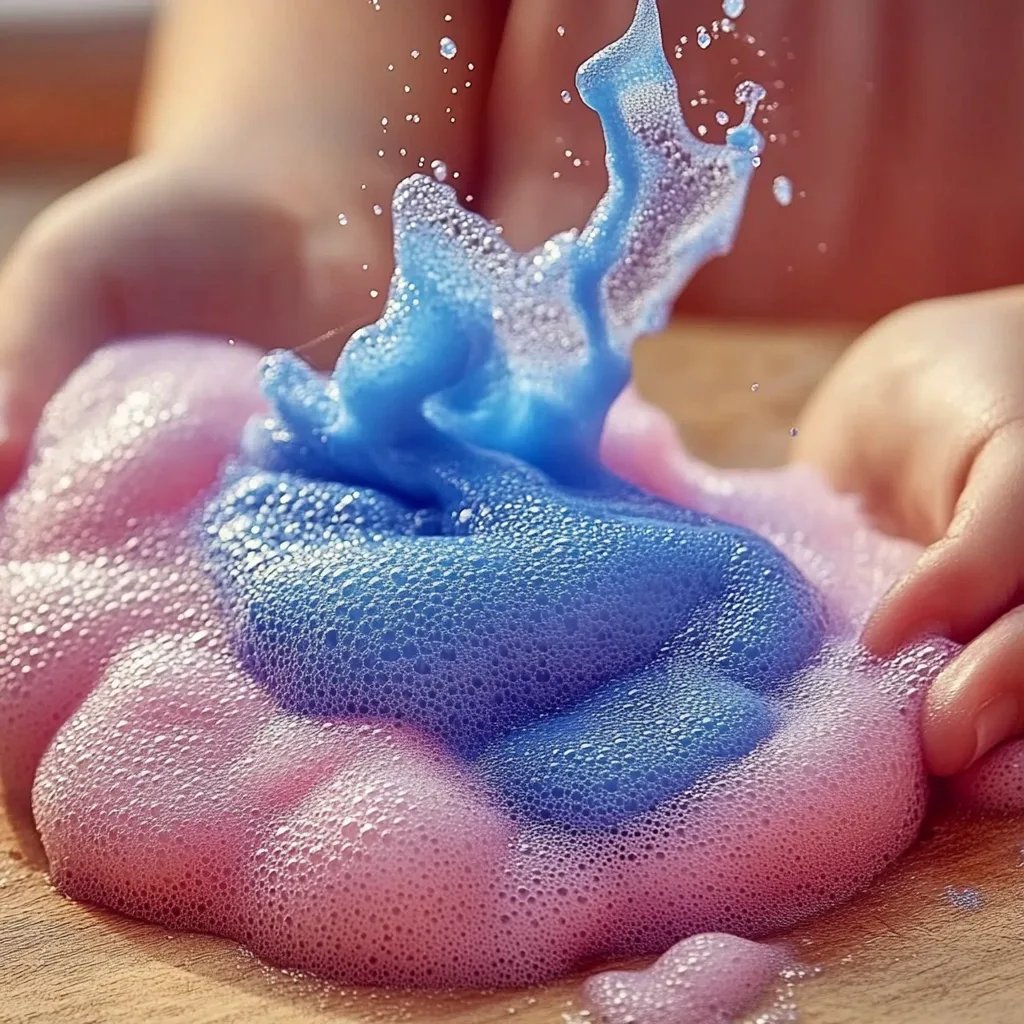
- To experience the fizzing magic, take a small handful of slime and place it in a separate bowl. Drizzle vinegar over it (about 1-2 tablespoons), and watch the fizz explode! The bubbles will rise and pop, providing a stunning visual effect that’s so satisfying to watch.
Step 6: Storage
Why This Matters: Proper storage extends the life of your slime, ensuring you can enjoy it again and again!
- Once you're done playing, store your fizzing slime in an airtight container to keep it fresh. It should last for about a week if kept away from heat or sunlight.
Troubleshooting Tips
Even seasoned crafters can encounter hiccups during their slime journey. Here are a few common problems and solutions:
- Slime is too sticky: Add a few more drops of contact lens solution while kneading until it becomes manageable.
- Slime is too runny: If your slime is too watery, you might need to add a bit more baking soda or contact lens solution.
- Fizz effect is weak: Ensure you are adding enough vinegar. For a more dramatic effect, try using citric acid in place of vinegar.
Creative Variations
Once you've mastered the basics, consider experimenting with variations of this fizzing slime!
- Scented Slime: Add a few drops of your favorite essential oil during the mixing stage for a scented sensory experience.
- Confetti Slime: Mix in small pieces of colorful paper or confetti for a party-ready version.
- Layered Slime: Make different colored slime batches and stack them in layers to create a visually appealing swirl effect.
Safety Warnings
While crafting with kids, it’s essential to keep a few safety measures in mind:
- Supervision: Always supervise young children during the crafting process, particularly when using any liquids.
- Avoid ingestion: Ensure that all materials, especially those used in the fizzing reactions, are kept out of reach, and discourage tasting or eating slime.
- Skin irritation: If any irritation occurs, remove the slime from contact with skin immediately.
Conclusion
There you have it! Making DIY fizzing slime is not only a gift of creativity and fun but also a fantastic opportunity to engage in hands-on learning. I hope this guide inspires you to dive into the playful world of slime-making!
Remember that each slime-making adventure is unique, so don’t hesitate to adapt this recipe to suit your style and preferences. Whether you’re twirling in colors, experimenting with scents, or simply enjoying the fizz, the satisfaction of creating something with your hands is unmatched.
Happy crafting, and may your fizzing slime bring joy and wonder to your world! If you have any questions or want to share your creations, feel free to leave a comment—I love hearing from fellow crafters!