How to Make DIY Edible LEGO Bricks: A Fun Guide for All Ages
Hello, fellow crafters and sweet aficionados! Today, I am thrilled to share my experience creating DIY Edible LEGO Bricks. These delightful little creations have gained immense popularity, and it’s no wonder why—they’re a playful, tasty twist on everyone’s favorite childhood toy. Whether you’re planning a themed birthday party, looking to surprise your kids with a unique snack, or simply want to unleash your inner child, edible LEGO bricks are sure to bring joy and fun to any occasion.
In this step-by-step guide, I’ll walk you through every aspect of crafting your very own edible LEGO bricks. From the ingredients to the assembly, I’ll highlight tips, potential pitfalls, and variations you can try. So grab your apron, and let’s get started!
What Are Edible LEGO Bricks?
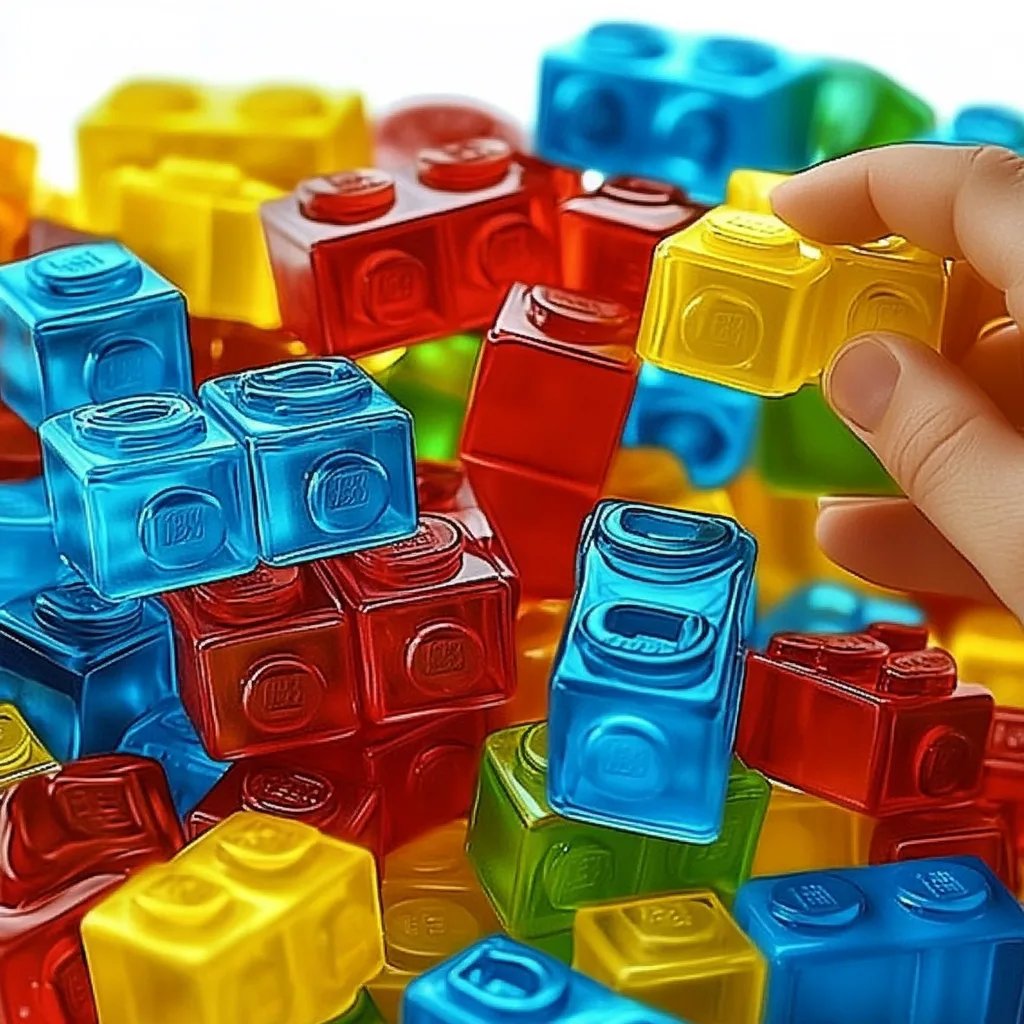
Edible LEGO bricks are, as the name suggests, LEGO-themed treats that you can eat! Made from sweet, gel-like ingredients, these colorful bricks can be created in a variety of flavors and colors. Not only are they a hit at parties, but they can also be a fun activity for kids and adults alike. Imagine building something iconic out of your favorite candies and then munching on your very own creation!
When to Use Edible LEGO Bricks
- Themed Birthdays: They make wonderful cake toppers or standalone treats for LEGO-themed parties.
- Crafting Activities: Have a family night or class project involving edible crafts.
- Holiday Fun: Create festive variations for Christmas or Halloween by adding seasonal colors and flavors.
- Gifts: Pack them in a jar, and voila! You have a unique and personal gift for your friends or family.
Gathering Your Materials
Let’s dive into what you’ll need. The beauty of this project is that you likely have many of these ingredients at home.
Ingredients:
- 1 cup of water
- 1/2 cup of granulated sugar
- 3 tablespoons of gelatin (I recommend unflavored for the best consistency)
- Food coloring (your favorite hues)
- Flavoring extract (vanilla, strawberry, lemon, etc.)
- Cornstarch (for dusting)
- Silicone LEGO brick molds (available online or at craft stores)
Tools:
- A saucepan
- A whisk
- Measuring cups and spoons
- A dropper or spoon for transferring the mixture
- A bowl for mixing
Step-by-Step Tutorial
Step 1: Prepare Your Molds
To ensure easy removal later, dust your silicone LEGO brick molds lightly with cornstarch. This step is crucial—nobody wants a mishap where their edible bricks stick to the mold! The cornstarch will act as a barrier, allowing your bricks to pop out easily once set.
Step 2: Mix the Ingredients
In a saucepan, combine the water and sugar over medium heat. Stir occasionally until the sugar dissolves; this usually takes about 2-3 minutes.
Why It Matters: Heating the sugar helps form a syrup that will give your edible bricks a gooey texture when combined with gelatin.
Step 3: Add the Gelatin
Once the sugar has dissolved completely, remove the saucepan from the heat and add the gelatin slowly. To prevent clumps, sprinkle the gelatin evenly and whisk constantly. After the gelatin is fully incorporated, return the saucepan to low heat and stir for another minute until it’s completely dissolved.
Step 4: Personalize Your Mixture
Now’s the fun part! Remove the saucepan from the heat and add your flavoring extract and food coloring. Start with a few drops of food coloring, mix, and test until you reach your desired shade.
Tip: If you want your edible bricks to represent specific LEGO themes (like space or nature), choose your colors accordingly!
Step 5: Fill the Molds
Using a dropper or spoon, carefully transfer your gelatin mixture into the prepared LEGO brick molds, filling them to the top. This part can be a little messy, but that’s part of the crafting fun!
What Could Go Wrong: If the mixture goes over the edges, it might not come out cleanly, so take your time. Clean up any spills before it sets, or else you’ll have some sticky bricks.
Step 6: Let Them Set
Allow your molds to sit at room temperature for about 2-4 hours, depending on the humidity and temperature of your kitchen. For best results, place them in the fridge for about an hour. You’ll know they’re ready when they are firm to the touch.
Step 7: Remove from Molds
Once your edible LEGO bricks have set, gently pop them out of the molds. This is where the cornstarch coating will show its worth! If they stick a little, a gentle twist of the mold should help.
Step 8: Enjoy or Decorate!
You can munch on them as is, or use them to create fun structures for parties and gatherings. I love to use them as decorations on cakes, cupcakes, or even parfaits. The possibilities are only limited by your imagination!
Tips and Tricks
- Storage: Keep your edible LEGO bricks in an airtight container at room temperature for up to a week. Refrigerated, they can last longer but may become slightly gooey.
- Color Variations: For seasonal themes, mix and match colors! Red and green for Christmas, orange and black for Halloween— the sky’s the limit!
- Flavor Combinations: Experiment with different flavor extracts! Almond or peppermint can bring unique twists to your edible creations.
Safety Warnings
- Always supervise young children during the preparation and consumption of these treats, especially if using hot ingredients.
- Ensure that no one has allergies to any flavorings or food colorings before enjoying.
Personal Anecdote
I remember the first time I made edible LEGO bricks for my son's birthday party. I was so worried they wouldn't turn out right, but to my surprise, they were a hit! The kids loved building their own LEGO structures and then enjoying the fruits (or rather, the gelatin) of their labor. Seeing their faces light up and hearing their laughter made it all worth it. That's the magic of crafting!
Creative Variations
- Layered Bricks: Mix different colors and flavors, pouring layers into the molds for a two-tone effect.
- Mini LEGO Bricks: Use small molds for bite-sized treats. They’ll be adorable and perfect for candy bags!
- Chocolate Coated Bricks: Dip your finished bricks in melted chocolate for a decadent twist!
Conclusion
DIY Edible LEGO Bricks are a fun, creative, and delicious way to engage with your imagination and bring joy to others. I hope this step-by-step guide provides you with the tools and confidence you need to create these delightful treats. Remember, crafting should be about having fun, so embrace any imperfections and enjoy the process. Happy crafting, and may your edible creations be as colorful and playful as those classic LEGO sets!