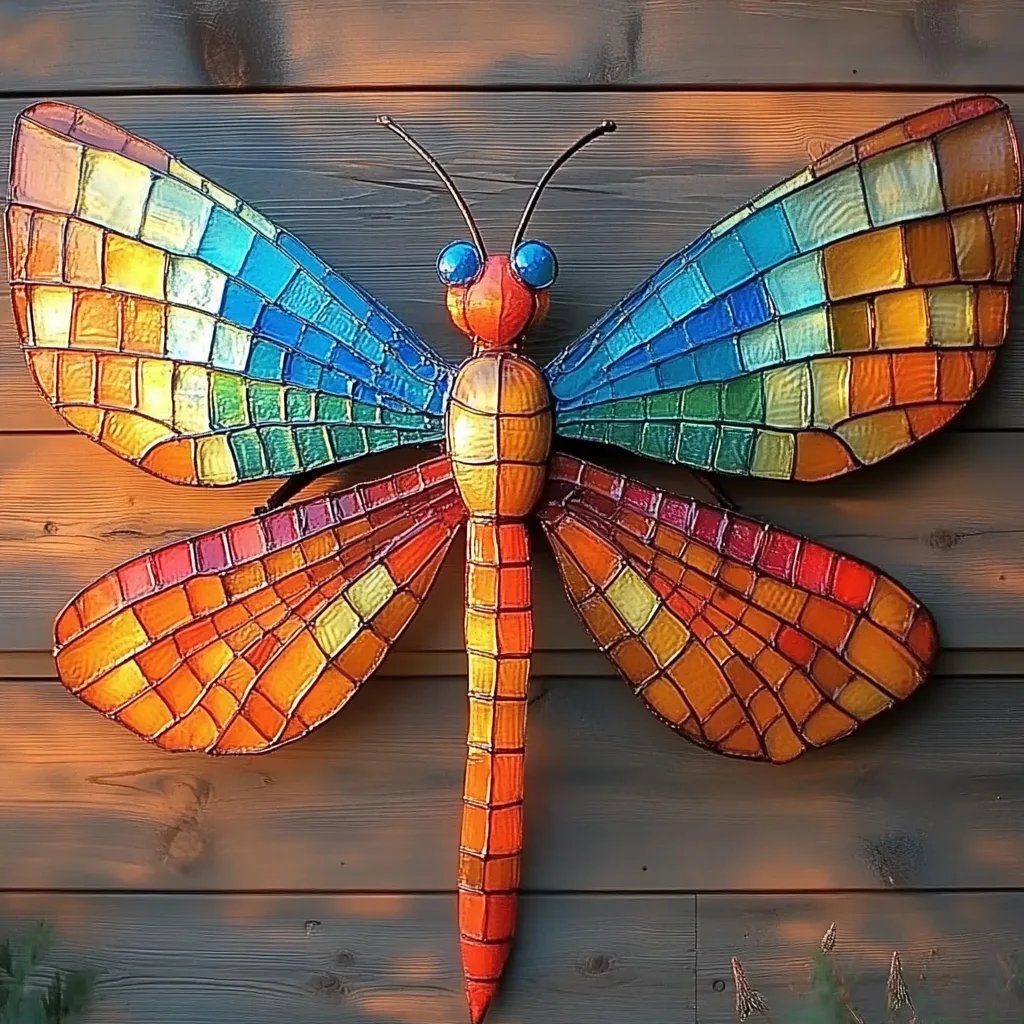
How to Make DIY Dancing Light Dragonflies: A Crafting Journey
Hello, fellow crafters! Today, I'm thrilled to share my favorite project: creating enchanting DIY dancing light dragonflies. These delightful little creations, with their glowing wings and whimsical movements, add a touch of magic to any evening garden party or cozy indoor space. Whether it’s a serene summer night or a festive gathering, these dragonflies are sure to captivate both children and adults alike—a testament to their popularity!
In this article, I will guide you step-by-step through the process of making these charming decorations. I've crafted countless dragonflies over the years, and I can't wait to share my insights, tips, and perhaps a few mishaps along the way. So, let’s flutter into the magical world of crafting!
Why DIY Dancing Light Dragonflies?
Dancing light dragonflies are a beautiful and artistic way to incorporate lighting into your outdoor or indoor décor. They provide a whimsical charm that creates a soothing ambiance, flickering and shimmering softly as they catch the light. These little beauties are perfect for:
- Outdoor events: Garden parties, weddings, or barbecues
- Indoor décor: Adding a unique touch to your living space
- As gifts: They make beautiful presents for craft lovers or children
Moreover, crafting your own dragonflies allows for personalization. You get to choose the colors, sizes, and styles, making each dragonfly special.
Materials You Will Need
Before diving into the crafting process, make sure you gather the following materials:
- Colored cardstock (various colors for wings)
- LED tea lights (battery-operated for safety)
- Skewers or sturdy craft sticks (for the body)
- Craft wire (for antennae)
- Hot glue gun and glue sticks
- Scissors
- Wire cutters
- Paint or markers (optional, for decorating)
- Decorative embellishments (like sequins or glitter, optional)
Safety First
Always exercise caution when handling scissors, hot glue guns, and wire cutters. Work in a well-lit area, and keep the crafting space clean and organized to avoid accidents.
Step-by-Step Tutorial
Step 1: Design the Wings
First things first, let’s create the dragonfly wings!
- Cut the cardstock: Using scissors, cut out pairs of wing shapes. The shape can be as simple or complex as you prefer—think elliptical or butterfly-like forms.
- Tip: To create consistency, trace one wing shape and use it as a template for the others.
- Decorate the wings: This is where you can let your creativity fly! Use paint, markers, or stickers to adorn the wings with patterns and colors that you love.
- Why this matters: Decorating your wings can make your dragonflies more visually appealing and personalized.
Step 2: Assemble the Body
Next, let’s build the body of our dragonfly.
- Choose your skewer: Take a skewer and cut it to your desired length for the dragonfly body. A length of about 6-8 inches often works best.
- Attach the wings: Using your hot glue gun, attach the pairs of wings to one end of the skewer.
- Potential problem: If the glue doesn’t hold, wait a few seconds for it to become tacky before pressing the wings down firmly.
- Fix it: If it fails the first time, reapply glue and hold until set.
Step 3: Create the Antennae
Every dragonfly needs antennae, doesn't it?
- Cut the craft wire: Cut two 6-inch pieces of craft wire.
- Shape the antennae: Bend each piece into a loop at one end for the dragonfly's eyes.
- Attach to the skewer: Use hot glue to secure the other end of each piece to the skewer just below the wings.
- Tip: Experiment with different shapes and sizes for a more whimsical look!
Step 4: Add the LED Tea Light
Now for the magical star of the show—the light!
- Secure the LED tea light: Turn the tea light on and place it inside a small paper cup (this will help diffuse the light) or directly on the base of the dragonfly depending on your design.
- Attach the light: If needed, use glue to hold the light in place on the skewer.
- Why it's critical: This light will illuminate the wings, creating that captivating “dancing” effect.
Step 5: Final Touches
Now it’s time for the finishing touches.
- Embellishments: Add any additional embellishments, like sequins, beads, or glitter, to your dragonflies for that extra sparkle!
- Creative variation: Consider experimenting with different sizes of dragonflies, using larger and smaller LEDs for different effects.
- Display your creation: Place your dragonfly in a potted plant, on a tabletop, or even in a bottle of sand for an extra touch.
Troubleshooting Common Issues
While crafting is a joy, sometimes things can go awry. Here are a few common issues and solutions:
- Weak wing attachment: If the wings won’t stay attached, make sure the glue is melting adequately and give it a little longer to dry.
- Light not bright enough: If your LED isn’t providing enough light, check the batteries and ensure it's properly seated in the holder.
- Wire antennae bending: If they do not hold their shape, consider using a thicker wire or reinforcing them with extra glue.
Personal Anecdotes
I vividly remember the first time I made these dragonflies for my daughter’s garden birthday party. The wind caught them just right, and they twinkled under the lights, captivating all her little friends. It was a joy to see them dance, and every child was left in awe. That day, I learned that crafting is not just about the process but about the warmth it brings to special occasions!
Alternatives and Substitutes
If you’re short on time or materials, consider these alternatives:
- Use clear plastic bottles instead of skewers or cardstock for a more 3D effect.
- Instead of tea lights, try using solar-powered lights for an eco-friendly option that charges during the day.
Conclusion
There you have it—your comprehensive guide to crafting delightful DIY dancing light dragonflies! With a little creativity and patience, you can make these enchanting decorations to brighten your surroundings. So, gather your materials, and let your imagination take flight! Remember, crafting is about having fun and expressing yourself, and every dragonfly you create is a testament to your artistic journey. Happy crafting!