How to Make DIY Cloud Dough: Your Ultimate Guide
Hello there, fellow DIY enthusiasts! Today, I'm thrilled to share one of my all-time favorite projects—making DIY Cloud Dough. Whether you're an experienced crafter or just starting out, this fluffy, squishy substance is as fun to create as it is to play with. Perfect for sensory play, crafts, and quiet time activities, cloud dough is all the rage among kids and adults alike. So, let’s dive into the magical world of cloud dough and discover how to make it right at home!
What is Cloud Dough?
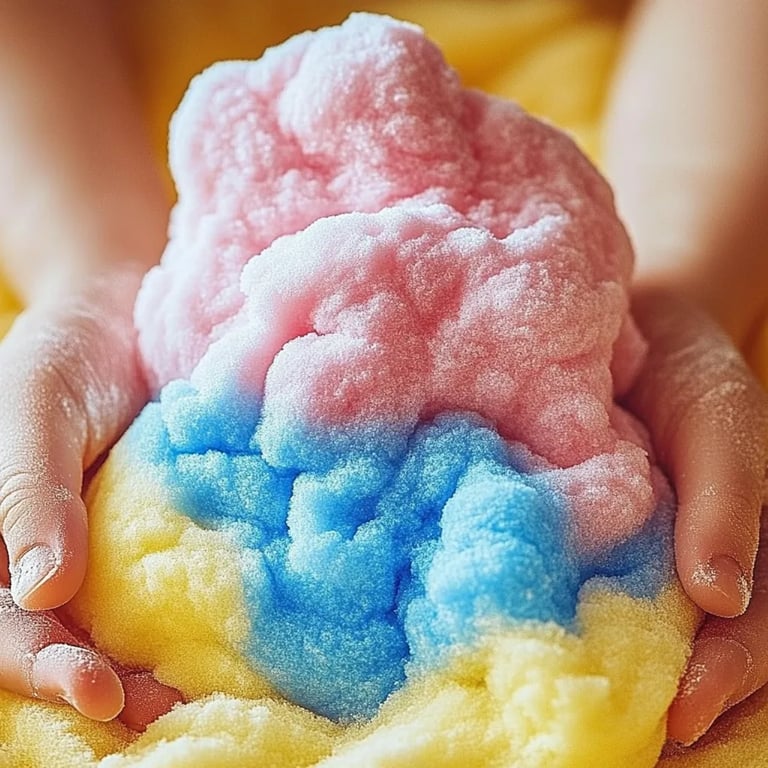
Cloud dough is a soft, moldable substance that's often compared to the texture of the clouds—light, airy, and oh-so-pleasing to touch. It's commonly made from simple kitchen ingredients and is incredibly popular among parents and educators for sensory play activities. Children can squeeze, mold, and shape it into anything they can imagine. I find it to be an excellent tool for enhancing motor skills, encouraging creativity, and providing endless hours of entertainment.
Cloud dough is versatile too! You can use it for themed play, party activities, or simply as a tactile experience—ideal for rainy days or quiet afternoons at home. The best part? It's super easy to make, and I'm here to guide you through every step of the process.
Materials Needed
Before we start, let’s gather our materials. Here’s what you’ll need:
Basic Ingredients
- 8 cups all-purpose flour: This is the foundation of your cloud dough. It's crucial for that silky texture.
- 1 cup vegetable oil: This will help create that fluffy consistency. Feel free to substitute with coconut oil or baby oil for a softer feel.
- Optional: Food coloring: If you want to add a pop of color to your cloud dough, this is where the fun comes in! You can use gel or liquid food coloring.
Additional Supplies
- Mixing bowl: A large bowl is recommended for mixing the ingredients.
- Spoon or spatula: For stirring everything together.
- Container or zip-lock bags: For storage.
Step-by-Step Tutorial: How to Make Cloud Dough
Step 1: Measure the Flour
Start by measuring out 8 cups of all-purpose flour and pouring it into your mixing bowl. I recommend using a kitchen scale for precision. An unmeasured amount may lead to a dough that’s too wet or too dry—neither of which will yield the delightful texture we’re aiming for.
*Pro Tip:* If you don’t have a scale, fluff the flour with a spoon to aerate it before scooping—this prevents it from being packed down in the measuring cup.
Step 2: Add the Oil
Next, measure out 1 cup of vegetable oil and pour it into the bowl with the flour. The oil is what gives cloud dough its uniquely soft and stretchy texture. If you want a more natural option, you can opt for coconut or olive oil, though this can slightly alter the scent and softness of the dough.
Step 3: Mix Thoroughly
Using your spoon or spatula, mix the flour and oil until fully combined. At first, it might look like it's too dry or crumbly, but don’t fret! Keep stirring until the flour absorbs the oil, and you'll notice it slowly begins to come together.
*What Could Go Wrong:* If your mixture is too crumbly and doesn't hold together when squeezed, it means you may need to add a little more oil, a tablespoon at a time, until the desired texture is achieved.
Step 4: Adding Color (Optional)
If you wish to add color to your cloud dough, now is the time! In a separate bowl, mix a small amount of food coloring with a few drops of water to create a concentrated solution. Gradually drizzle it into your dough while mixing; this will help achieve an even color throughout.
Be careful with the food coloring, as it can stain surfaces and clothing—always have a protective layer underneath.
Step 5: Knead the Dough
Once you have mixed your ingredients and achieve a soft consistency, it’s time to get your hands in there! Knead the dough for a few minutes until it gets even softer and more pliable. This is a fantastic moment for kids to help—it's a perfect sensory activity to feel the texture transform!
*Safety Warning:* Always supervise young children during this process, especially when handling food coloring.
Step 6: Store Properly
Once you’ve reached your desired consistency, it's essential to store your cloud dough properly to keep it fresh. Place it in an airtight container or zip-lock bag. If stored right, it can last several weeks.
*Tip:* If you notice it feels a bit dry after a week, add a few drops of oil and knead again to bring it back to life!
Creative Variations and Personal Anecdotes
One of the joys of making DIY cloud dough is how adaptable it can be. I love experimenting with different ingredients and textures! For instance, you can add unsweetened cocoa powder for a chocolate version or oatmeal for a coarser texture. One time, I made a batch for a birthday party and added a few drops of vanilla extract—it smelled divine!
Additionally, consider adding a bit of glitter for sparkle or essential oils for a sensory experience that appeals to smell, too.
If you're looking for an eco-friendly alternative, try using whole wheat flour or almond flour. Just keep in mind the texture and malleability may change slightly!
In Closing
I hope this guide inspires you to create your own DIY cloud dough and explore its endless possibilities. Whether you're crafting with kids or indulging your inner child, cloud dough offers a delightful, hands-on experience that can bring joy to any activity. Remember, crafting is about experimenting and having fun—so don’t hesitate to make this recipe your own!
Now that you know how to make cloud dough, I can’t wait to hear about your creative adventures! Don’t forget to share your thoughts and variations in the comments below. Happy crafting!