How to Make DIY Clay Diffuser Stones: A Comprehensive Guide from My Crafting Journey
Welcome, fellow crafters! Today, I’m excited to share one of my favorite DIY projects—creating clay diffuser stones. Not only are these delightful little creations aromatic and beautiful, but they also serve as a wonderful way to enhance your space using essential oils. Whether you’re a seasoned DIY enthusiast or just dipping your toes into the world of crafting, I guarantee you’ll find joy in making these stones.
What Are Clay Diffuser Stones?
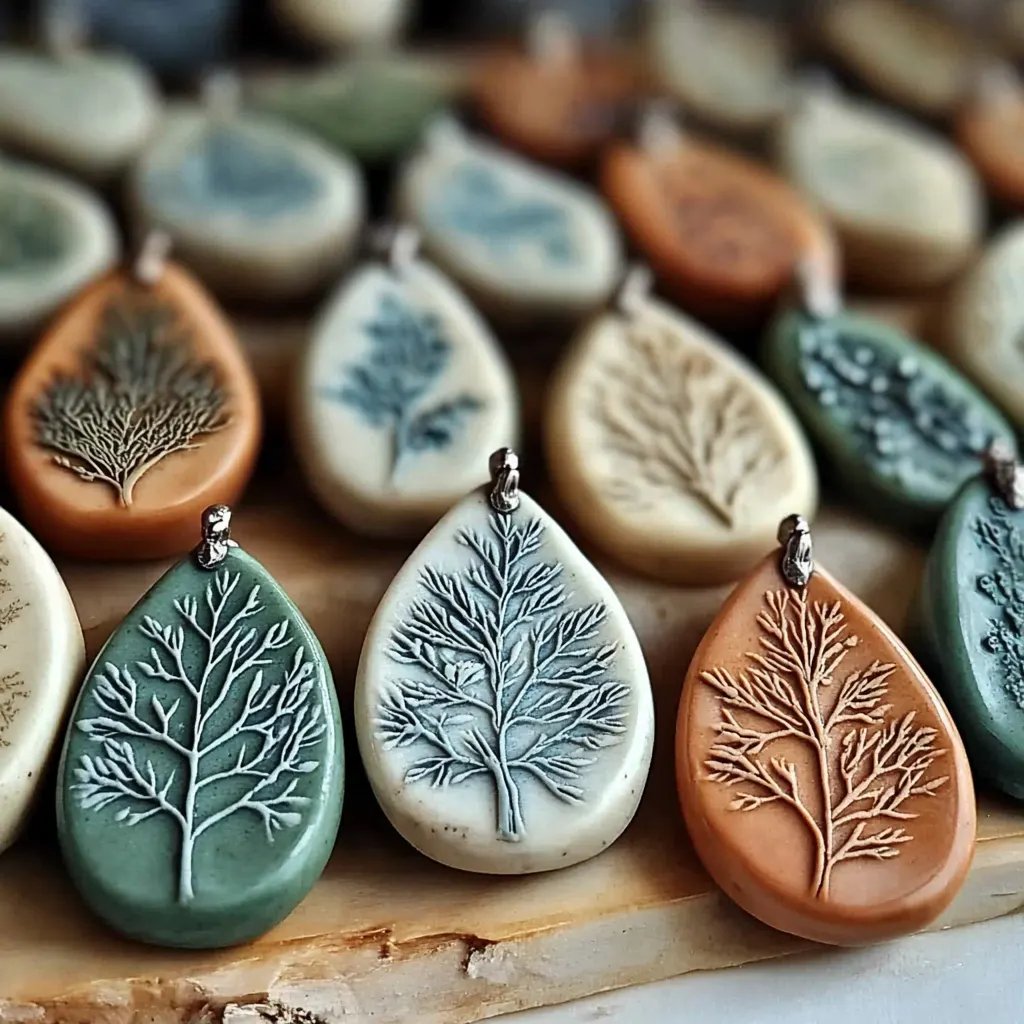
Clay diffuser stones are small, porous ceramic pieces that absorb essential oils and slowly release their fragrance over time. Unlike traditional diffusing methods, which often rely on heat or electricity, clay stones provide an eco-friendly, low-maintenance option. They’re perfect for bedrooms, bathrooms, offices, or as delightful gifts for friends.
The rise in popularity of clay diffuser stones can be attributed to our growing appreciation for aromatherapy and natural home fragrances. Essential oils have incredible benefits—think stress relief, mood enhancement, and the creation of a calming atmosphere. Plus, crafting these stones lets you infuse your personal style into your space.
When and How to Use Them?
You can use your clay diffuser stones whenever you desire a comforting scent in your environment. Place them on your nightstand for a peaceful sleep, on your desk to promote focus while working, or in a bathroom to create an inviting ambiance. Simply add a few drops of your favorite essential oil directly onto the stone, and let it do its magic.
Why This Craft Matters
Making clay diffuser stones is not just about creating an aromatic accessory; it's about engaging the senses, connecting with the environment, and exercising creativity. This project teaches us about patience and craftsmanship, as the shaping and drying processes require attention and care.
Materials You'll Need
Here’s what you’ll need to start this delightful project:
- Air-dry clay or polymer clay: Either works well, but air-dry clay can be more beginner-friendly.
- Essential oils: Choose scents that resonate with you. Lavender, eucalyptus, and lemon are popular picks.
- Baking sheet (if using polymer clay)
- Cutting tools: A craft knife or cookie cutters for shaping.
- Rolling pin: To flatten out your clay.
- Sponge or damp cloth: For smoothing edges.
- Toothpick or skewer: For creating holes and designs.
Step-by-Step Tutorial
Step 1: Prepare Your Workspace
I always recommend starting with a clean, clutter-free workspace. Cover your table with parchment paper or a silicone mat; clay can be messy, and you’ll appreciate the ease of clean-up later.
Step 2: Choose Your Clay
If you're using air-dry clay, simply knead the clay until it's soft and pliable. If you opt for polymer clay, make sure to condition it well by softening it in your hands until it feels smooth.
Tip: Air-dry clay is generally more forgiving for beginners, while polymer clay offers a more durable final product.
Step 3: Roll and Shape Your Clay
Roll your clay into a flat disk, around ¼ inch thick, using your rolling pin. Once you have a flat disc, you can either cut out shapes using cookie cutters or shape them by hand. I love making simple circles, but you can also get creative and form hearts or other shapes that resonate with you.
Problem-solving tip: If your clay is cracking, it might be too dry. Mist it lightly with water and knead it again until it’s pliable.
Step 4: Add Holes or Designs
Using a toothpick or skewer, poke a small hole in the center or off to the side of each piece—this will be essential for allowing the oil to penetrate the stone evenly. You can also create designs or patterns if you like.
The placement of the holes allows for versatility when hanging or using a base.
Step 5: Drying Process
If you're using air-dry clay, let your pieces dry for 24-48 hours. Ensure they're in a well-ventilated area. If you're working with polymer clay, place the pieces on a baking sheet and follow the package instructions—usually baking at 275°F for 15-30 minutes.
Warning: Always monitor the baking process closely to prevent overheating, as burned clay produces an unpleasant odor and can affect the final product.
Step 6: Finishing Touches
Once your stones are completely dry or baked, you can lightly sand the edges with fine sandpaper for a smoother finish (especially if you've created any rough edges). You can leave them plain or paint them with non-toxic acrylic paint or sealants if desired.
Step 7: Scenting Your Stones
Now comes the fun part! Take your chosen essential oils, and add 3-5 drops directly onto your dried stones. Allow them to absorb for a few minutes before placing them in your desired location.
Tips and Alternatives
- Safety Note: Ensure that anyone using essential oils—especially children and pets—are not sensitive to them. Always research oil safety if you are unsure.
- Storage: If you're making several stones, store them in a dry, cool place and allow them to air out before applying oils.
- Creative Variations: For a touch of whimsy, consider embedding small stones, beads, or shells into your clay before drying. The possibilities are endless!
- Gifting Idea: Create a set of diffuser stones bundled with a small essential oil bottle for a thoughtful, handcrafted gift.
Conclusion: Embrace the Craft
Crafting DIY clay diffuser stones is not only a rewarding experience but also a lovely way to personalize your environment. You can experiment with shapes, colors, and scents, letting your creativity flourish. Should you encounter any hiccups along the way, don't be discouraged—each misstep is an opportunity for learning.
I hope this guide inspires you to embark on your aromatic crafting journey. Remember, crafting is not about perfection; it’s about the joy of creating and the delight it brings. Happy crafting!