How to Make DIY CD Suncatchers: A Step-by-Step Guide to Beautiful, Reflective Art
Greetings, fellow crafters! Today, I’m excited to share one of my favorite DIY projects: making beautiful CD suncatchers. Not only do these colorful pieces of art enhance your living space, but they also provide a unique way to repurpose old CDs that might otherwise end up in the trash. In this detailed guide, I’ll walk you through the entire process, sharing tips, tricks, and my personal anecdotes to help you create stunning suncatchers that dance with light.
What is a CD Suncatcher?
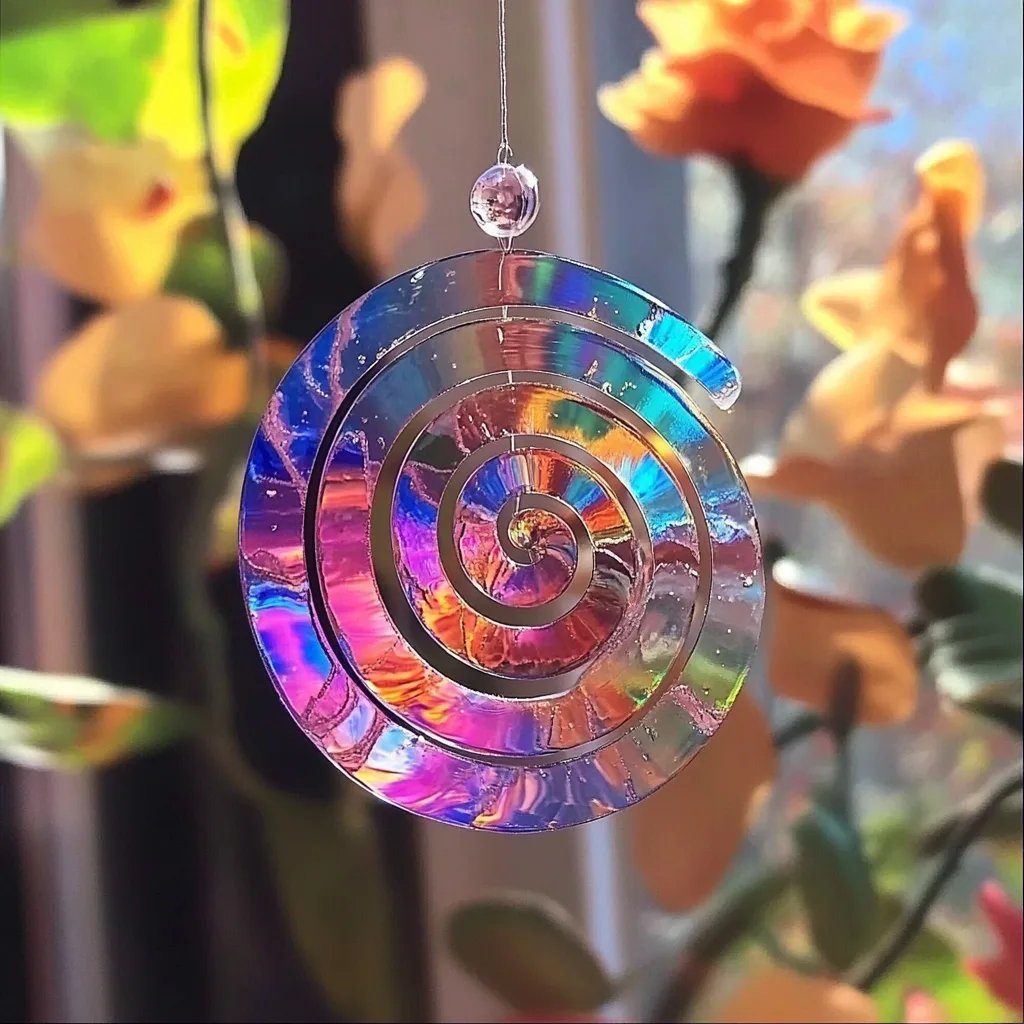
A CD suncatcher is a delightful piece of art created from old compact discs (CDs) that catch sunlight and create colorful reflections. With their shiny, iridescent surfaces, these suncatchers are capable of transforming sunlight into a dazzling display of colors that can brighten up any room or outdoor space. They’re perfect for hanging in windows, gardens, or porches, where they can shimmer with the changing light throughout the day.
Why are CD Suncatchers Popular?
The popularity of CD suncatchers stems from several factors:
- Eco-Friendly Crafting: They provide a creative way to reuse materials that would otherwise go to waste.
- Creative Expression: With endless design possibilities, they allow crafters of any age to express their creativity.
- Accessibility: Most of the materials needed are easily found at home or in craft stores, making this an affordable project.
- Whimsical Decoration: They add a touch of whimsy and color to any decor, perfect for both kids’ rooms and adult spaces.
When and How Can You Use CD Suncatchers?
I love to hang my CD suncatchers in the kitchen and living room windows, but they can also be great for outdoor spaces during the spring and summer months. Additionally, they make fantastic gifts for friends and family, particularly for those who appreciate handmade items. Now, let’s dive into the project itself!
Materials Needed
Before we get started, let’s gather our supplies:
- Old CDs
- Acrylic paints or Sharpie markers
- Paintbrushes (optional, depending on the painting method)
- Fishing line or clear thread
- Scissors
- Hot glue gun and glue sticks (be cautious, the glue gun gets very hot!)
- Clear coat spray or Mod Podge (for sealing, optional)
Step-by-Step Guide to Making CD Suncatchers
Step 1: Prepare Your Workspace
Finding a well-lit, clutter-free area to work is the first step. This not only helps you with visibility but also keeps your creative space organized. Lay down some newspapers or a vinyl mat to protect your surface from paint spills.
Common Pitfall: Messy Workspaces
I once took on a project without preparing my workspace properly and ended up with paint splatters on my dining room table. Always be cautious about cleaning supplies around your projects—trust me!
Step 2: Clean the CDs
Make sure to clean your old CDs to remove any dust or smudges. A gentle wash with soap and water, followed by thorough drying, works best.
Tip: Adhesive Residue
If your CDs have sticker residue on them, a little rubbing alcohol on a cotton ball can be a lifesaver in removing it.
Step 3: Plan Your Design
Decide on the design you’d like to create. This could be a geometric pattern, flowers, abstract art, or anything else that inspires you. Sketch your design on paper before you start painting. Trust me; this will save you frustrations later!
Step 4: Paint Your CDs
Now comes the fun part! Using acrylic paints or Sharpie markers, start applying your color to the CDs. You can either cover the entire surface or simply create abstract patterns.
- Acrylic Paint: Offers vibrant colors and can easily be blended.
- Sharpie Markers: Great for precise detail work.
Try to avoid applying paint too thickly, as this can lead to peeling or cracking as it dries. Thin layers work best for even coverage.
Common Pitfall: Uneven Paint
I remember my first attempt involved slapping paint on thickly, resulting in a bumpy texture. Thin layers allow the colors to show through, creating that beautiful iridescence we adore.
Step 5: Add Embellishments (Optional)
To personalize your suncatcher, consider adding embellishments, such as beads, sequins, or even small rhinestones. Hot glue is perfect for securing these extras, but ensure it dries completely before moving on.
Tip: Personal Touch
Feeling whimsical? Try incorporating a line of beads along the edge of the CD for added sparkle!
Step 6: Seal the Design
Don’t skip this step unless you want the paint to chip! Once your design is dry, apply a clear coat spray or Mod Podge to protect your artwork. This step is not only for durability; it also enhances the shine and deepens the colors.
Step 7: Cut the Fishing Line
Once everything is sealed and completely dry (let it rest for a few hours), cut a length of fishing line or clear thread that you will use to hang the suncatcher. I recommend cutting it about 12-15 inches long.
Step 8: Attach the Line
Using a hot glue gun, attach one end of the fishing line to the back of the CD. Ensure it's secure so your suncatcher won’t fall when hung.
Safety Warning: Hot Glue Gun
Be mindful when using a hot glue gun, as burns can occur! Always work with caution.
Step 9: Hang Your Suncatcher
Now onto the best part! Find a bright window or a sunny outdoor spot to hang your newly created masterpiece. Watch as the sunlight dances through your suncatcher, illuminating the room with colorful patterns.
Troubleshooting Common Problems
- Paint Chipped or Peeling: If you experience this, try applying thinner coats of paint and ensuring you seal your project properly.
- Doesn’t Catch Light: If your suncatcher isn't reflecting light well, consider adding more glitter or shiny embellishments to boost its reflective qualities.
- Glitter Fallout: To avoid this, make sure you use a spray sealant over the glitter after application.
Creative Variations
Once you’ve mastered the basic CD suncatcher, experiment with different themes! Here are a few ideas I’ve enjoyed:
- Seasonal Suncatchers: Create designs based on different seasons—think snowflakes for winter, vibrant flowers for spring, or sunsets for summer.
- Themed Sets: A series of smaller suncatchers that match each other can create a captivating display when hung together.
- Holographic Designs: Use holographic vinyl tape on your CDs to add depth and shine beyond paint.
Final Thoughts
Creating DIY CD suncatchers is both a fun and fulfilling project that allows you to tap into your creativity while giving new life to old materials. Whether you choose to hang them in your home, gift them to friends, or even host a crafting session, you’re sure to find joy in the colorful reflections they bring.
Thank you for joining me on this crafting journey! Remember, the beauty of art is in its imperfections, so embrace your unique touch and have fun creating. Happy crafting!