How to Make DIY Bubble Dough: A Fun, Creative Guide
Hello, crafty friends! Today, I’m excited to share one of my all-time favorite DIY projects—making Bubble Dough! This delightful concoction is a cross between classic slime and modeling dough, offering endless fun and creative possibilities. Kids and adults alike love Bubble Dough for its unique texture and sensory play opportunities. It’s perfect for rainy day activities, birthday parties, or simple family fun. So, let’s dive into this bubbly adventure and create your very own batch of Bubble Dough!
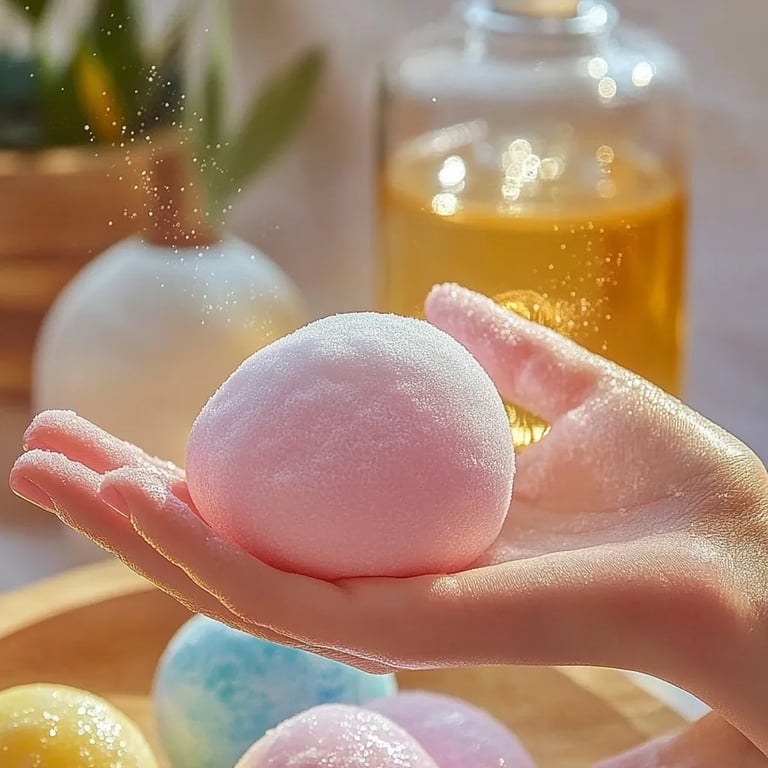
What is Bubble Dough?
Bubble Dough is a squishy, stretchy material that can be shaped and played with, similar to traditional playdough. However, the magical twist is that it incorporates a bubbling element, which adds an exciting sensory experience. Imagine the satisfaction of watching your dough stretch and then return to its original shape while creating soft, satisfying bubbles in the process. This captivating fusion of textures is what makes Bubble Dough a hit among kids and crafters!
Although it’s gaining popularity in DIY circles, you can easily whip up this craft at home with minimal supplies. So whether you’re planning a fun playdate or looking for a creative outlet on a cozy afternoon, Bubble Dough is your answer!
Getting Started: Gather Your Materials
Before we jump into the how-to, let's gather all the materials you’ll need. Here’s a comprehensive list:
Essential Ingredients:
- 1 cup all-purpose flour: The foundation of our dough.
- 1/2 cup water: For mixing and binding.
- 1/2 cup liquid dish soap: This will create that bubbly texture.
- 1 tablespoon vegetable oil: Helps keep the dough smooth and workable.
- 1/2 cup baking soda: Provides initial lift and creates awesome bubbles when mixed with vinegar.
- Food coloring (optional): For adding a splash of color to your dough.
Mixing Bowls and Utensils:
- 2 mixing bowls: One for wet ingredients and one for dry.
- Measuring cups and spoons: Precision is key!
- Stirring spoon or spatula: For mixing.
- A baking sheet or parchment paper: For kneading and storing.
Safety Reminder:
Bubble Dough is generally safe to play with, but as with any craft involving small ingredients, always supervise younger kids. Avoid ingesting, and ensure hands are washed before and after play to prevent allergic reactions.
Step-by-Step Tutorial for Bubble Dough
Step 1: Create the Base Mixture
First, let’s combine our dry ingredients. In a mixing bowl, add 1 cup of all-purpose flour, 1/2 cup of baking soda, and mix them thoroughly. This combination is crucial as it provides structure to our dough while the baking soda introduces the bubbly effect later on.
Tip: If you notice lumps in the flour, sift it before measuring. A smooth, lump-free base makes for a better final product!
Step 2: Combine Wet Ingredients
In another bowl, mix together 1/2 cup of liquid dish soap, 1/2 cup of water, and 1 tablespoon of vegetable oil. If you want colorful Dough, add a few drops of food coloring now. The more you add, the richer the color, but start with just a little and mix to gauge the shade.
Personal Anecdote: I remember the first time I tried this recipe, I went a little wild with the food coloring, and ended up with a rainbow! While it was beautiful, it was somewhat impractical. So, I encourage you to enjoy the vibrant colors, but remember, less is often more!
Step 3: Combine Wet and Dry
Pour the wet mixture into the dry mixture gradually. I recommend doing this slowly to avoid a mess—trust me, it can get a little wild if you're not careful! Stir until everything is well incorporated. You’re aiming for a thick, doughy consistency.
What Could Go Wrong: If the mixture seems too dry, add a tiny bit more water (one tablespoon at a time). Conversely, if it’s too wet, sprinkle in a little more flour.
Step 4: Knead the Dough
After mixing, it’s time to use our hands! Dust a clean surface (like a baking sheet or parchment paper) with a bit of flour and turn out your dough. Knead it gently for a few minutes, until it’s smooth.
This part is crucial as it develops the gluten and improves the dough's elasticity. You want it to be stretchy but not sticky!
Step 5: Bubble Magic!
Now, this is where the magic happens. Create small amounts of the dough and press it into a flat shape, then take a straw (a wide one works best) and gently blow into the dough to make bubbles. This is where the baking soda comes into play as it reacts with the soap!
Alternative Method: For those without straws, try pinching small pieces and rolling them into balls to watch them pop when squeezed.
Step 6: Store Your Dough
After playing, store the remaining Bubble Dough in an airtight container. It can last up to a week, depending on humidity; keep it in a cool, dry place. If it starts to dry out, a few drops of water and a quick knead should rejuvenate it.
Creative Variations
Now that you’ve mastered basic Bubble Dough, think about all the fun variations you could try! Here are a couple of ideas:
- Scented Bubble Dough: Add a few drops of essential oils or play-scented oils during the wet mixture stage. Lavender, lemon, or peppermint can elevate the sensory experience.
- Textured Dough: Incorporate glitter or biodegradable confetti for extra flair. Not only will it look fabulous, but it will also create fascinating tactile experiences!
- Seasonal Themes: Use thematic colors for holidays—think red and green for Christmas or pastels for Easter! You can even make mini sculptures based on seasonal motifs.
Conclusion
And there you have it! Making DIY Bubble Dough is not just a fun craft—it’s also an opportunity for creativity, experimentation, and quality time with loved ones. I relish the joy that accompanies each squishy bubble and colorful creation! It can be messy, but that’s all part of the fun.
As you embark on your Bubble Dough journey, remember to be patient with yourself and enjoy the craft. It may take a couple of tries to perfect it, but that’s the beauty of DIY! Let's share the joy and creativity with those around us. Don’t forget to share your adventures in Bubble Dough making—tag me or leave a comment. Happy crafting, my friends!