How to Make DIY Borax Crystals: A Step-by-Step Guide
Hey there, fellow crafters! If you’re looking for an engaging and straightforward project that will leave you with stunning results, then you’re in the right place. Today, I’m thrilled to share how to create beautiful Borax crystals. Not only are these crystals visually striking, but they also make for fantastic home décor, gifts, or even educational projects for kids!
What Are Borax Crystals?
Borax crystals are formed from a naturally occurring mineral called boron. When dissolved in water and allowed to crystallize, the result is beautiful, elongated crystal formations. Borax has gained popularity in various DIY projects, from cleaning solutions to soil treatments. But today, we’ll focus on the crystal aspect, which not only captivates the eye but also provides a wonderful opportunity for budding scientists and crafters alike.
Why Make Borax Crystals?
The appeal of making Borax crystals lies in the simple chemistry behind it and the immediate gratification of seeing your handiwork turn into lovely formations. It’s a fantastic project for all ages, aiding in STEM education while also offering a tactile crafting experience. Plus, they can be used for holiday decorations, unique centerpieces, or even as charming party favors!
Now that you're as excited as I am, let's delve into the process. Here’s how to make your very own Borax crystals!
Materials Needed
Before we start crafting, gather the following materials:
- 1 cup of Borax (a household cleaning product available in the laundry aisle)
- 3 cups of boiling water
- A heat-safe container (a glass jar works beautifully)
- A piece of string or pipe cleaner (to shape your crystal)
- A pencil or stick to suspend your string
- Food coloring (optional, for added flair)
- A stirring utensil
- Safety goggles and gloves (for safety)
Step 1: Prepare Your Solution
First, we need to create a saturated Borax solution. Start by boiling 3 cups of water in a pot. Be sure to handle the boiling water with care—safety goggles and gloves can help prevent accidents.
Once the water is boiling, turn off the heat and carefully pour the water into your heat-safe container.
Why This Matters: The hotter the water, the more Borax it can hold. We want to create a supersaturated solution that'll allow the crystals to form effectively.
Step 2: Add the Borax
Now, slowly add 1 cup of Borax to your hot water while stirring continuously. This step is crucial; the more you stir, the better the Borax dissolves.
Tip: If you find that it doesn't dissolve completely, reheat the mixture slightly while stirring gently.
Common Pitfall:
If your solution remains cloudy and you see undissolved Borax at the bottom, don’t worry! Just heat it again and stir until all of the Borax crystals are dissolved.
Step 3: Prepare Your Crystal Form
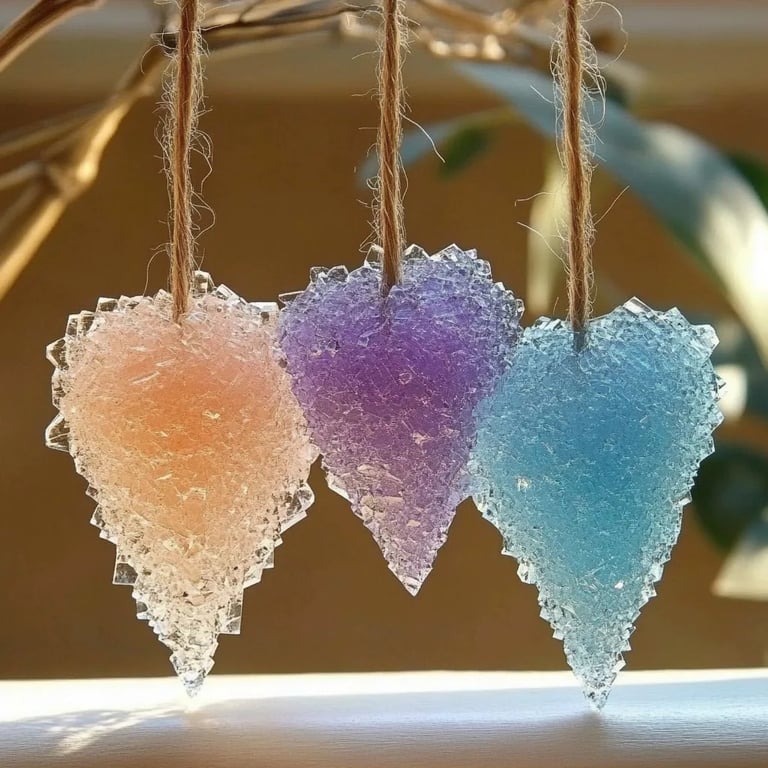
While your solution cools down a bit, it’s time to prepare the string or pipe cleaner. If you choose a pipe cleaner, you can shape it into a fun design—like a star or heart. This step allows the crystals to have a base to grow upon.
Once formed, hang your string or shaped pipe cleaner from a pencil or stick so that it’s suspended in the liquid without touching the bottom.
Why It Matters: The string or pipe cleaner provides a surface area for the crystals to adhere to while they grow. This is an essential step—without it, your crystals will have nowhere to form.
Step 4: Let the Crystals Grow
Now comes the waiting game. Place your container somewhere safe and undisturbed. The longer you leave the solution, the larger your crystals will grow. I recommend leaving them for at least 24 hours; however, you can be patient for up to a week for an impressive crystal growth.
Anecdote: I once left a batch bubbling away for a full week, and when I finally pulled it out, I was greeted by giant, sparkling formations that looked like they came straight out of a fairy tale.
Tip:
If you're adding food coloring, it’s best to do this while stirring in the Borax. A drop or two will give your crystals a lovely hue.
Step 5: Remove and Rinse Your Crystals
Once you’re satisfied with your crystals' growth, it’s time to retrieve them. Gently pull out your string or pipe cleaner, and let any excess solution drip back into the container. Rinse the crystals with cold water to remove any residual Borax—they’ll look cleaner and brighter afterward!
Caution: Handle your crystals gently; they can be fragile and may break easily if forced.
Step 6: Dry and Display
After rinsing, lay your crystals out on a paper towel and allow them to dry completely. Once dry, they can be displayed proudly in your home or gifted to friends and family.
Creative Variations: Consider using colored string or pipe cleaners for even more unique designs. You can also suspend several small strings in one jar to create a whole crystal garden!
Safety Warnings
While Borax is generally safe to handle, it’s essential to always wear gloves and goggles, particularly if you’re working with young children. Avoid ingestion and keep Borax away from pets. Though it’s a fun project, it’s always best to prioritize safety!
Conclusion
Making Borax crystals is a beautiful way to blend science with art, fostering creativity and learning in one swoop. I hope my detailed guide inspires you to roll up your sleeves and embark on this charming project! Don’t be deterred by the waiting time; the reward of stunning crystals is well worth it.
Remember, crafting is all about experimentation! Feel free to tweak the recipe or try different shapes and colors to make it your own. I can’t wait to see what beautiful creations you come up with. Happy crystal-making!