How to Make DIY Blue Suncatchers: A Comprehensive Guide for Craft Enthusiasts
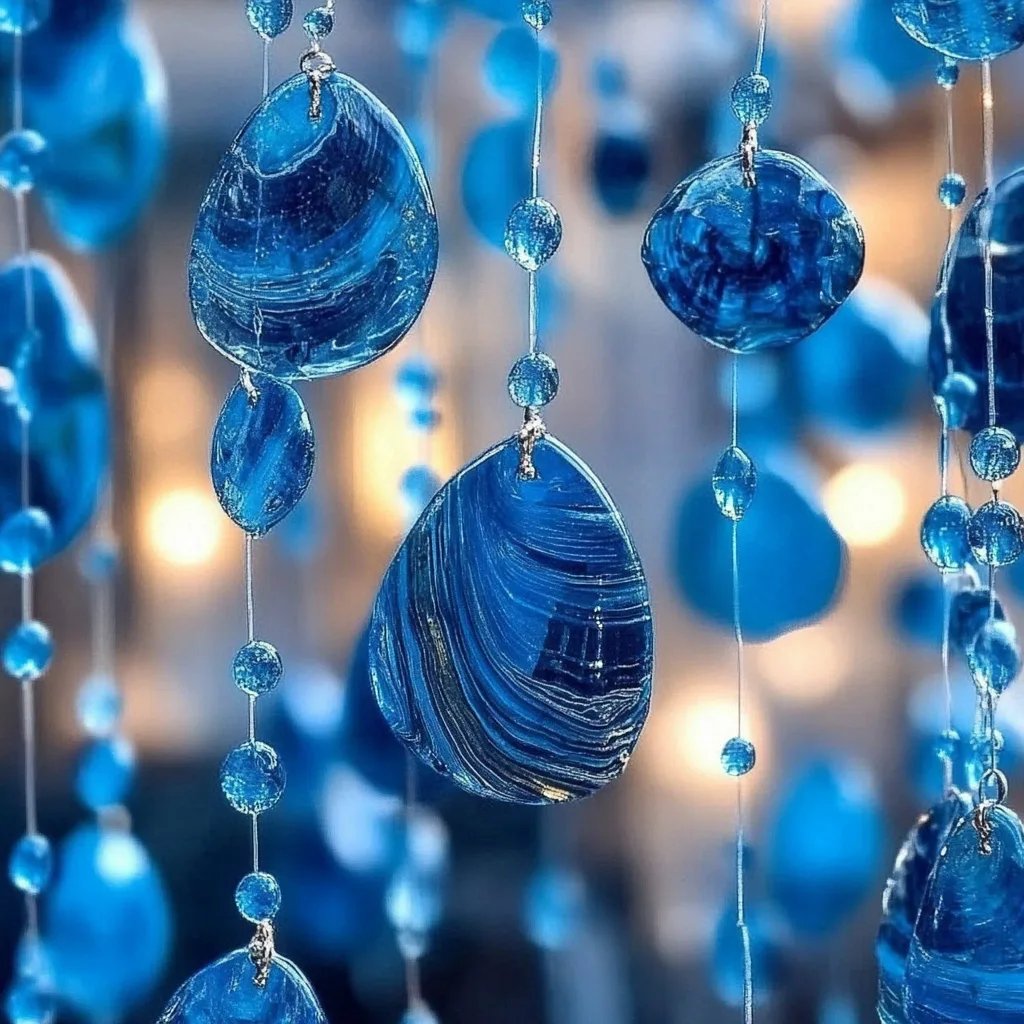
As an avid crafter, I’ve always been drawn to projects that brighten my space and spark joy. One of my absolute favorite creations is DIY blue suncatchers—beautiful, translucent ornaments that dance with light and color when hung in a window. Whether it's the soft glow of midday sunlight or the warm hues of dusk, these suncatchers bring an ethereal charm to any room, making them immensely popular for both decorators and children alike. They’re perfect for brightening up a dreary corner, adding whimsy to a child’s room, or even serving as a unique gift.
This article will guide you through the entire process of crafting your own blue suncatchers, illustrating each phase with care and ensuring that you feel supported throughout. Let’s dive into this delightful craft, which not only cultivates creativity but also adds a bit of magic to your everyday world!
Why DIY Blue Suncatchers Are So Special
There’s something irresistibly enchanting about watching light filter through a colorful suncatcher. They serve as perfect decorative accents for your home and offer an opportunity to express creativity. I also find that making crafts like this is therapeutic—it’s a time to unwind, focus on something creative, and produce a piece that reflects my personality.
Suncatchers can be hung in windows, used as decoration during celebrations, or gifted to friends and family. Plus, they’re an excellent project for kids, introducing them to the world of crafting. I remember making my first suncatchers with friends during a summer camp, and they still spark memories of laughter and creativity.
Materials You’ll Need
To create your own stunning blue suncatchers, gather the following materials:
- Clear plastic lids (from yogurt containers or other recyclable clear containers)
- Blue tissue paper (or other blue materials like cellophane, buttons, or even glass beads)
- Clear glue (like Mod Podge or school glue)
- Scissors
- Paintbrush (for applying glue)
- Black permanent marker (optional, for outlining)
- Fishing line or thin wire (for hanging)
- Hole puncher (if you’re using wire or fishing line)
- Variations: You can also add glitter or sequins for extra sparkle!
Step-by-Step Tutorial: Creating Your Blue Suncatchers
Step 1: Preparing Your Base
Start by cleaning the clear plastic lids. They should be free from any sticky residue or dust. This helps ensure that the glue adheres well and doesn’t create unwanted bubbles later.
Tip: I sometimes give my lids a quick rinse and dry them thoroughly to ensure a pristine surface for the project.
Step 2: Cutting the Tissue Paper
Next, cut your blue tissue paper into various shapes and sizes. You can use geometric patterns, circles, or freeform cuts, depending on the look you want.
Why This Matters: The varied shapes create depth and interest, making your suncatcher visually appealing. If you prefer uniformity, that’s totally fine, too!
Common Mistakes: Be careful not to cut too small. Very tiny pieces can become easily lost or may not stick smoothly. Larger shapes allow for a better design.
Step 3: Gluing the Tissue Paper
Now it’s time to apply glue to your plastic lid. Using your paintbrush, spread a thin layer of glue over the area where you want to place your tissue paper.
Tip: Don’t overdo it! A little goes a long way. If the glue is too thick, it can cause the tissue to warp or tear when applying.
Begin placing your blue tissue paper pieces onto the glued area, overlapping them to create a stained-glass effect.
What Could Go Wrong: If your paper wrinkles, gently lift it and reposition it. Use the brush to smooth it down gently.
Step 4: Sealing & Drying
Apply a second coat of glue over the entire surface of the tissue paper to seal it. This reduces the risk of damage when handling your suncatcher and ensures that colors remain vibrant in the sunlight.
Tip: Smooth out any bubbles with your brush to ensure an even seal.
Let your suncatcher dry completely—this might take a few hours, depending on the type of glue you used. I usually leave mine overnight just to be sure.
Step 5: Trimming the Edges
Once the glue has dried, carefully trim any excess tissue paper around the edges of your suncatcher. This gives it a clean, professional look.
Alternative Method: If you’d like more defined edges, you can use a black permanent marker to trace around the rim of the suncatcher for a pop of contrast.
Step 6: Adding the Hanger
Using a hole puncher, create a hole at the top of the suncatcher. This is where you'll insert your fishing line or wire to hang it.
Tip: If you don’t have a hole punch, you can use a sharp tool carefully to create an opening. Just be cautious not to crack the plastic!
Cut a length of fishing line (about 10 inches) for easy hanging, then tie a knot and attach it to your window or wherever you wish!
Creative Variations and Personal Touches
Once you have the hang of it, why not experiment? I’ve found that combining different shades of blue, or adding a hint of sparkle with glitter, makes for a stunning look. You can even create themed suncatchers for holidays or special occasions.
Anecdote: One year, I made a series of suncatchers for a friend’s baby shower, using light blue and white hues. They were such a hit! Not only did they serve as beautiful decor, but they also turned into cherished gifts for the guests.
Safety Warnings
- Sharp Tools: When cutting or using tools, always be careful and work in a space where you can focus. Keep materials out of reach from young children to avoid accidents.
- Glue Fumes: Ensure you’re working in a well-ventilated area if you’re using strong glue like Mod Podge—this helps avoid any discomfort from fumes.
Conclusion
I hope you feel inspired to make your own DIY blue suncatchers! This simple yet effective project can brighten your day and your space. Whether you’re a veteran crafter or trying out a new hobby, personalizing a suncatcher is a fantastic way to express your creativity. Don’t hesitate to experiment with designs, colors, and materials—trust your instincts and let your imagination run wild!
If you try your hand at making these suncatchers, I would love to hear about your experience! Feel free to share your thoughts and creations, or ask any questions in the comments below. Happy crafting!