How to Make DIY Bioplastic Suncatchers: A Sustainable Crafting Adventure
As a passionate crafter and environmental enthusiast, I’m excited to share with you one of my favorite DIY projects that combines creativity with sustainability—making DIY bioplastic suncatchers! These colorful creations are not only visually stunning when hung in your window, they also add a unique, eco-friendly touch to your home décor. Plus, they’re an excellent craft project for kids and adults alike, making them suitable for rainy days or bright, sunny afternoons. So grab your materials and let’s get started!
What Are Bioplastic Suncatchers?
Bioplastic suncatchers are colorful, translucent decorations made from plant-based materials that mimic the properties of traditional plastic but are more environmentally friendly. As we work to reduce our environmental footprint, bioplastic projects are gaining popularity because they are biodegradable, reducing the impact on our planet. You can hang these suncatchers in your window, use them as garden decor, or even gift them to friends and family!
Why Make Bioplastic Suncatchers?
- Environmental Benefits: By using bioplastic, you’re reducing reliance on petrochemical plastics and minimizing waste.
- Creativity and Customization: Each suncatcher can be uniquely crafted to reflect your personality or seasonal themes.
- Family Bonding: This project is a wonderful opportunity for family bonding and can be a fun educational experience for children.
Materials You’ll Need
Before we dive into the process, let’s gather the materials. Don’t worry if you can’t find something on this list; I’ll suggest some alternatives throughout the tutorial!
Basic Materials
- 1 cup of cornstarch (this is our main ingredient, giving structure to our bioplastic)
- 1 cup of water (to dissolve the cornstarch)
- 1 tablespoon of white vinegar (acts as a preservative)
- 1 teaspoon of glycerin (helps to keep the suncatcher flexible)
- Food coloring or natural dyes (for adding beautiful hues)
- A heat-resistant silicone mat or parchment paper (for drying)
- Cookie cutters or molds (for shaping)
Optional Materials
- Glitter (for additional sparkle)
- Herbs or flower petals (for added texture)
- String or twine (for hanging)
Step-by-Step Tutorial
Step 1: Prepare Your Workspace
Finding a comfortable and clean workspace is crucial. I always clear my table and lay down a protective covering. This is the perfect time to get the kids excited about crafting—encourage them to clear and prepare their own little crafting stations!
Step 2: Mix the Ingredients
In a medium saucepan, combine the cornstarch, water, glycerin, and white vinegar. Stir until the mixture is smooth and free of lumps; this is essential because lumps could lead to uneven suncatcher textures.
Tip:
Use a whisk or a fork to ensure thorough mixing. If it gets too lumpy, I sometimes transfer it to a blender for a few seconds—just make sure to do it gently!
Step 3: Heat the Mixture
Place the saucepan over medium heat, stirring continuously. This step is important because you need to activate the cornstarch, which will cause the mixture to thicken into a gel-like consistency.
Warning:
Be cautious not to let it get too hot. If you notice the mixture starting to bubble (a sign it’s too hot), remove it from the heat immediately; we don’t want it to burn!
Step 4: Add Color
Once your mixture has thickened (this usually takes about 5-7 minutes), remove it from the heat. Divide the mixture into small bowls and add your food coloring or natural dyes. This is where you can really express your creativity!
Personal Anecdote:
My favorite coloring method is to use beet juice for a lovely, natural red hue. I once made a batch with flower petal extracts—such a magical touch!
Step 5: Pour Into Molds
Now, carefully pour your colored mixture into the cookie cutters or molds you’ve prepared on your silicone mat or parchment paper. You can create solid designs or swirl colors by adding different hues in layers. To create fluid designs, I often give the molds a gentle shake to help the colors mingle.
Common Mistake:
If you pour too thickly, it can take much longer to dry. Ensure an even layer of about ¼ inch thick for best results.
Step 6: Let Them Dry
Depending on humidity, the drying process can take anywhere from 24-48 hours. It’s a good idea to place them in a warm, dry area. I usually turn on a fan nearby, which can help speed things up a bit.
Step 7: Remove from Molds
Once they’re completely dry, gently peel them from the molds. You may need to run a knife around the edges if they are sticking. If you notice a slight stickiness, don’t worry; just air-dry for a few more hours.
Step 8: Add String for Hanging
Using a small drill or a sharp object, create a hole at the top of your suncatcher to thread the string or twine. Choose something durable enough to hold them up and strong enough to withstand the elements if you plan to use them outdoors.
Step 9: Hang and Enjoy!
Now comes the best part—hanging your suncatchers! Choose a sunny spot in your home where they can catch the light and dance with colors. Sit back, sip your tea (or have a glass of lemonade), and enjoy your beautiful handiwork.
Creative Variations
- Nature-Inspired Suncatchers: Press small flowers or leaves into the bioplastic before it dries to create stunning botanical prints.
- Layering Colors: Pour a layer of one color, allow it to semi-dry, then add another color on top for an ombre effect.
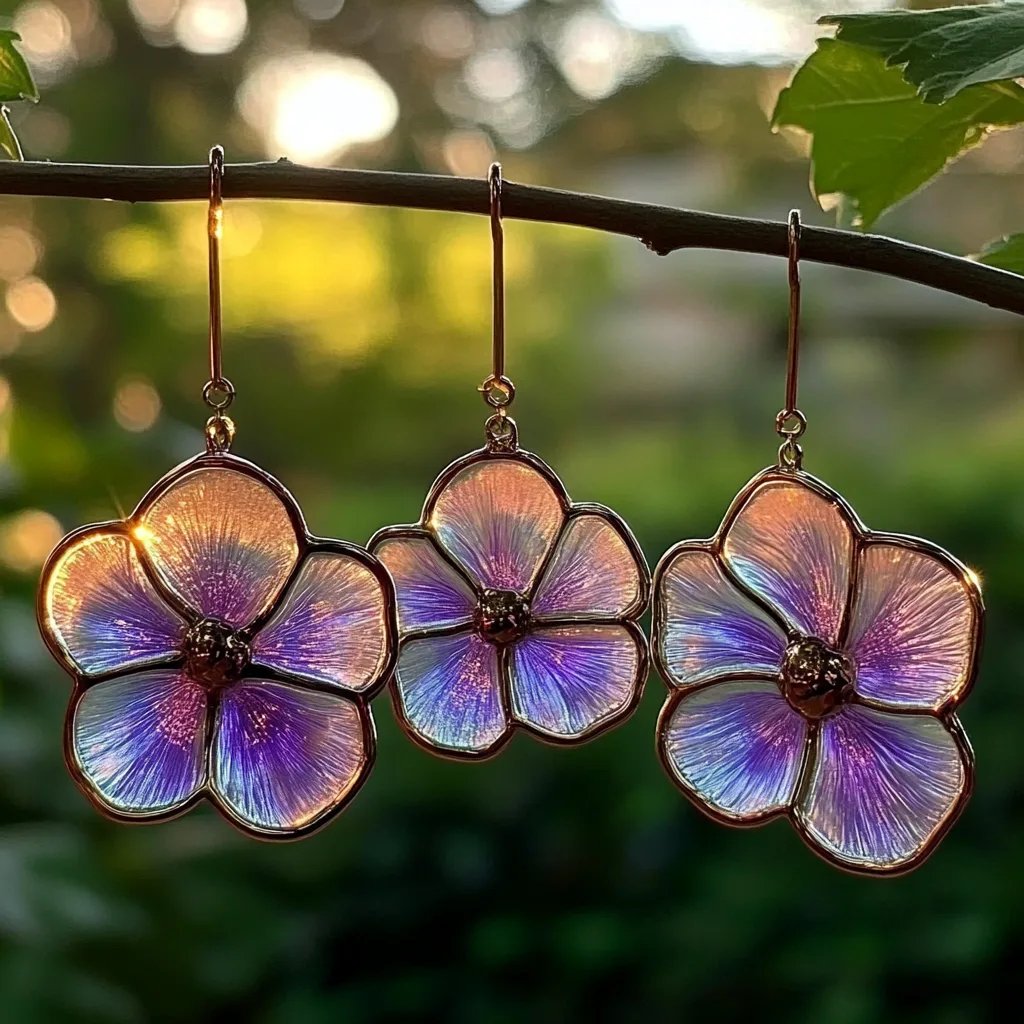
- Twilight Suncatchers: Experiment with darker colors like blues and purples for evening suncatchers that shine beautifully when lit by electric light.
Troubleshooting Tips
- Suncatchers Too Sticky: If you find your suncatchers are too sticky, it may be due to excess glycerin. Next time, reduce the amount or increase the drying time.
- Color Bleeding: If you're using multiple colors and notice they bled into one another, try pouring thinner layers and letting them partially dry before adding the next layer.
Final Thoughts
Embracing sustainability through crafting can be incredibly rewarding, and making bioplastic suncatchers is a delightful way to express your creativity while caring for our planet. Whether you choose to keep them for yourself or share them with loved ones, you’re guaranteed to spark joy and beauty in every rainbow they cast. Enjoy your crafting journey, and remember: the most important ingredient in your DIY projects is love and joy. Happy crafting!