How to Make DIY Bioplastic Suncatchers: A Detailed Guide from My Craft Room to Yours
Hello, fellow crafters! Today, I’m thrilled to share my passion for sustainable crafting with you—specifically, I will show you how to make gorgeous DIY bioplastic suncatchers. These colorful decorations not only brighten up your windows but also contribute to reducing plastic waste—a win-win for our environment! Whether you're looking to jazz up your home or engage your kids in a creative project, bioplastic suncatchers are perfect for any occasion.
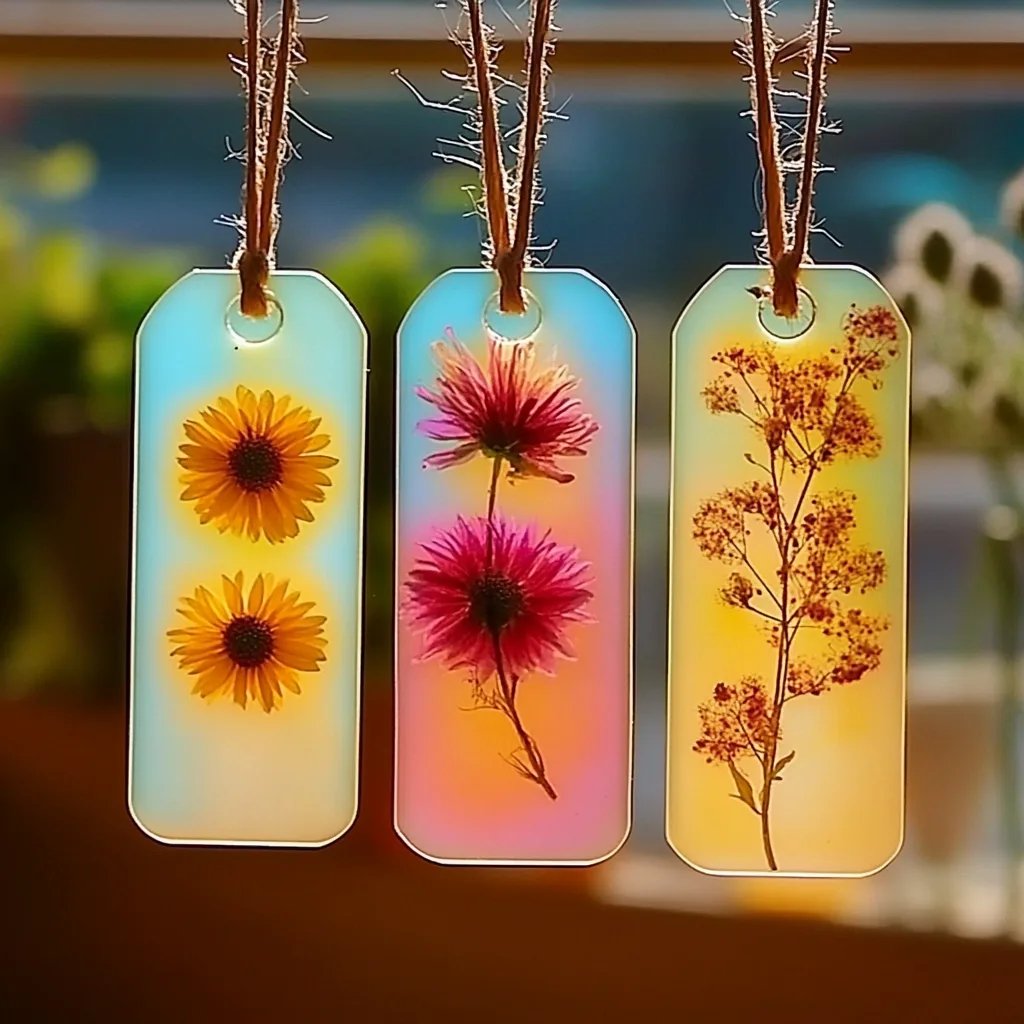
What Are Bioplastic Suncatchers and Why Are They Popular?
Bioplastic suncatchers are beautifully vibrant adornments made from plant-based materials, making them an eco-friendly alternative to traditional plastic. With the growing awareness around environmental issues, these suncatchers have gained popularity as a way to embrace sustainable living while expressing creativity. They catch the sunlight and cast delightful colors around your room, making them perfect for brightening up the gloomy winter days or adding a pop of color in spring and summer.
You can hang them in your windows, use them as gifts, or even create a mobile. The possibilities are endless! Now, let’s dive into the process of making your very own bioplastic suncatchers.
Materials You’ll Need
Before we get started, here’s a detailed list of materials and tools you will need for this project. Don’t worry; these are all easily accessible!
Materials:
- Cornstarch (1 cup): This is our main ingredient that will help form the bioplastic.
- Water (2 cups): To dissolve the cornstarch.
- Glycerin (2 tablespoons): This adds flexibility and durability to the final product.
- Food coloring: Choose any colors you like! You can get creative with mixing.
- Wax paper or silicone baking mats: For laying out your suncatchers.
- Molds or cookie cutters: To shape your suncatchers. Think stars, hearts, or flowers!
Tools:
- Double boiler or microwave-safe bowl: For cooking the bioplastic.
- Spoon or spatula: For mixing.
- Measuring cups and spoons: For precision in your recipes.
- Parchment paper: For drying.
- Scissors: To cut out any additional shapes if needed.
Step-by-Step Tutorial
Step 1: Prepare Your Work Area
Start by laying down your wax paper or silicone baking mats on a flat surface to protect it from spills. This is an inviting workspace where creativity will thrive! Remember, crafting can be messy, so wear an apron or old clothes to keep things tidy.
Step 2: Mix the Ingredients
In a double boiler or microwave-safe bowl, combine the cornstarch and water. Stir it well to create a slurry. This is a crucial step—ensuring the mixture is homogenous will prevent lumps in your bioplastic later.
Tip: If you’re microwaving, heat the mixture in intervals of 30 seconds, stirring between each interval, until it begins to thicken.
Step 3: Add Glycerin and Coloring
Once your mixture is thickened, add the glycerin and your chosen food coloring. This is where the fun begins! Mix thoroughly until you achieve your desired brightness.
What Could Go Wrong: If the color isn’t vibrant enough, it’s easy to add more food coloring at this stage. Just remember, a little goes a long way!
Step 4: Shape the Suncatchers
Pour the mixture onto your prepared surface and spread it evenly with a spatula to about 1/4 inch thickness.
If you’re using molds or cookie cutters, now’s the time to create those fun shapes! You could also use a spoon to create dots or abstract patterns.
Tip: If you're starting with kids, cut the shapes first and let them decide how to color them afterward—controlling the mess is always a win!
Step 5: Let It Dry
Allow your suncatchers to dry overnight. Depending on your humidity levels, they might take longer or shorter to dry completely. You’ll know they’re done when they feel firm and no longer sticky.
What Could Go Wrong: If they remain tacky, they probably need more time. Be patient; nature is doing its work!
Step 6: Trim and Finish
Once dry, gently peel your suncatchers off the wax paper. You can use scissors to trim any edges if necessary.
Creative Variation: Use a hole puncher at the top to add string for easy hanging or create layers by using multiple colors.
Step 7: Display Your Masterpiece
Now comes the joy of hanging your suncatchers in a sunny spot in your home! Use fishing line, twine, or invisible thread to create a delicate showcase that dances in the light.
Final Thoughts and Tips
One of my favorite things about crafting DIY bioplastic suncatchers is the endless opportunities for creativity. Feel free to experiment with different colors and patterns! If you want to experiment with scents, add a drop of essential oil to the mix.
Safety Note: Always ensure you're working in a well-ventilated area, especially when heating the mixture, to avoid inhaling any steam that may arise.
In my experience, these suncatchers also make fantastic gifts! You can personalize them for friends by choosing specific colors that match their home décor or style.
Share your creations with your friends or on social media, and don’t hesitate to inspire others with your artistic adaptations. Remember that the beauty of crafting lies not just in the finished product, but in the joy of the creative process.
Happy crafting! I can’t wait to see the beautiful bioplastic suncatchers you create. Let’s bring color and sustainability into our homes, one suncatcher at a time!