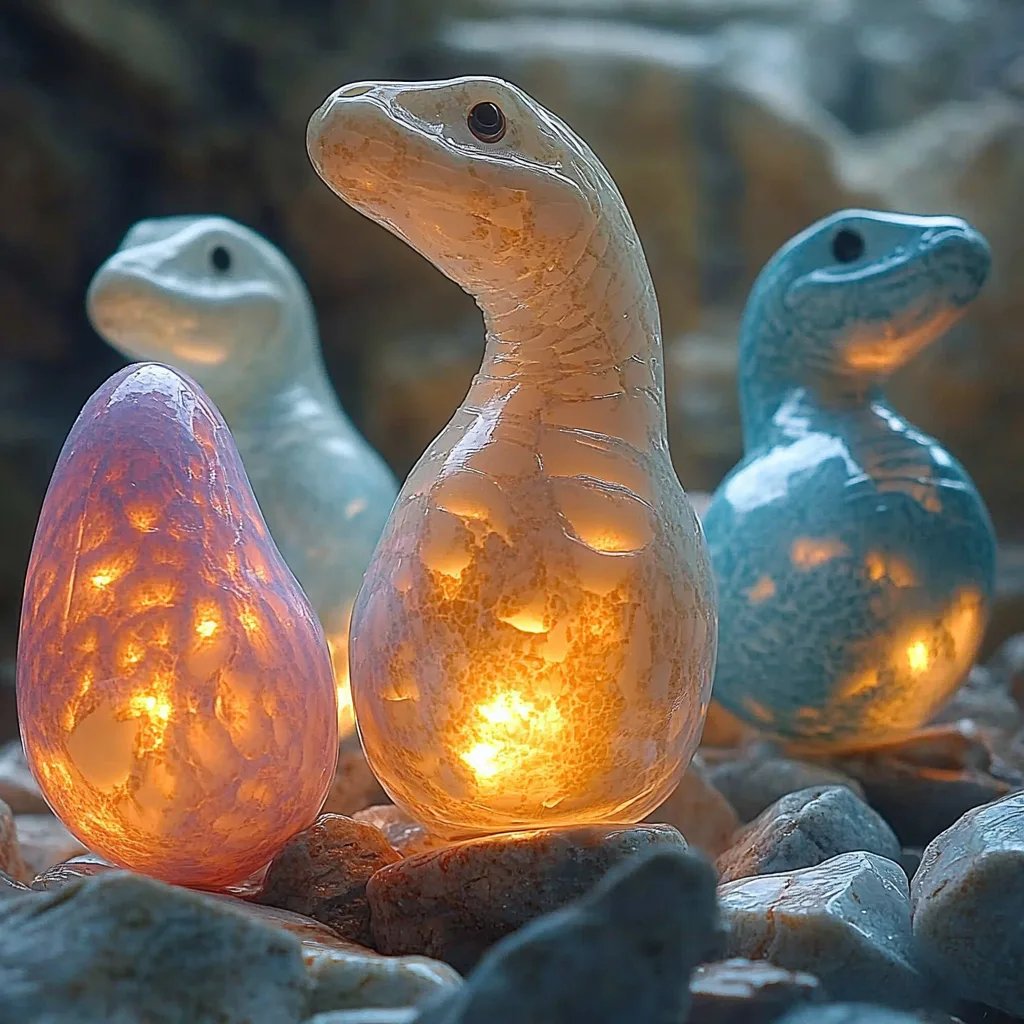
How to Make Dinosaur Eggs: A Step-by-Step Guide for Crafting Enthusiasts
Welcome, fellow crafters! Today, I'm thrilled to share my passion for a delightful and engaging project that not only sparks creativity but also brings a sense of nostalgia to anyone fond of dinosaurs—making dinosaur eggs! This fun, hands-on craft isn’t just a hit with kids; it also captivates adults looking to tap into their inner child. Whether you're planning a themed birthday party, a playful educational activity, or just seeking a creative escape, dinosaur eggs are perfect for any occasion!
Why Dinosaur Eggs?
Dinosaur eggs are popular for various reasons. They offer a unique blend of art, science, and play that ignites curiosity about prehistoric creatures. These eggs can serve as memorable party favors, exciting educational tools, or simply as delightful decorations for your home. Plus, the tactile experience of creating them (and breaking them open to reveal hidden treasures!) is incredibly satisfying.
Getting Started
Before we dive into the crafting process, let's gather our materials. I assure you, all of them are accessible and won't break the bank. Here's what you'll need:
Materials:
- Modeling Clay or Play-Dough (green, brown, or vibrant colors) — 1 pound
- Plastic Dinosaur Toys (tiny ones work best) — 5-10 per egg
- Gel Food Coloring (optional, for more colorful eggs)
- Egg Mold or Balloon (for shaping)
- Flour — 1 cup (if making your own dough)
- Water — 1-2 cups (if making your own dough)
- Salt — ½ cup (if making your own dough)
- Foil or Baking Paper (for curing)
- Paint and Brushes (for decorative final touches)
Step-by-Step Process
Step 1: Crafting the Dough (Optional)
If you wish to make your own dough instead of using store-bought modeling clay, follow this simple recipe. It's an opportunity to customize the texture and color!
- Combine the Ingredients: In a bowl, mix the flour, salt, water, and food coloring (if using). I suggest starting with 1 cup of water and add more if needed. You want the consistency to be moldable but not sticky.
- Knead the Dough: Transfer the mixture to a clean surface and knead until smooth. This step is crucial for achieving the right elasticity.
*Tip*: If the dough is too sticky, dust your surface with a little flour. If it's too dry, add a teaspoon of water until it’s just right.
Step 2: Creating the Egg Shell
- Forming the Egg Shape: Take a handful of your dough (about the size of a small apple) and roll it into an oval shape. This will form the base of your dinosaur egg. Remember, unevenness adds character!
- Incorporating the Dinosaurs: Using your thumb, create a small cavity in the egg shape. Insert a plastic dinosaur toy inside. Don’t worry—this is their home now!
- Sealing the Egg: Once the dinosaur is nestled snugly, cover it with more dough. Make sure to smooth out any seams. This is important to avoid unwanted cracks during drying.
*Caution*: If you use a balloon instead of the egg mold, inflate the balloon to desired size. Coat it with vegetable oil, encase the plastic dinosaur within, then layer with dough similarly. This allows easy removal after drying.
Step 3: Drying the Eggs
- Curing: Place your finished eggs onto a baking sheet lined with foil or baking paper. Allow them to air-dry for 48 hours. If you're in a hurry, you can also bake them at a low temperature (around 200°F or 93°C) for about 30 to 45 minutes. Just keep an eye on them to avoid burning.
*What Could Go Wrong:* If your egg cracks during this phase, worry not! Simply use a bit of extra dough to patch it up.
Step 4: Painting and Decorating
Once your dinosaur eggs are completely dry and hard, it's time for the fun part—painting!
- Choosing Colors: Using your brushes, paint the eggs in whatever colors you desire. Natural earthy tones can mimic actual dinosaur eggs, or you can go wild with bright colors for a fantasy twist!
- Details: Add speckles, scales, or any unique patterns. I’ve found that adding a little shimmer with metallic paint can easily make the eggs pop.
*Tip*: Allow each color to dry before applying the next layer to prevent smudging.
Step 5: The Reveal!
- Breaking the Eggs: Once the paint is completely dry, you’ve got your stunning dinosaur eggs! You can smash them open to surprise kids (or adults!) with the little dinosaur figures inside. This adds an element of excitement to the crafting experience!
*Personal Anecdote*: The first time I made these with my niece, we ended up hosting a mini "Dinosaur Egg Hunt." Watching her eyes light up as she smashed the eggs open was magical!
Creative Variations
- Glow-in-the-Dark Eggs: Mix some glow-in-the-dark powder into your paint to create magical night-time finds.
- Dino-Birds: Instead of dinosaurs, place tiny birds inside for a twist on the concept.
- Theme Parties: Decorate the eggs to represent different dinosaur species!
Final Tips for Success
- Safety Warnings: Ensure that small parts (like the plastic dinosaurs) are suitable for the age of the crafters involved, particularly if there are little ones around.
- Keep It Fun: Don’t stress about perfection—embrace creativity and have fun with the process!
- Storage: Store your finished dinosaur eggs in a cool, dry place to protect them from moisture.
Crafting dinosaur eggs is a fantastic way to blend creativity and education. I hope this guide inspires you to embark on your own dinosaur egg adventure. Feel free to drop a comment about your experience or variations you’ve tried! Happy crafting!