How to Make Crunchy Sticky Fun Balloons: A Step-By-Step Guide
Hello, fellow crafters! Today, I’m thrilled to share my beloved project: Crunchy Sticky Fun Balloons! These delightful creations are not just balloons; they are little masterpieces of fun and sensory play that kids (and adults!) absolutely adore. With their unique texture and playful nature, they are perfect for parties, playdates, or just a rainy afternoon at home.
What Are Crunchy Sticky Fun Balloons?
Crunchy Sticky Fun Balloons are balloon-like creations filled with a gooey, squishy substance that gives a delightful crunch when squeezed. They’re safe, engaging, and can keep children entertained for hours. Whether you want to make them as party favors or simply as a craft to enjoy together, these balloons are a fantastic project that inspire creativity and hands-on learning.
Why Are They So Popular?
The growth in DIY crafting culture has made fun projects like Crunchy Sticky Fun Balloons a hit. They not only serve as toys but also encourage sensory exploration, fine motor skills, and even scientific principles of mixing and binding materials. Plus, every balloon you make is unique, sparking joy through creativity and playfulness.
Let’s dive into how you can create your own Crunchy Sticky Fun Balloons, step-by-step!
Materials You Will Need:
Before we begin, gather these simple and accessible materials:
- Balloons: (12-inch round latex balloons work best)
- Flour: (1 cup for the base)
- Water: (1 cup)
- Salt: (1 tsp for texture)
- Cornstarch: (1/4 cup for added thickness)
- Food coloring or liquid watercolors: (for a pop of color)
- Mixing bowl: (to mix your ingredients)
- Spoon or whisk: (to stir the mixture)
- Funnel: (to help fill the balloons)
- Scissors: (for trimming balloon necks)
- Storage containers: (to keep the balloons when not in use)
- Optional: Glitter, small beads, or foam balls for added fun!
Step-by-Step Tutorial
Step 1: Prepare Your Mixture
In a mixing bowl, combine 1 cup of flour, 1 cup of water, 1 teaspoon of salt, and 1/4 cup of cornstarch. Why these ingredients? The flour and cornstarch create a stretchy and fun texture, while salt helps to prevent the mixture from spoiling.
Common Mistake: If your mixture is too runny, add a little more cornstarch until you achieve a medium-thick consistency. If it's too thick, add a splash of water at a time until it loosens up.
Pro Tip: Mix slowly but thoroughly to avoid lumps; utilizing a whisk can help ensure a nice consistency.
Step 2: Add Color
Once your mixture is smooth, add a few drops of food coloring or liquid watercolors. This is where your creativity shines! Mix until the desired color is achieved, and remember, you can always add more color but can’t take it away, so start light.
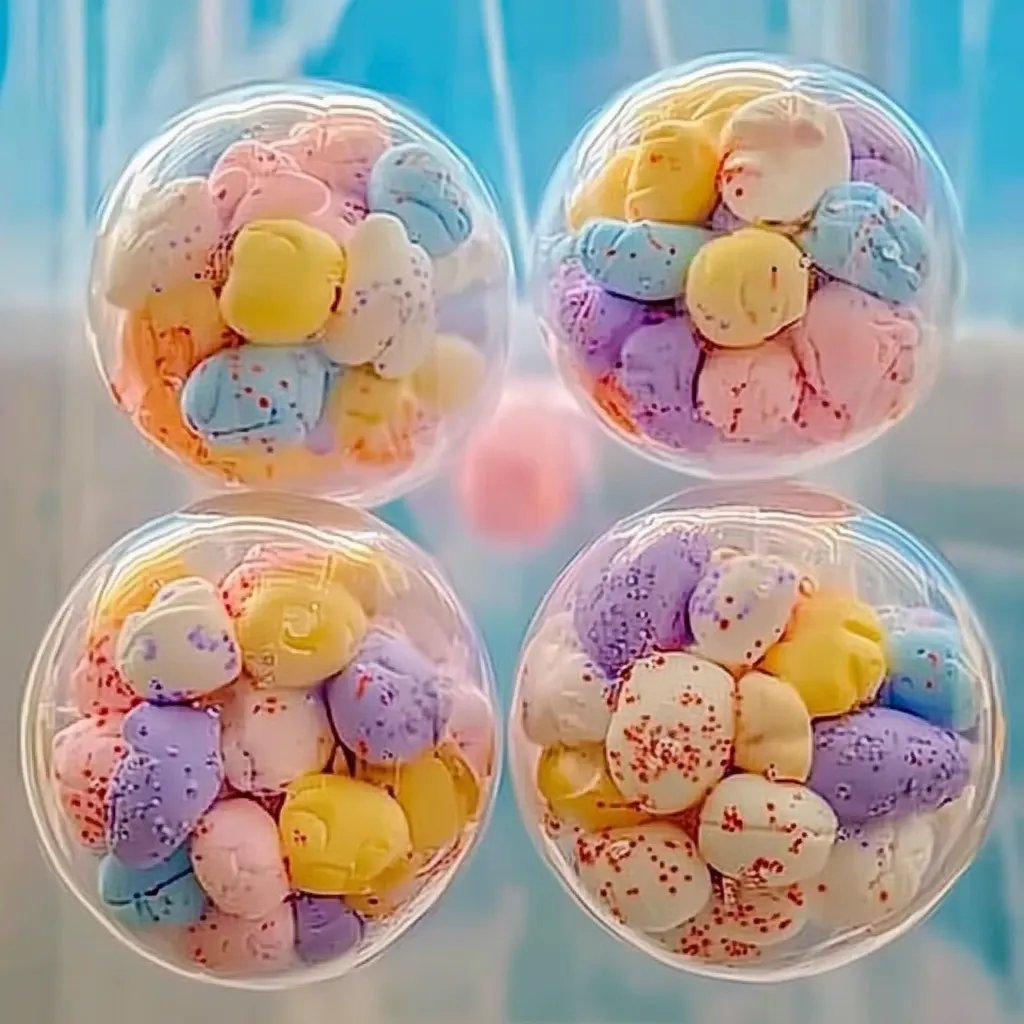
Personal Note: I often create multiple colors at once to make a bright and vibrant batch of balloons – pastels for spring or bold hues for a lively summer party.
Step 3: Inflate the Balloons
Stretch out your balloons a bit by giving them a gentle pull. This makes them easier to fill. Using a funnel, carefully pour your colorful mixture into the neck of the balloon. Fill it only halfway to leave room for air and movement when you tie it off.
Safety Note: Ensure the funnel is properly positioned to avoid spills. A small mess is fine, but too much can make this process tedious!
Step 4: Tie Off the Balloons
Once filled, gently remove the funnel and carefully tie the balloon's neck into a secure knot. Why is this important? A tight knot prevents any leaks. After tying, you can trim away any excess neck if you wish, leaving a cleaner-looking balloon.
What Could Go Wrong? If a balloon leaks or pops, don’t panic! Simply grab another balloon and try again. Use your leftover mixture to fill the new one.
Step 5: Add Extra Texture (Optional)
For added fun, you can insert small beads, glitter, or foam balls into the balloon before tying it off. This creates interesting sounds and textures when the balloon is squeezed, enhancing the crunchy fun factor!
Step 6: Play and Store
Your Crunchy Sticky Fun Balloons are now ready to play with! They can be tossed, squished, and enjoyed in creative play scenarios.
Storage Tip: When not in use, store them in an airtight container to extend their life.
Step 7: Clean Up Time
Don’t forget to clean up your workspace. Flour can be messy, so a damp cloth can help wipe down surfaces efficiently. Also, wash your hands to enjoy a little bit of cleanliness after crafting.
Creative Variations
- Festive Themes: Use different colors and shapes for specific holidays: think red and green for Christmas or vibrant colors for summer.
- Scented Variants: Add a few drops of essence oil to the mixture for a lovely scent.
- Glow in the Dark: Mix phosphorescent powder into your colored mixture for fun glow-in-the-dark balloons!
Safety Warnings
- Always supervise children during crafting activities, especially when using small items that could pose a choking hazard.
- Latex allergies are common; be cautious if using balloons with those who may be allergic.
Conclusion
I hope you find joy in making Crunchy Sticky Fun Balloons! They are not only a fantastic craft idea but also a wonderful opportunity to spark creativity and engage with kids in meaningful ways. The beauty of crafting lies in the journey and the memories you create along the way. If you have questions or ideas to share, don’t hesitate to reach out. Happy crafting!