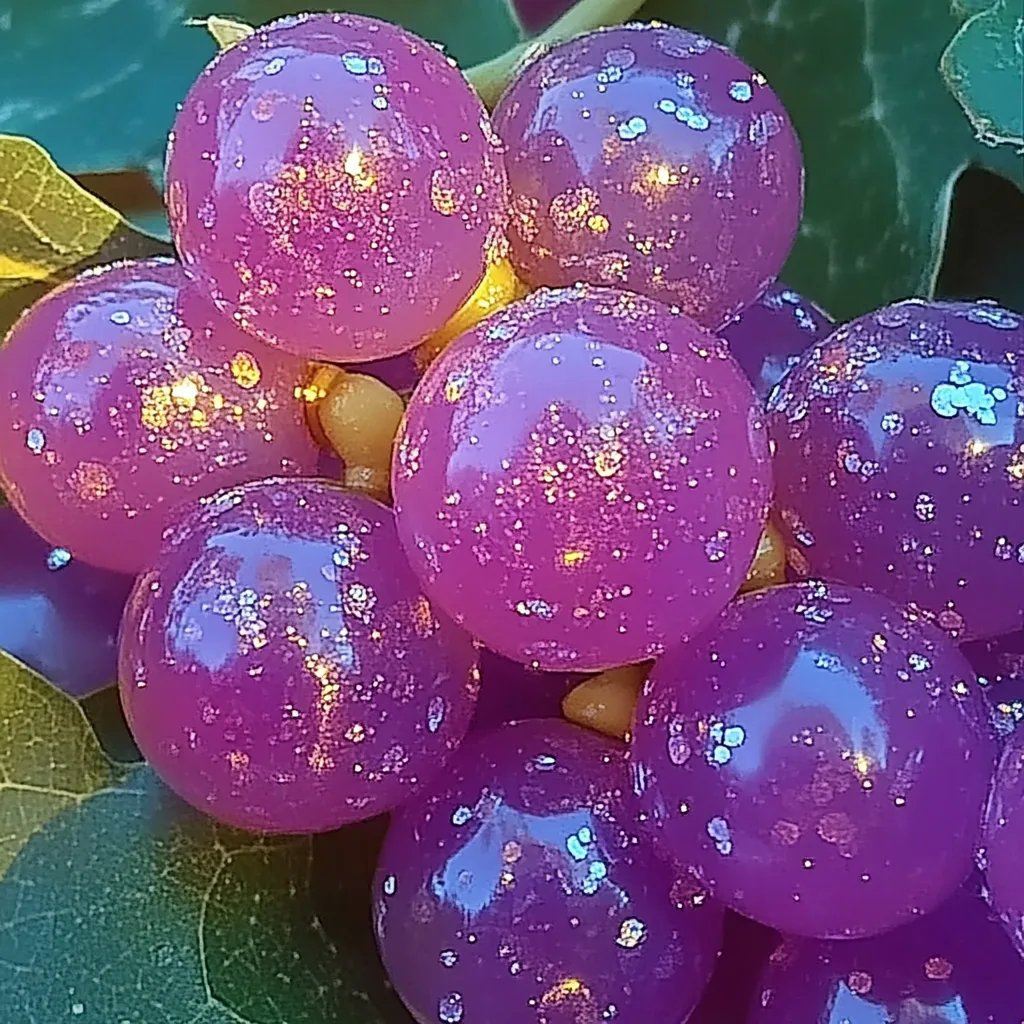
How to Make Cotton Candy Glitter Grapes: A Sweet Treat for Any Occasion
Hello, fellow crafters! Today, I'm excited to share one of my favorite delightful treats: Cotton Candy Glitter Grapes. These sumptuous snacks are not just visually appealing, but they're also bursting with flavor and nostalgia. If you’ve ever had spun sugar at a carnival, you know just how magical it can taste, and now you can replicate that joy in your own kitchen with these fun, sparkly treats!
Why Cotton Candy Glitter Grapes Are Popular
There's something incredibly captivating about a food that brings back childhood memories while also looking stunning. Cotton Candy Glitter Grapes have become a favorite for gatherings, celebrations, and even as a fun snack for movie nights. They’re perfect for birthday parties, bridal showers, baby showers, and even just to add a bit of whimsy to your afternoon snack routine.
The beauty of these grapes lies not only in their delicious sweetness but also their vibrant, shimmering appearance. And believe me, when you present a plate of these to your friends or family, their eyes will light up with delight! It's like bringing a touch of the fair to your home.
Now that I’ve got you excited, let’s dive into how to make these little bundles of joy!
Step-by-Step Tutorial: Making Cotton Candy Glitter Grapes
Materials You'll Need:
- Grapes: 1-2 bunches (green or red, depending on your preference)
- Cotton Candy Floss: Pre-packaged or homemade (find a cotton candy machine recipe online if desired)
- Edible Glitter: Fine glitter is best; make sure it’s food-grade
- Wooden Skewers or Toothpicks: For easy handling
- White Chocolate or Candy Melts: For additional sweetness (optional)
- Parchment Paper: To place decorated grapes on
- Spray Bottle with Water: For misting (this will help the cotton candy stick)
Step 1: Gather Your Grapes
The first step is crucial: Choosing fresh, plump grapes. Look for grapes that are firm and free from blemishes or wrinkles. You can choose green grapes for a vibrant contrast against the cotton candy flair or opt for red grapes, which can create a beautiful, sweet undertone.
Tip: Rinse the grapes under cold water and then pat them dry with a paper towel. Removing excess moisture is essential because if the grapes are wet, the cotton candy won’t adhere as well.
Step 2: Prepare Your Workstation
Set up a clean, spacious area to work in. Lay down some parchment paper on a flat surface for decorating later. If you’re using wooden skewers, thread 2-3 grapes onto each skewer. This step not only makes it easier to handle the grapes but also adds a fun presentation element!
Step 3: Melt Your Chocolate
If you're adding an extra layer of sweetness with white chocolate, melt it in a microwave-safe bowl. Heat it in 30-second increments, stirring in between, until it's smooth. Be patient here—overheating chocolate can lead to separation, and you don’t want that!
Safety Warning: Always be cautious when melting chocolate as it can scold if overheated.
Step 4: Dip Grapes into Chocolate (Optional)
Once your chocolate is ready, dip the skewered grapes in the chocolate until they are coated and then allow the excess to drip back into the bowl. This step is optional but makes for a richer flavor profile and helps the cotton candy stick later.
What Could Go Wrong? If your chocolate hardens too quickly, place it back in the microwave for a few seconds. If the chocolate is too thick, add a tiny bit of vegetable oil to thin it out.
Step 5: Apply the Cotton Candy
Here comes the fun part! If you’re using pre-packaged cotton candy, gently pull it apart into strands. You want to create a fluffy layer that you can easily press onto the grapes.
Using your spray bottle, lightly mist the chocolate-covered grapes to create a bit of stickiness. Next, roll or press the grapes into the cotton candy until they are covered. It’s best to work quickly at this point as the chocolate might start to set. If the cotton candy doesn’t adhere, you can mist it with a bit more water.
Tip: Keep the cotton candy relatively loose; you want it fluffy and airy rather than dense.
Step 6: Add Edible Glitter
Now comes the glittering magic! Sprinkle edible glitter over the cotton candy grapes, ensuring they’re evenly covered. This will give them that dazzling effect perfect for any celebration.
Step 7: Let Them Set
Place your finished Cotton Candy Glitter Grapes on the parchment paper and let them sit for a few moments to allow the chocolate to harden fully. If you have any remaining cotton candy, make miniature globs of cotton candy to accompany your grapes on a serving plate.
Step 8: Serve and Enjoy!
These treats are best served fresh, as the cotton candy will lose its texture over time. You can keep them in the refrigerator for a short period, but I recommend enjoying them the same day or early on.
Personal Anecdotes and Creative Variations
I first made these Cotton Candy Glitter Grapes for my niece's birthday party, and they were a huge hit. Not only did the kids love them, but even the adults couldn't resist sneaking a few! One fun twist I tried was infusing the cotton candy with flavored extracts like vanilla or strawberry before fluffing it up. While it added a delightful twist, it can be tricky to get right without overwhelming the natural grape flavor.
Another variation is to add a sprinkle of coarse sea salt or crushed nuts for an unexpected contrast to the sweetness. You can even use different types of candies (think M&Ms or crushed Oreos) to coat the grapes instead of cotton candy for variety.
Final Thoughts
Crafting these Cotton Candy Glitter Grapes is a magical experience that can transform any gathering into something special. Whether you’re a seasoned crafter or a beginner, the process is simple, enjoyable, and the outcome is always rewarding. Remember, the key to success is in the details: prep your grapes well, work quickly with the cotton candy, and most importantly, have fun with it!
So, roll up your sleeves and gather your supplies. I can’t wait to see these delightful treats at your next celebration! If you enjoyed this tutorial or have any questions about the process, feel free to reach out. Happy crafting and happy making!