How to Make Cotton Candy Aquarium Parfait: A Sweet Dive into Whimsical Treats
Hello, fellow crafters! Today, I am beyond excited to share a playful and delicious creation that combines the joy of sweets with the whimsy of an aquarium. Let’s dive into the world of Cotton Candy Aquarium Parfait—a delightful treat that not only tastes amazing but also looks like a multi-level marine masterpiece. This enchanting parfait is popular at parties, children’s events, and even as a fun activity with family and friends. Whether you’re celebrating a birthday, hosting a themed party, or simply indulging that sweet tooth, this captivating dessert will surely be a hit!
What is a Cotton Candy Aquarium Parfait?
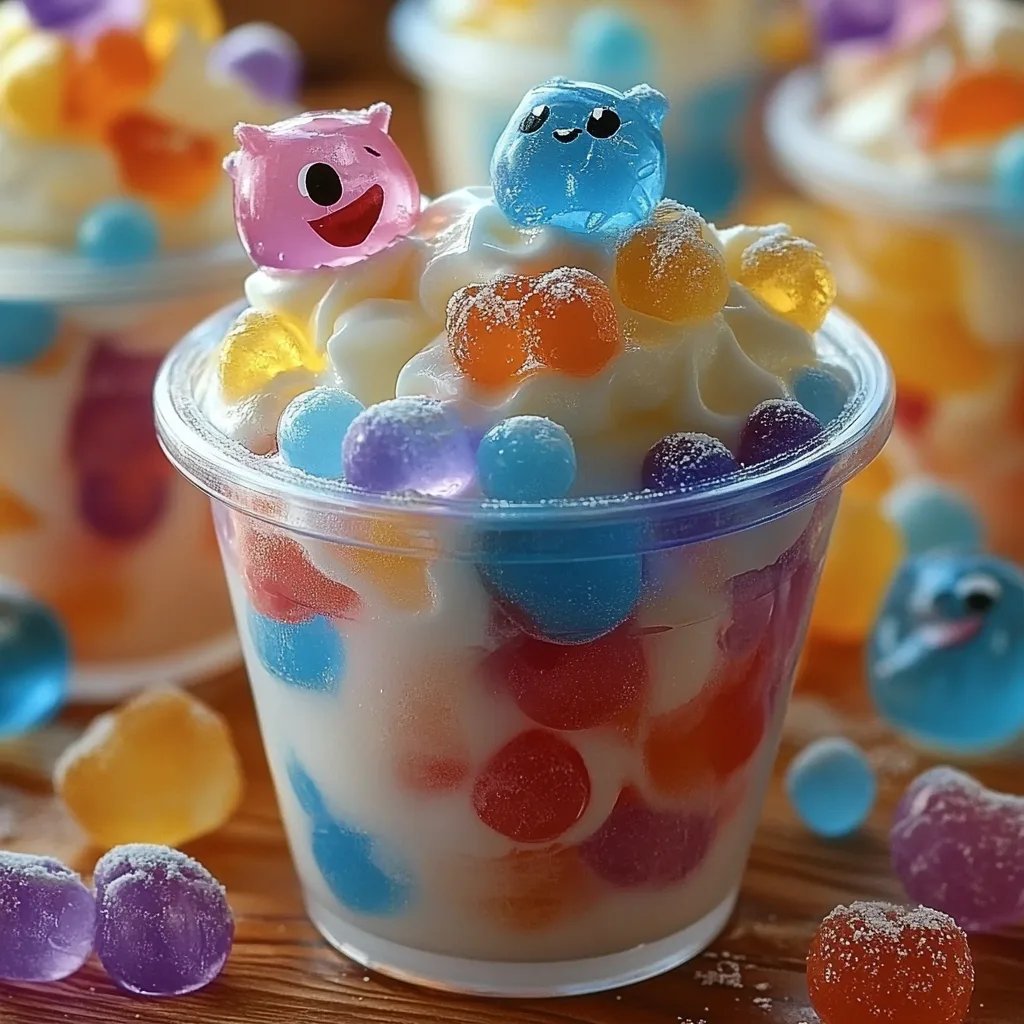
Picture bright swirls of cotton candy, creamy layers of yogurt or whipped cream, and edible decorations that mimic an underwater scene—all beautifully layered in a clear cup. The Cotton Candy Aquarium Parfait is essentially a fun twist on traditional parfaits, integrating the fluffy sweetness of cotton candy with the charm of oceanic delights. With this treat, the possibilities for creativity are endless!
Materials You Will Need
Before we start, let’s gather all the materials and ingredients you’ll need. Don’t worry—most of these items are easy to find!
Ingredients:
- Cotton Candy: You can purchase premade cotton candy from a store or make your own using a cotton candy machine.
- Yogurt or Whipped Cream: I personally prefer vanilla yogurt for a slight tang that balances the sweetness of the cotton candy, but feel free to use whipped cream or even a dairy-free alternative.
- Gelatin or Blue Jell-O: This will serve as the “water” layer in our parfait. Blue Jell-O is fun, but a layer of clear gelatin can also work beautifully.
- Edible Decorations: Think of gummy fish, candy seashells, or crushed cookies for a "sand" effect. You can also use life-like edible beads.
Tools:
- Clear plastic or glass cups (the wider and taller, the better!)
- Mixing bowls
- Whisk or spatula
- Measuring cups and spoons
- Plastic spoon or dropper (for creating the thin layers)
Step-by-Step Tutorial
Step 1: Prepare the Jell-O or Gelatin Layer
Why This Matters: The Jell-O layer gives our parfait its ocean-inspired look and adds a fun, wobbly texture.
- Prepare your Jell-O according to the package instructions. If you opt for gelatin, ensure you dissolve it well in water before it sets. Consider using a darker blue color if you want a deeper ocean look.
- Pour the mixture into a measuring cup for easier application later.
- Chill until partially set, around 20 minutes, so it’s not completely solid but still thick enough to hold the layers above.
Tip: Feel free to experiment by adding edible glitter to your Jell-O for an extra magical sparkle!
Step 2: Layer Your Yogurt or Whipped Cream
Why This Matters: This layer provides texture and a nice contrast to the Jell-O.
- Spoon or pipe in a layer of your yogurt or whipped cream on top of the partially set Jell-O.
- Ensure that this layer is smooth and even while not mixing into the Jell-O below.
Common Mistake: If the Jell-O is too soft, the yogurt might sink. In that case, give it a little more time to set!
Step 3: Add Your Cotton Candy
Why This Matters: Cotton candy is the star—bright, fluffy, and fluffy just like a cloud.
- Carefully place a generous scoop of cotton candy on top of the yogurt layer, allowing it to puff up in a whimsical way. You can create clouds by gently pulling and arranging the cotton candy.
- Don’t worry about perfection! The idea is to evoke a sense of fun and play.
Creative Variation: You could dye your yogurt using food coloring to match the color scheme of your cotton candy.
Step 4: Assemble Your Edible Decorations
Why This Matters: Decorative elements bring the “aquarium” theme to life.
- Sprinkle your edible decorations on top of the cotton candy. Place gummy fish swimming upward or lay down some crushed cookies for “sandy” seafloor vibes.
Tip: Gummy worms can also work as “sea snakes,” mixing things up a bit!
Step 5: Finish and Serve
- Cover with a plastic lid or simply serve immediately. If you choose to cover it, place it in the fridge for a short while to maintain freshness.
- When serving, give the parfait a gentle mix to reveal the layers inside!
Personal Anecdotes and Tips
One of my fondest memories revolves around making this delight with my little cousin, who was determined to create the biggest and fluffiest cotton candy tower possible. We discovered together that too much cotton candy—a delightful concept—could make the parfait top-heavy and topple over! If you find yourself in this situation, don’t fret! Simply transfer some of your cotton candy to a new cup and top it off with an extra layer of yogurt, creating a “tasting cup” while preserving your original parfait.
Safety Warnings
- If you are using a cotton candy machine, make sure to supervise children closely. The machine can get quite hot and requires adult supervision.
- Always use edible ingredients and decorations to avoid health hazards.
Alternative Methods and Ingredient Substitutions
While the recipe is versatile, you can switch the yogurt for a plant-based option, and sugar-free versions of Jell-O or yogurt for a lighter alternative. If you’re avoiding gelatin completely, you can use agar-agar as a fantastic substitute!
Conclusion
Creating a Cotton Candy Aquarium Parfait is not only a treat for the taste buds but also a feast for the eyes. With a blend of textures and vibrant colors, this dessert becomes a centerpiece at any gathering. Whether for a special occasion or as a fun family project, let your creativity flow as you craft delightful layers of flavor and imagination.
I hope this guide inspires you to let your creativity swim in this delicious sea of possibilities. Remember, crafting is all about experimenting, so don’t be afraid to make it your own! Happy crafting, and may your next Cotton Candy Aquarium Parfait be as magical as a walk beneath the waves!