How to Make Cotton Ball Sensory Dough: A Step-by-Step Guide
Hello, fellow crafters! Today, I’m excited to share my favorite recipe for Cotton Ball Sensory Dough, a delightful activity that combines the joy of crafting with the therapeutic benefits of sensory play. Whether you’re a parent looking for new ways to engage your children or an educator wanting to enhance your classroom activities, this hands-on project is sure to resonate with anyone who appreciates the little wonders in life.
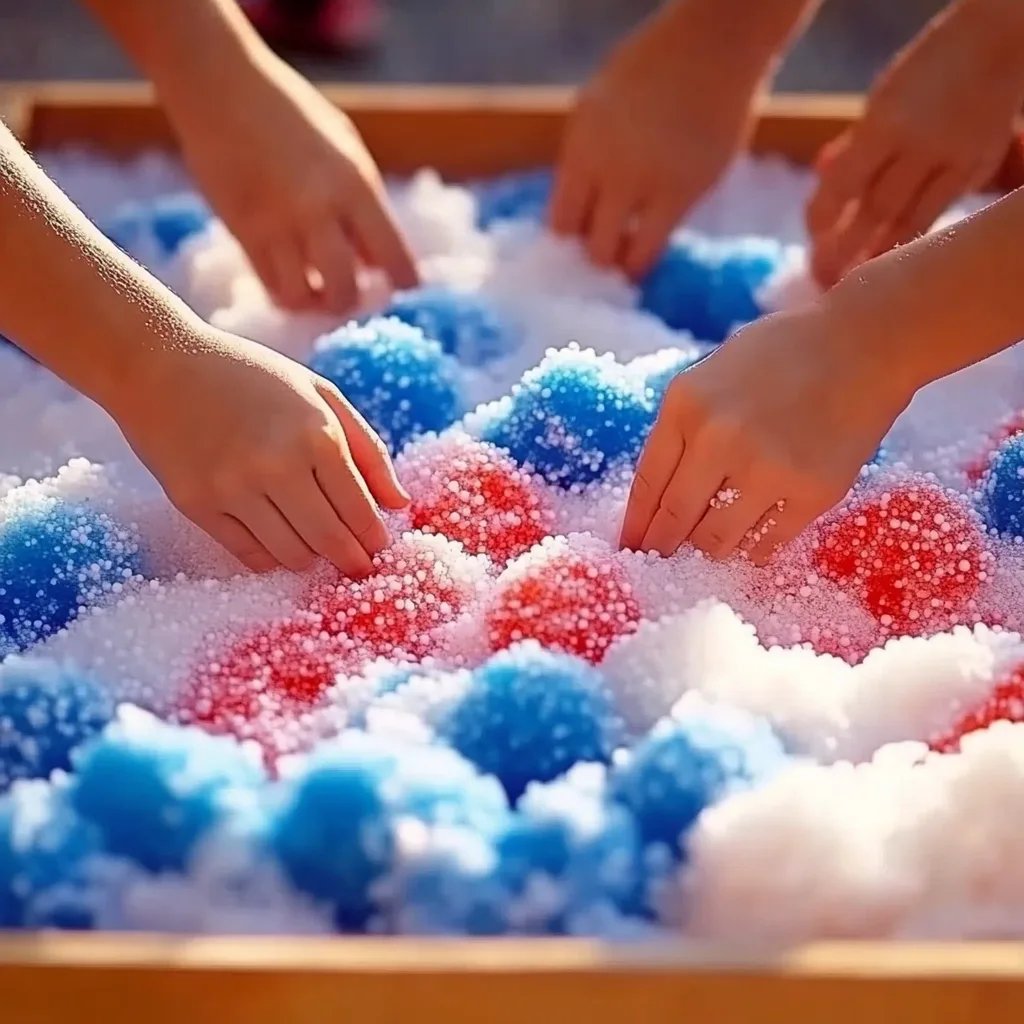
Not only is this dough soft and squishy, but it’s also a wonderful medium for exploring textures, colors, and creativity. It's perfect for rainy days, playdates, or even as a calm-down activity after a busy day. So, let’s roll up our sleeves and get started on this exciting crafting journey!
What is Cotton Ball Sensory Dough?
Cotton Ball Sensory Dough is a fun, pliable substance made primarily from cotton balls, flour (or an alternative), and water, which creates a versatile play experience. It’s often used for sensory activities to stimulate children’s sense of touch, engage their creativity, and improve fine motor skills. In addition to being enjoyable, it’s a fantastic tool for parents and caregivers in promoting mindfulness and reducing anxiety.
When and How to Use Cotton Ball Sensory Dough
This sensory dough can be used in a variety of settings:
- At Home: Invite your kids to play with the dough to spark creativity, whether it be creating imaginary worlds or crafting small sculptures.
- In the Classroom: Use it as a calming tool for students or for creative arts and crafts sessions.
- Therapeutic Play: It allows children to express emotions, work through sensory issues, or simply enjoy a tactile experience.
Now that we’ve got the basics covered, let’s dive into how to make your own Cotton Ball Sensory Dough!
Materials You'll Need
Before we dive in, it’s essential to gather the right materials. Here’s what I use for my Cotton Ball Sensory Dough:
- Cotton Balls: You can find these at any drugstore or craft store. Aim for approximately 20-30 cotton balls for a good quantity of dough.
- Flour: All-purpose flour works well, but if you want a gluten-free alternative, feel free to use cornstarch or rice flour.
- Warm Water: This helps to combine the ingredients smoothly.
- Vegetable Oil: A tablespoon will help keep the dough soft and pliable.
- Food Coloring (Optional): Adding a few drops can make your sensory dough visually enticing.
- Mixing Bowl: To combine all ingredients.
- Spoon or Silicone spatula: To mix and mash the dough.
Step-by-Step Tutorial
Step 1: Prepare Your Workspace
Before you begin, it's essential to set up a clean and organized workspace. I usually do this on a large table or a clean kitchen counter, and I often cover it with a plastic tablecloth for easy cleaning afterward. Remember, crafting should be fun, and having a tidy area helps keep the stress away!
Step 2: Break Down the Cotton Balls
In a mixing bowl, take about 20-30 cotton balls. I like to separate them into smaller pieces before adding the other ingredients. This step is crucial, as it helps create a more consistent texture in the dough.
*Tip*: Use your hands to break the cotton balls apart—this can also serve as a great sensory experience!
Step 3: Mix in the Flour
Once the cotton balls are broken down, add 1 cup of flour to the bowl. The flour acts as the primary ingredient that binds the cotton and water together, forming the dough's structure. This is an essential step, so ensure that you’re mixing thoroughly to avoid clumps.
*What Could Go Wrong?*: If the mixture is too dry, the dough won't hold together. Don’t panic! Simply add a tiny bit of warm water at a time until you reach the perfect consistency.
Step 4: Add Warm Water and Oil
Next, add ½ cup of warm water and 1 tablespoon of vegetable oil into the mixture. This combination helps activate the flour, allowing it to absorb moisture and work with the cotton fibers. Mix until everything is well combined. Your dough should start to come together into a sticky ball.
*Tip*: For those looking for a gluten-free option, try substituting the flour with cornstarch or rice flour. The steps remain the same!
Step 5: Knead the Dough
Once the mixture holds together, it’s time to knead! You can do this in the bowl or on a clean surface. Kneading helps to blend the ingredients better and increases the dough's pliability. Don’t be afraid to get your hands dirty!
Step 6: Add Color (Optional)
If you want to inject some fun into your sensory dough, now is the time to add a few drops of food coloring! Start with a couple of drops and mix thoroughly. If you want multiple colors, divide the dough into sections and color them separately.
*Personal Anecdote*: I once made a rainbow batch, and my kids loved mixing the colors together to create new shades!
Step 7: Store Your Sensory Dough
Once you’ve achieved your desired consistency and color, simply store your Cotton Ball Sensory Dough in an airtight container. It can last for up to a week if kept in the fridge, although it may need some kneading again before playtime.
Creative Variations
There are endless ways to customize your Cotton Ball Sensory Dough. Here are a few ideas:
- Scents: Add a few drops of essential oils like lavender or lemon to give your dough a calming aroma.
- Textures: Mix in some sand, glitter, or small beads for an extra sensory experience.
- Themed Dough: Create themed dough for occasions such as holidays by using food coloring and adding specific scents (like peppermint for Christmas!).
Safety Considerations
While this sensory dough is safe for most children, there are always precautions to consider:
- Choking Hazard: Ensure that small parts, such as glitter or beads, are kept out of reach of younger children.
- Skin Sensitivity: Always check if your child has allergies to any of the ingredients used, especially essential oils.
- Supervision: Adult supervision is always best, especially with younger children.
Final Thoughts
Making Cotton Ball Sensory Dough is not only a fantastic way to engage kids but also a meaningful activity to create cherished memories together. Embrace the imperfection of crafting, and allow your individuality to shine through every step of the process. Remember, there's no wrong way to enjoy this sensory dough—it's all about exploration and play.
So gather your materials, involve your little ones, and have a blast creating and discovering together! I would love to hear how your Cotton Ball Sensory Dough turns out. Happy crafting!