How to Make Cornstarch Snow Dough: A Step-by-Step Guide for Creative Fun
As a seasoned crafter, I’ve had my fair share of fun experimenting with different materials. One project that holds a special place in my heart is making Cornstarch Snow Dough—a fun, sensory-rich play material that’s perfect for kids and adults alike. If you're looking for a playful, versatile crafting avenue, this enchanting dough is a must-try! In this article, I'll guide you through the process of making your own Cornstarch Snow Dough, share tips and insights from my crafting journey, and sprinkle in some creative variations to inspire your imagination.
What is Cornstarch Snow Dough?
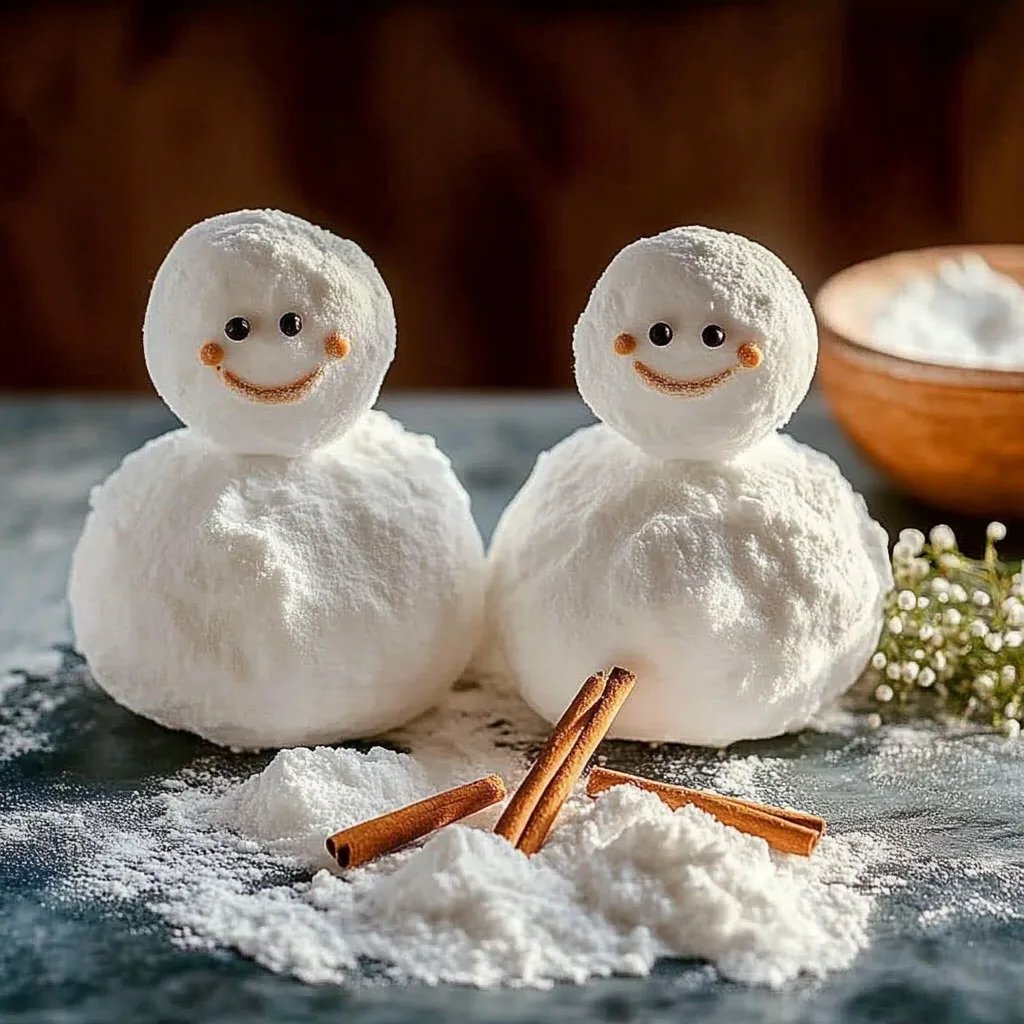
Cornstarch Snow Dough is a soft, fluffy concoction that resembles snow—perfect for winter-themed crafts, sensory play, or even as a unique form of kinetic art. It’s an incredibly popular choice among parents and educators for its non-toxic nature and ease of use. When you knead and play with Snow Dough, it creates a satisfying, delicate texture that can be molded into various shapes.
Why is it Popular?
- Sensory Exploration: It’s great for tactile play, helping children develop fine motor skills through squishing, rolling, and molding.
- Easy to Clean: Unlike regular dough or clay, Snow Dough is easier to clean up, making it a more appealing choice for indoor activities.
- Non-Toxic Ingredients: Made primarily from cornstarch and water, it's a safe choice for younger kids, alleviating parents' concerns about chemical exposure.
- Affordable Materials: The ingredients are inexpensive and readily available at most grocery stores.
- Creative Freedom: You can customize it with color, scent, and glitter, turning a simple activity into a festive one.
When to Use It
Cornstarch Snow Dough is perfect for snowy playtime in the winter months, craft parties, or educational settings focusing on sensory play. I often whip up a batch for rainy days, birthday parties, or just to keep my little ones entertained when they're expressing their creative side. If you're a teacher or caregiver, you can use it to demonstrate scientific principles like mixing and binding.
Let’s dive into this engaging project, and soon you'll be an expert in making Cornstarch Snow Dough!
Materials Needed
- 1 cup cornstarch: This ingredient is essential for the desired texture.
- ½ cup hair conditioner: It keeps the dough soft and moist; you can also use shaving cream or lotion in its place.
- Optional: Food coloring: To add a splash of color to your dough.
- Optional: glitter: Perfect for making the dough sparkle, adding a magical touch.
Step-by-Step Tutorial
Step 1: Gather Your Ingredients
Before beginning, it’s vital to gather all the ingredients and tools you need: a mixing bowl, a spoon or spatula, and a clean workspace. Setting everything out will allow you to work efficiently and enjoy the process.
Step 2: Measure the Ingredients
In a mixing bowl, combine 1 cup of cornstarch and ½ cup of hair conditioner. The conditioner can be swapped with other alternatives like lotion or shaving cream, but my personal favorite is conditioner. It's a humble player yet performs exceptionally well in creating that fluffy consistency.
Tip: When selecting your conditioner, opt for a fragrance that you and your children enjoy! Remember, a pleasing aroma enhances the sensory experience.
Potential Pitfall: Adding too much conditioner can make the dough too sticky. If you find it's too wet, sprinkle in an additional tablespoon of cornstarch until you reach your desired consistency.
Step 3: Mix Until Smooth
Using a spatula or a spoon, mix the cornstarch and conditioner until fully combined. You’ll notice it begins to clump together, which is entirely normal. You may find that the mixture seems dry and crumbly at first. Don’t worry; this is part of the process!
Step 4: Knead the Dough
Once the initial mix is ready, it’s time to get your hands involved! Flour your hands lightly and knead the dough until it’s smooth and pliable. This step is crucial because the working of the dough activates the ingredients, giving it that delightful, snow-like texture.
Personal Anecdote: I once charged my children with helping me knead the dough, and they giggled with delight as they squished it through their fingers, claiming it felt like real snow!
Step 5: Add Color and Glitter (Optional)
If you're feeling particularly festive, now is the time to add drops of food coloring or sprinkle in some glitter. Start with just a few drops; you can always add more if you want a bolder color.
Mix the color in by kneading it for a minute or two. The vibrant hues will create an eye-catching dough that’s sure to inspire plenty of creative play.
Step 6: Store Your Snow Dough
Once your Cornstarch Snow Dough is fully mixed and shaped, it's time to think about storage. Place it in an airtight container to keep it fresh. Properly stored, it should last a week or more, although I promise it usually gets played with before that!
Troubleshooting Common Issues
- Dough is Too Dry: If the dough crumbles instead of holding together, add a little more conditioner, kneading it thoroughly after each addition.
- Dough is Too Wet: Sprinkle in more cornstarch, a small amount at a time, and knead until it reaches the desired consistency.
Tips and Safety Warnings
- Safety First: Always supervise children during playtime, especially if they are young. While the ingredients are non-toxic, ingestion could still cause discomfort.
- Messy Play: Consider laying down a drop cloth or newspaper to catch any spills, making for easier cleanup.
- Store Away from Heat: Keep the dough in a cool place away from direct sunlight to retain its texture and prevent it from drying out.
Creative Variations
- Scented Snow Dough: You can mix in your favorite essential oils to create a delightful aroma. Lavender or peppermint are amazing options!
- Seasonal Dyes: Why not create a batch with soft pastels for spring or vibrant colors for summer? The options are endless.
- Combine Materials: Experiment combining this dough with other materials, like snow or sand, for an entirely different sensory experience.
Wrapping Up
I hope you feel inspired to create your own Cornstarch Snow Dough! This DIY project isn't just a recipe; it's an opportunity for creativity, exploration, and sensory enjoyment. I often find myself diving back into this project when I need a break or some light-hearted fun.
Remember, crafting is all about trial and error—don't be discouraged if it doesn’t turn out perfectly the first time. With each attempt, you’ll learn something new!
So grab your materials, unleash your inner artist, and let the dough-making magic begin! Feel free to share your vibrant creations or any personal tips you discover along the way. Happy crafting!