How to Make Colorful Foam Bubble Pile: Everything You Need to Know!
Hello, fellow crafters! Today, I am excited to share a fun and creative project that is sure to spark joy and creativity in your home—making a Colorful Foam Bubble Pile! This delightful and visually striking creation is not just for kids; it’s an engaging activity for crafters of all ages. Whether you're using it as a playful centerpiece, a sensory tool, or simply for creative inspiration, the foam bubble pile is sure to bring smiles and excitement.
What is a Colorful Foam Bubble Pile?
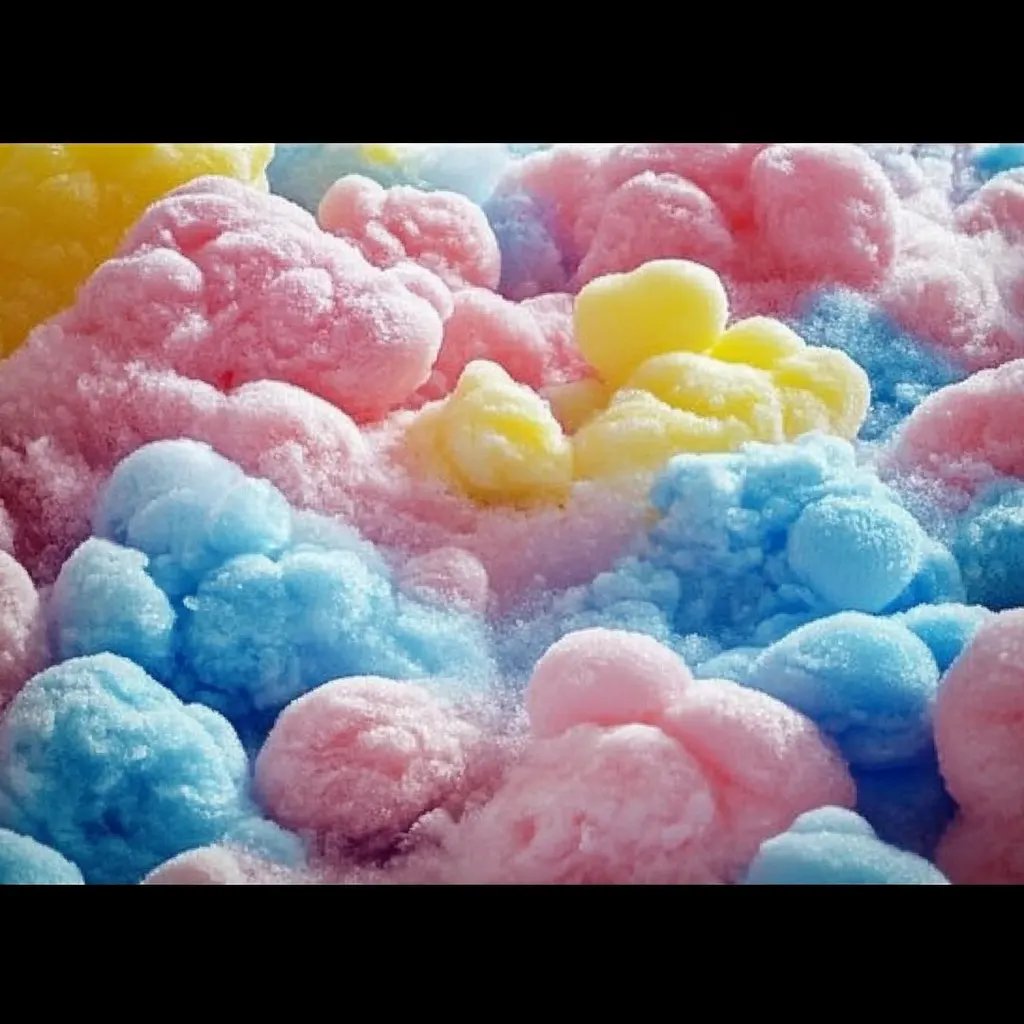
A Colorful Foam Bubble Pile is a vibrant arrangement of fluffy, colorful foam bubbles that are easy to make and even easier to enjoy. Often used in playful decor, children’s parties, or even as stress-relieving sensory bins, this delightful creation quickly became a go-to project for many parents, educators, and crafters. They are loved for their vibrant appearance, soft texture, and the playful experience they offer.
Why It’s Popular?
The appeal stems from its versatility—foam bubble piles can be used in sensory playscapes, as décor for birthday parties, or even as a relaxing, tactile experience for adults. They encourage imaginative play while also providing a soothing sensory experience. It’s no wonder this craft has found its way into homes and classrooms alike!
When to Use a Colorful Foam Bubble Pile?
You can create these delightful bubbles at any time! Whether it’s for a rainy day indoor activity with kids, a whimsical decoration for a birthday bash, or an art project with friends, the possibilities are truly endless. Not to mention, they make fantastic gifts when packaged thoughtfully—who wouldn’t appreciate a handmade burst of color?
Materials You’ll Need
Before we dive into the step-by-step tutorial, let’s gather our materials. You won’t need anything too complicated, so it’s perfect for crafting with kids!
Essential Materials:
- Foam balls: You can find these at craft stores or online. Aim for various sizes for visual interest!
- Foam paint or liquid watercolor: This will add the color to your bubbles. Acrylic paint can also work, but it may not have the same texture.
- Water: This is needed for mixing the colors.
- Bowls or containers: For mixing paints and water.
- Sponge or whisk: To whip the mixture into a foam.
- Baking sheet or tray: For drying the bubbles.
- Optional: Glitter: For an extra touch of sparkle!
- Protective craft mat: To keep your workspace clean.
Safety Warning:
While this project is relatively safe, I advise you to supervise children closely during the crafting process, especially when using paints. Always opt for non-toxic materials.
Step-by-Step Tutorial for Creating a Colorful Foam Bubble Pile
Step 1: Prepare Your Workspace
Before we start, it’s essential to set up a clean, organized workspace. Lay down your protective craft mat to avoid any paint spills. Gather all of your materials, and ensure you have plenty of space to work. Trust me; this will make the process so much smoother!
Step 2: Mixing Your Foam Paint
In a bowl or container, combine your foam paint (or liquid watercolor) with a small amount of water. You’re aiming for a consistency that is thick yet blendable—think pancake batter. Here’s a friendly tip: start with a little water and gradually add more as needed. It's easy to dilute, but harder to thicken!
Step 3: Whipping the Mixture
Using your sponge or whisk, begin to whip the mixture vigorously until it becomes frothy and light. This step is crucial because the air you incorporate will create your lovely foam bubbles. If your mixture isn't foamy enough, simply whisk longer. If it’s too runny, add a bit more foam paint to thicken it up.
Step 4: Dipping the Foam Balls
Now, the fun part—dipping! Take your foam balls and submerge them into the colored foam mixture. Cover them well and ensure they are saturated. Place them on a baking sheet or tray lined with parchment paper for easier cleanup.
Step 5: Letting Them Dry
Once you’ve dipped all the foam balls, it’s time to let them dry. Depending on the humidity levels and your mixture’s consistency, this can take anywhere from 2 to 8 hours. You’ll know they’re done when they feel dry to the touch and firm up.
Step 6: Creating Your Pile
Once your foam balls are dry, the next step is to arrange them in a delightful pile. Feel free to mix and match sizes, colors, and even textures. Add in some glitter during this step for that extra sparkle. The best part? There’s no wrong way to do it!
Step 7: Enjoying Your Creation
Now it’s time to enjoy your colorful foam bubble pile! Use them for play, decoration, or simply as a tactile sensory experience. The bubbles are soft, light, and provide wonderful visuals—perfect for brightening up a room or a creative play space.
Troubleshooting Tips
- Foam Balls Not Drying Properly: If your foam bubbles remain soggy after the drying time, ensure the mixture wasn't too watered down. Adjust the ratio in your next batch and allow for a well-ventilated drying spot.
- Unwanted Paint Drips: If you notice paint dripping off the foam balls, it may mean the mixture was too runny. An easy fix for future batches is to either whisk longer to create more air or simply add more foam paint.
- Colors Bleeding Together: To prevent colors from mingling too much, allow one color to dry fully before moving on to the next. This adds to the individuality of each bubble.
Personal Anecdotes
When I created my first Colorful Foam Bubble Pile, it was during a rainy afternoon with my then 5-year-old son. The joy of whipping up our colorful concoction, anticipating the vibrant pile we’d create, only to see the awe on his face when we revealed it was priceless! It turned into a weekly tradition, varied only by the colors we selected each time, and sparked our imaginations beyond the bubble pile itself.
Alternative Methods or Ingredient Substitutions
If you don’t have foam paint, you can easily substitute it with:
- Powdered dye: Mix it with water and a dash of dish soap for color.
- Food coloring: This works great; just be cautious about staining! You might want to wear gloves to prevent stains on hands.
Creative Variations
- Themed Bubble Piles: Create color themes based on seasons, holidays, or favorite characters!
- Add Texture: Experiment with materials like feathers or small pom-poms mixed in for a multi-textured pile.
- Glow in the Dark: Use glow-in-the-dark paint for a nighttime magical experience!
Conclusion
I hope this detailed tutorial inspires you to embark on creating your very own Colorful Foam Bubble Pile! Crafting is all about exploration and finding joy in the process. Don’t hesitate to adapt the materials or methods to suit your preferences and have fun along the way. Remember, every creation is unique, and that’s what makes crafting so wonderful! Happy crafting, and I can’t wait to see what you create!