How to Make Colorful Foam Bubble Pile: A Fun and Engaging Craft Project
Hello, friends! As an experienced crafter and a self-proclaimed DIY enthusiast, I absolutely love finding new ways to bring color and joy into my life through crafting. Today, I want to share with you an exciting project that is not only fun and creative but also perfect for rainy days, parties, or just some quality time with your kids. I’m talking about creating your very own Colorful Foam Bubble Pile!
What is a Colorful Foam Bubble Pile?
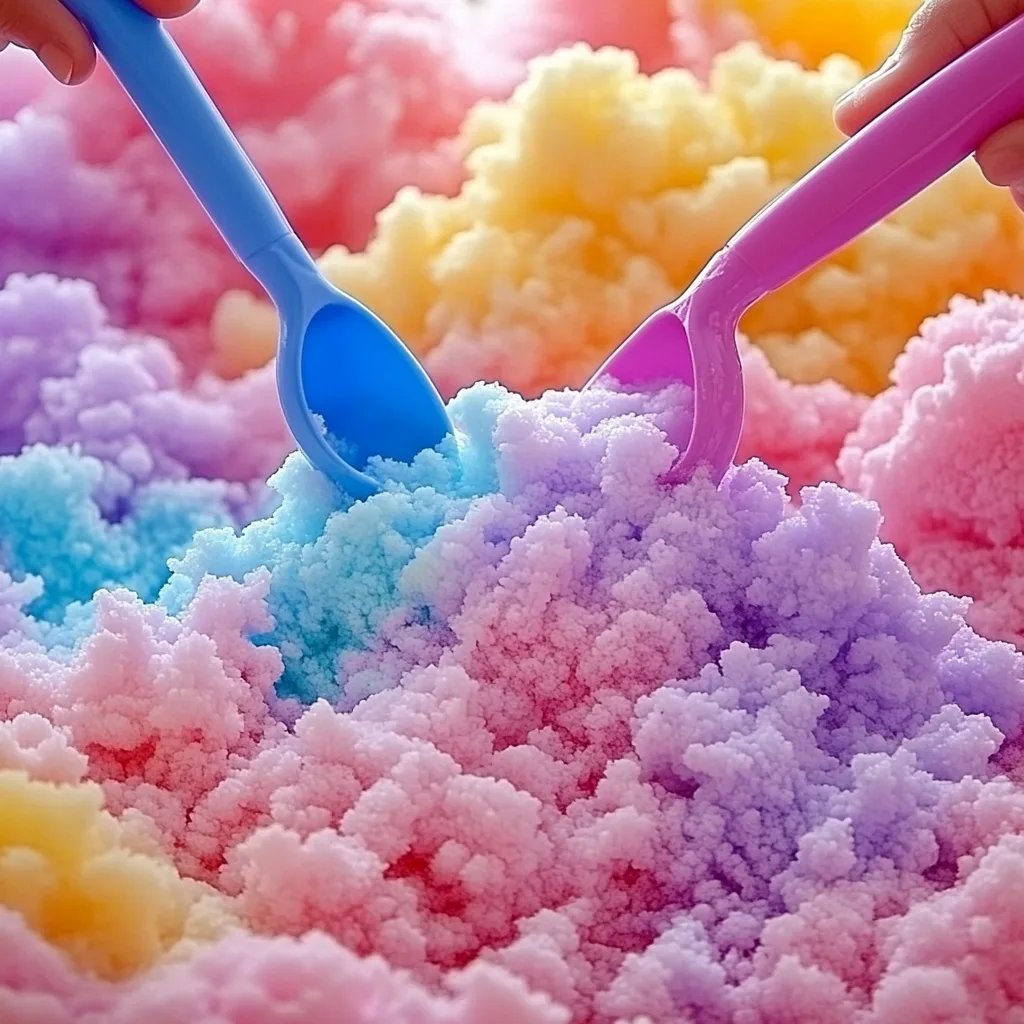
If you haven’t heard of it already, a Colorful Foam Bubble Pile is a vibrant and tactile creation made using foam and bubbles, resulting in a delightful mixture that feels almost like a fluffy cloud. It’s lightweight, colorful, and offers endless creative possibilities—from decorative displays for parties to engaging activities that can keep children entertained for hours. These bubbles can also serve as a sensory play resource for younger ones, providing a way to develop their tactile skills while having tons of fun.
The popularity of Colorful Foam Bubble Piles has surged in recent years due to their visual appeal and versatility. You can use them in playrooms, for science projects, or even as unique party decor. Whether you’ve organized a birthday bash, holiday celebration, or simply want to brighten up your living space, this project will bring a splash of color and fun to your life!
What You’ll Need
Before we get started, let’s gather our materials. Luckily, this project is quite beginner-friendly and uses readily available items you probably already have at home!
Materials:
- Foam (memory foam, sponge pieces, or soft foam sheets): This will be the base of your bubble pile. I like to use a combination of foam types for texture.
- Liquid dish soap: The soap helps create the bubbles that give this project its playful quality.
- Water: For mixing with the soap.
- Food coloring or liquid watercolors: To add that beautiful rainbow effect to your pile.
- Mixing bowl or container: For mixing your soap and water.
- Whisk, spoon, or electric mixer: For creating the bubbles.
- Placemats or a large tray: To catch the mess. Trust me; this project can get a bit messy!
- Plastic wrap or an airtight container: For storing any leftovers.
Step-by-Step Guide to Creating Your Colorful Foam Bubble Pile
Let’s dive into the process! I’ll walk you through each step, sharing my personal tips and insights to ensure your foam bubble pile turns out fabulous.
Step 1: Preparing the Foam
- Choose Your Foam: Depending on what you have on hand, gather bits of foam—memory foam, sponge, or even cut-up pieces of soft foam sheets. You can also buy foam from craft stores if you’d like to try various textures.
- Cut into Pieces: Using scissors, cut your foam into different shapes and sizes. Think about varying the textures; some larger pieces can act as the base while smaller ones could add layers of interest.
Tip: The more irregular the shapes, the more interesting your pile will look!
Step 2: Making the Bubble Solution
- Mix Soap and Water: In your mixing bowl, combine 1 part liquid dish soap to 3 parts water. You can adjust this ratio based on how bubbly you want the mixture to be. Stir gently to avoid forming bubbles at this stage.
Why This Matters: Using too little soap will not create enough bubbles, while too much will create a very soapy texture that might not hold well—balance is key!
- Add Color: Add a few drops of food coloring or liquid watercolor into the mixture. Feel free to experiment with colors! You can even split the mixture into several bowls to create different colors.
- Create Bubbles: Now comes the fun part! Using a whisk or an electric mixer, whip the soap and water mixture until you get a thick layer of foam on top. If using an electric mixer, start on low speed to avoid splattering.
What Could Go Wrong: If your bubbles are too thin, you can add a bit more soap to thicken them up. On the other hand, if you accidentally create too many bubbles, just let them sit for a while before introducing them to your foam pieces.
Step 3: Assembling Your Bubble Pile
- Layering the Foam: Start by placing your largest foam pieces on the tray to form the base. Begin layering, adding smaller pieces on top.
- Incorporating Bubbles: Carefully spoon the whipped bubble mixture over the foam. Make sure to coat the foam but avoid soaking it entirely. You want to maintain that fluffy, airy feel!
Tip: Don’t be afraid to add more colored bubbles to certain areas for a striking visual effect.
Step 4: Final Touches
- Add Mini Accents: Consider adding small decorations like glitter, sequins, or tiny toys to enhance the bubble pile. This will make it even more visually appealing, especially for parties!
- Storage: If you have leftover foam or bubble solution, store it in an airtight container or cover it with plastic wrap. You can reuse the foam pile later, although the bubbles will need to be re-whipped!
Safety Warnings
While making a Colorful Foam Bubble Pile is a lot of fun, it’s important to keep safety in mind:
- Supervise Young Children: This project is best done with adult supervision, especially when using kitchen utensils or mixing equipment.
- Clean Up Spills: The foam mixture can make surfaces slippery, so be sure to clean any spills promptly to avoid accidents.
- Avoid Ingesting: Ensure that children understand that the foam mixture, while made from non-toxic materials, is not for eating.
Creative Variations
Now that you know the basics, let’s explore some fun variations you can try:
- Theme-Based Colors: For a holiday party, try using color schemes that match the occasion—red and green for Christmas, or pastels for Easter.
- Scented Bubbles: Add essential oils (like lavender or citrus) to your bubble mixture for a delightful aromatic experience.
- Glow-in-the-Dark Variation: Incorporate glow-in-the-dark paint into your foam pile for a fun nighttime display.
Personal Reflection
As I reminisce about my own crafting experiences, I fondly recall creating these colorful foam bubble piles during quiet afternoons with my kids. Watching their faces light up as they mixed the colors and created their bubble masterpieces filled my heart with joy. This project served not just as a creative outlet but also as a tool for bonding and learning.
Creating a Colorful Foam Bubble Pile is more than just a craft; it's an opportunity to let your creativity soar, engage with loved ones, and enjoy the tactile pleasures of crafting. I hope my tips and insights have inspired you to dive into this fun project! So, grab your materials, gather your loved ones, and let’s get crafting together!
Happy crafting, and may your Colorful Foam Bubble Pile bring you as much joy as it has brought me! 🌈✨