How to Make Colorful Fizz Experiment: A Fun and Engaging Science Activity for All Ages
Hello fellow crafters and budding scientists! Today, I’m excited to share with you one of my all-time favorite experiments: the Colorful Fizz Experiment. This vibrant, fizzy activity is a perfect blend of science and creativity, making it a fantastic project for kids and adults alike. Whether you’re looking to impress your little ones, spark curiosity in the classroom, or simply indulge your inner child, this experiment is sure to create an explosion of color and joy!
What is the Colorful Fizz Experiment?
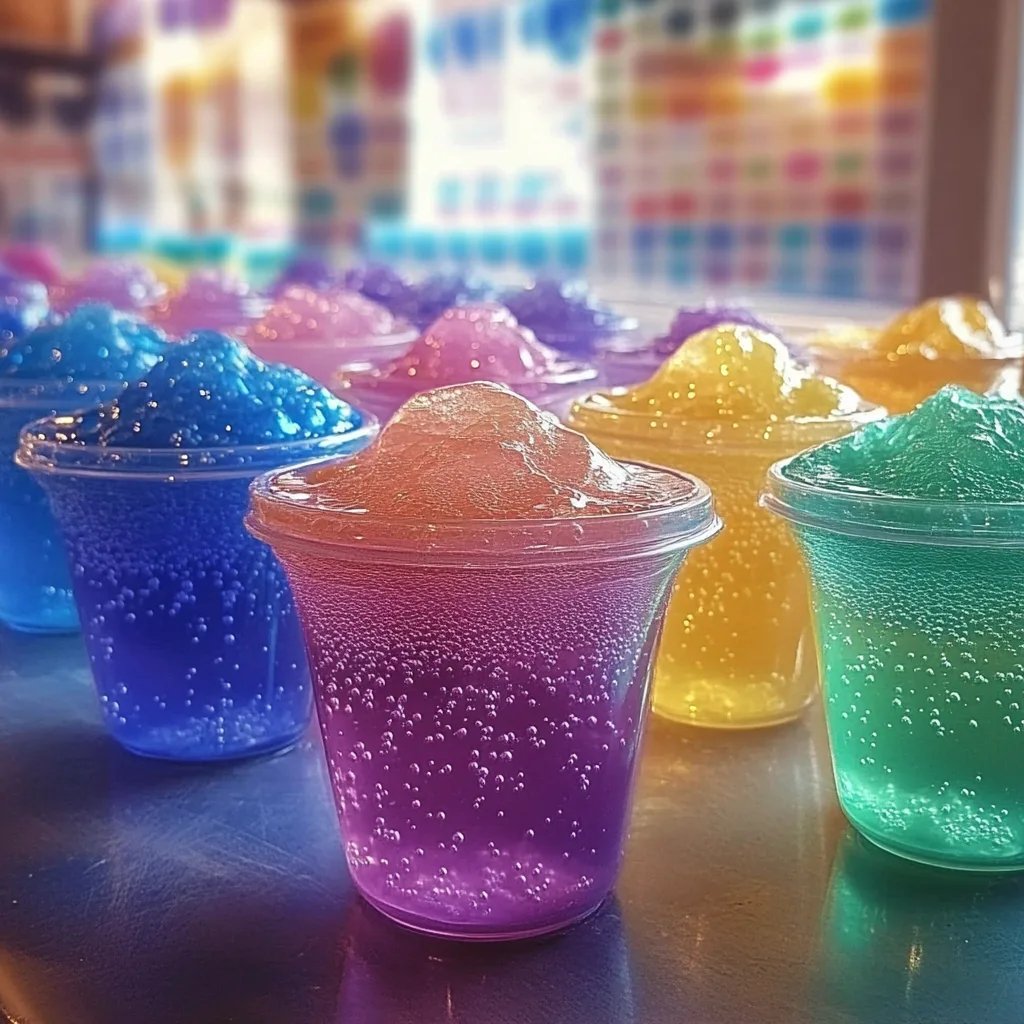
The Colorful Fizz Experiment is a hands-on activity that combines baking soda and vinegar to create a colorful explosion of bubbling fizz. When these two ingredients react, they produce carbon dioxide gas, which creates the fizzy effect. By adding food coloring to the mix, we can turn a simple scientific reaction into a visually stunning show. This experiment can be used for educational purposes, birthday parties, or just an afternoon of fun at home.
You can do this in your kitchen, classroom, or even outside on a sunny day — any setting where a bit of mess doesn't frighten you! Plus, it’s a wonderful way to learn about chemical reactions, color mixing, and measurement.
What You’ll Need
Before we dive into the steps, let’s gather our materials. You don’t need fancy equipment or hard-to-find ingredients. Here’s what you’ll need:
Materials:
- Baking Soda: 1-2 tablespoons
- Vinegar: 1 cup
- Food Coloring: Red, blue, yellow, and green (or any colors you prefer)
- Clear plastic cups or bowls: For the reaction
- Serving trays: To prevent mess (trust me, it can get messy!)
- Spoon or dropper: For adding vinegar
- Paper towels: For cleanup
- Protective eyewear: For safety (always a good idea with experiments!)
Preparation Steps:
- Choose Your Space: Find a bright, well-lit area for your experiment. I love doing this outside to really enjoy the spectacle and minimize cleanup. If you’re inside, lay down some old newspaper or a plastic tablecloth for easy cleanup.
- Set Up Your Workstation: Organize your materials on the table. Having everything within arm’s reach will make the process smoother and more enjoyable.
- Prepare the Colors: In separate small cups or containers, mix a small amount of vinegar with several drops of food coloring. I typically use about 2 tablespoons of vinegar with 3-5 drops of food coloring. This vibrant mixture will add that pop of color to our fizz!
Step-by-Step Tutorial
Step 1: Add Baking Soda
In your clear plastic cup or bowl (this is where the magic happens), add about 1-2 tablespoons of baking soda. Make a small mound in the center to create a nice, high peak for a better visual effect.
Step 2: Pour in the Colorful Vinegar
Using a spoon or dropper, carefully pour your colored vinegar over the mound of baking soda. You’ll see an immediate fizzy reaction! The colors will swirl and mix, creating a mesmerizing display.
Why This Step Matters:
When you introduce the vinegar, it reacts with baking soda, releasing carbon dioxide gas, causing the fizzing effect. The reaction is non-toxic and safe, but adding the vinegar slowly can help you control the fizzing.
Common Pitfalls and Fixes:
If your reaction doesn’t produce enough fizz, you might have added either too much baking soda or not enough vinegar. Adjust accordingly in your next attempt! Remember, experimenting is part of the process.
Step 3: Observe the Reaction
Take a moment to observe the colors mixing and bursting! You’ll see foam rise and spill over the sides. This is the fun part—grab your phone and capture the magic!
Step 4: Experiment with Additional Colors
Once your first reaction has settled, you can introduce more colorful vinegar to the same baking soda mound or create separate mounds for new reactions. Feel free to try different color combinations; you might be surprised by what you create!
Tips and Creative Variations
Mix Up the Ingredients!
- Use Different Liquids: Instead of standard vinegar, try using flavored vinegar (herb or fruit-infused) for a scented twist.
- Add Glitters or Confetti: To make your experiment even more festive, sprinkle some edible glitter or confetti before adding the vinegar. It adds an extra layer of sparkle!
Safety Tips:
Even though this experiment is safe for all ages, I recommend wearing glasses while doing messy projects, especially if children are involved. Baking soda and vinegar can be a bit slippery when mixed, so keep the area tidy!
Alternative Methods:
If you want a more prolonged fizz, combine the baking soda with warm water before adding vinegar. This creates a more consistent reaction and allows you to observe the fizz for a longer time.
Personal Anecdotes:
I remember the first time I did this experiment with my niece. We set up a little “fizz station” with several colors. The look of pure amazement on her face when the colors erupted was priceless! We ended up spending the entire afternoon experimenting with new color combinations and splashing about. Moments like these are what crafting is all about!
Conclusion
The Colorful Fizz Experiment is not just a fun activity; it's an opportunity to learn about science, creativity, and the beauty of color. Whether you choose to do it alone, with friends, or as a family project, there’s something incredibly rewarding about watching colors dance and fizz together.
So gather your materials, roll up your sleeves, and dive into this colorful adventure! Remember, crafting is all about enjoying the process. Don’t be afraid to make mistakes, as every fizz is a step closer to discovery. Happy crafting, and may your colors fizz cheerfully!