How to Make Colorful DIY Play Dough: A Crafting Journey
As an avid crafter and devoted parent, I can honestly say that making colorful DIY play dough has become one of my all-time favorite activities! Not only is it incredibly fun to create, but it also encourages creativity and sensory play among children. Whether you’re looking for a rainy-day activity, a party favor, or a way to engage with your little ones, homemade play dough is the perfect solution. The vibrant colors, inviting textures, and endless possibilities for imaginative play make it a staple in many households, and I’m excited to share my experience and tips with you.
Why Choose DIY Play Dough?
Store-bought play dough can be pricey and often contains preservatives and synthetic dyes. By crafting your own, you have complete control over the ingredients, ensuring they are safe and non-toxic for your little ones. Plus, DIY play dough is easily customizable in terms of color and scent, allowing you to tailor it specifically to your child’s preferences. You can make it for holidays, birthdays, themed playdates, or just a fun afternoon project!
What You’ll Need
Before we dive into the fun part of making play dough, let’s gather some simple, accessible materials:
Ingredients:
- Flour – 2 cups (all-purpose will do just fine)
- Salt – 1/2 cup (this helps with preservation)
- Cream of Tartar – 2 tablespoons (this is key for texture)
- Vegetable Oil – 2 tablespoons (prevents sticking)
- Water – 2 cups (for mixing)
- Food Coloring – as desired (liquid, gel, or natural)
- Essential Oils (optional) – for added scent
Equipment:
- Saucepan
- Stirring spoon
- Measuring cups and spoons
- Bowl for mixing
- Wax paper or plastic wrap for storage
- Cookie sheet or baking tray
Step-by-Step Guide
Step 1: Measure & Combine Dry Ingredients
In a large bowl, combine 2 cups of flour, 1/2 cup of salt, and 2 tablespoons of cream of tartar. Use a whisk to mix them thoroughly. This step ensures there are no lumps and that your play dough will have a smooth texture.
Tip: The cream of tartar is crucial. If you skip it, your dough may come out crumbly and hard—definitely not the texture we want!
Step 2: Mix Wet Ingredients
In a saucepan, combine 2 cups of water and 2 tablespoons of vegetable oil. If you'd like to add scent to your dough, now is the time to incorporate essential oils (around 5-10 drops should suffice).
Step 3: Combine Together
Now, gradually pour the wet mixture into the dry ingredients while stirring continuously. This can seem a bit tricky—don’t worry if it looks clumpy at first; that’s completely normal! As you keep stirring, the mixture will come together.
Troubleshooting: If your dough remains too dry or crumbly after mixing, add a tablespoon of water at a time until it reaches the desired consistency.
Step 4: Cook the Mixture
Place the saucepan over medium heat. Continue stirring as the mixture thickens. This can take about 3-5 minutes. It will begin to form a ball, pulling away from the sides of the pan. This is when you know it’s ready!
Warning: Be careful and keep an eye on the pot during this step. It can overcook quickly. You’re looking for a smooth, pliable dough and not a solid block.
Step 5: Remove & Knead
Once it reaches the right consistency, remove the dough from the heat and allow it to cool slightly (just a couple of minutes will do). Then, turn it out onto a clean surface and knead it gently for about 5 minutes. This helps improve the texture and elasticity.
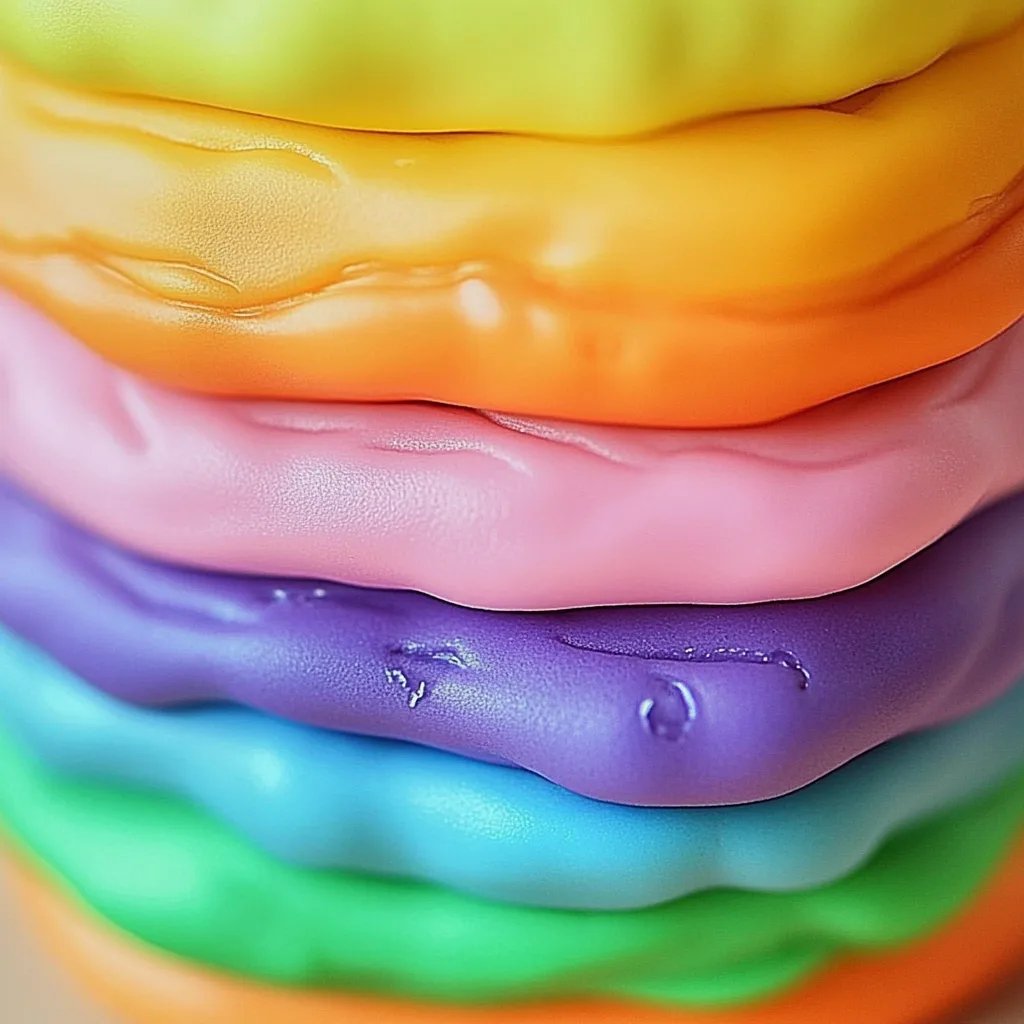
Step 6: Color Your Dough
Here’s the fun part! Divide your dough into equal portions based on how many colors you want to make. Add drops of food coloring to each piece. Don’t be shy—this is where you can go wild with colors! Use your hands to knead the color into the dough until evenly distributed.
Personal Anecdote: I remember the first time I made play dough with my daughter; we ended up with a rainbow of colors all over the kitchen. It became a cherished memory, and now she often asks to make “mushy dough day”!
Step 7: Store Your Play Dough
Once you’ve finished kneading and coloring, it’s time to store! Wrap each color of play dough in wax paper or plastic wrap and place them in an airtight container. Properly stored, your play dough can last for several weeks—if it lasts that long with kids around!
Creative Variation: If you’re feeling adventurous, you can add glitter or even small items like beads for extra texture and sparkle.
Conclusion
Making colorful DIY play dough is not just a fun crafting project; it’s also an opportunity for bonding and creativity. The whole process—from mixing to kneading—provides a sensory experience that both children and adults can enjoy. Plus, you now have the tools and tips to troubleshoot common issues!
So gather your materials, crank up the fun, and let your imagination run wild as you embark on this playful journey. Remember, it’s all about the process, not just the end product. Happy crafting!