How to Make Colored Chalk for Sensory Play: A Step-by-Step Guide
Welcome! I'm excited you've decided to embark on this colorful journey with me. As an avid crafter, I've discovered that making colored chalk not only sparks creativity but also provides a multi-sensory experience that delights both children and adults alike. Whether you’re prepping for a playdate, looking to stimulate young minds, or simply want to spend a rainy afternoon crafting, homemade colored chalk is a fantastic project that adds a vibrant twist to sensory play.
Why Colored Chalk?
Colored chalk is incredibly popular for many reasons. It’s not just for sidewalks and blackboards anymore! This DIY version is perfect for sensory bins, outdoor play, art projects, or even just good old-fashioned drawing. The texture, bright colors, and tactile nature of chalk provide a unique sensory experience that captivates kids and fosters creativity. Plus, making it yourself means you can customize colors, control ingredients, and save money!
What You’ll Need
Before we dive into the step-by-step process, let’s gather our materials. Don’t fret, this project is simple and requires common ingredients that you likely already have on hand:
Materials:
- Plaster of Paris (2 cups): This is the base of our chalk. It hardens quickly and gives the chalk its structure.
- Water (1 cup): To activate the plaster and help mold it into shape.
- Food coloring or liquid watercolors: This is where the magic happens! Use as much as you'd like for vibrant colors.
- Mixing bowl and spoon: For combining the ingredients.
- Silicone molds or cupcake tins: These will shape our chalk.
- Plastic wrap: To cover the molds during the drying process, if desired.
Optional:
- Essential oils: Adding a few drops of essential oils can provide a lovely scent and a calming effect during playtime.
- Additional coloring sources: Natural dyes from beet juice, turmeric, or spirulina powder can be substituted for food coloring for a non-toxic approach.
Step-by-Step Tutorial
Step 1: Prepare Your Workspace
Before starting, ensure your workspace is clean and set up. I recommend using a plastic tablecloth or old newspaper to catch any spills.
Tip: This project can get a bit messy, so consider wearing an apron or old clothes!
Step 2: Mix the Plaster
In your mixing bowl, combine 2 cups of Plaster of Paris with 1 cup of water. Stir vigorously until the mixture is smooth and free of lumps. The consistency should be similar to pancake batter.
Why it matters: Ensuring there are no lumps in the plaster will help achieve a smooth chalk texture.
Common Pitfall: If you find the mixture too thick, you can add a touch more water, but be careful! Too much water will weaken the structure of your chalk.
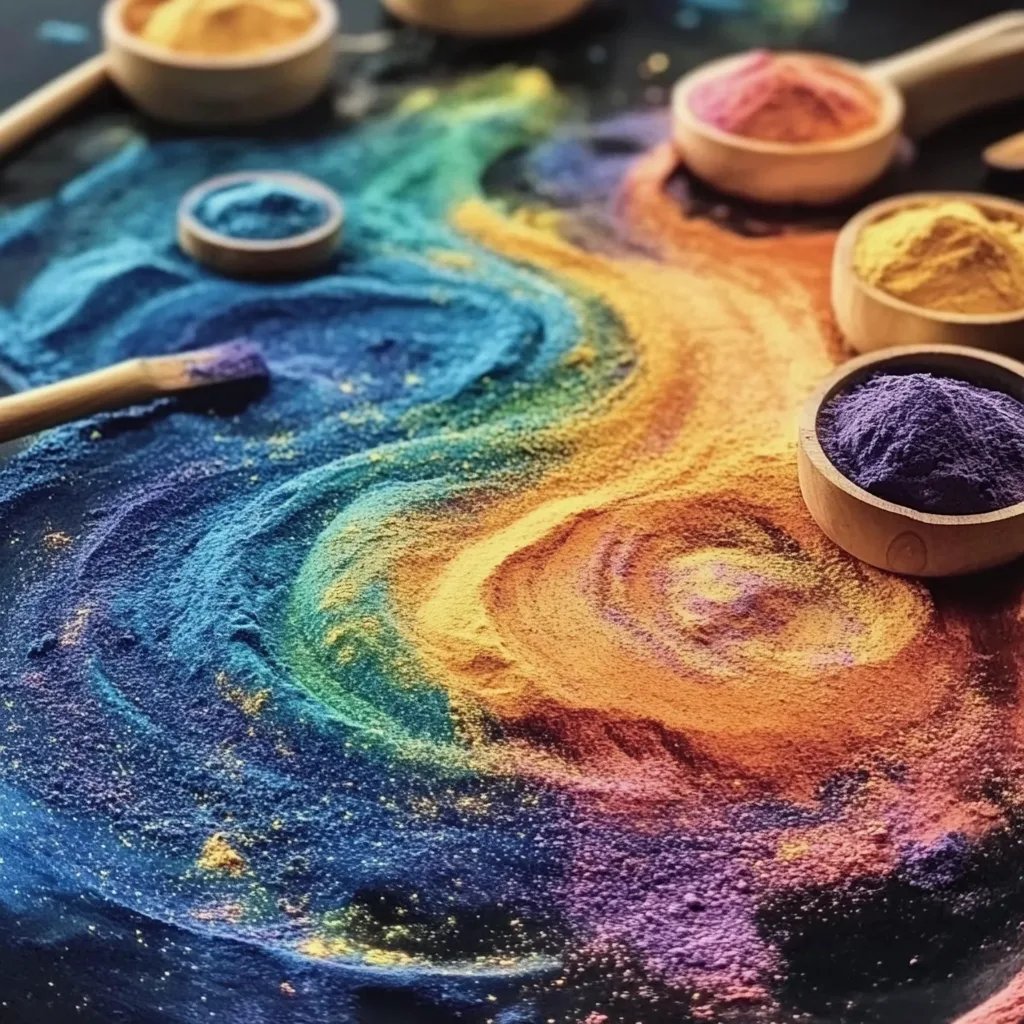
Step 3: Add Color
This is where the fun begins! Divide your plaster mixture into several smaller bowls if you want to make multiple colors. Add food coloring or liquid watercolor to each bowl, stirring until you achieve your desired shade.
Tip: Start with a few drops of food coloring and mix. It's easier to darken a color than to try and lighten it after it’s mixed!
Step 4: Fill Your Molds
Once your colors are mixed, carefully pour the color mixtures into your silicone molds or cupcake tins. Leave some space at the top because the mixture will expand slightly as it sets.
Why it matters: Filling the molds only partway will prevent overflow and mess.
Step 5: Let It Set
Allow your chalk to set for about 24 to 48 hours at room temperature. If you're using silicone molds, you can easily check them without moving the whole mold!
Tip for faster drying: If you live in a warm, dry environment, placing the filled molds outside can speed up the drying process.
Step 6: Remove from Molds
Once dry, carefully remove your chalk from the molds. If using silicone molds, this can be a breeze; just push from the bottom. If you’re using a cupcake tin, running a knife along the edge can help pull them out.
Common Pitfall: If the chalk crumbles, it may not have been mixed thoroughly or was undercooked. Consider adjusting your water-to-plaster ratio the next time.
Step 7: Store Your Chalk
Keep your finished chalk in a dry, cool place. I like to store mine in a small basket or a decorative jar that can double as decoration on a craft shelf.
Safety Warnings
- Always work in a well-ventilated area when using plaster to avoid inhaling dust.
- Supervise children when they're using colored chalk, especially if they are younger, as they might be tempted to put pieces in their mouths.
Creative Variations
- Layered Chalk: For a unique effect, you can pour one color into the mold, let it set slightly, and then add a second color on top for beautiful layered chalk.
- Chalk Paint: Instead of forming it into sticks, mix the plaster with water and color to create a paint-like consistency.
- Chalk Crayons: For a different texture, add a bit of cornstarch to the mix to create smoother, crayon-like chalk.
Personal Insights
One of my fondest memories involves creating colored chalk with my own children during a warm summer day. They giggled, chattered, and let their imaginations soar as they created their own sidewalk masterpieces. Seeing the joy on their faces as they experimented with colors, shapes, and even collaborative works was truly priceless.
Final Thoughts
Making colored chalk is an easy and rewarding project that allows for endless creativity. I hope this guide has inspired you to give it a try! Remember, crafting is about the process, not just the end result. So gather those materials, unleash your inner artist, and enjoy the colorful world of sensory play. If you have any questions along the way or want to share your creations, feel free to reach out! Happy crafting!