How to Make Color-Chase Milk Surprise: A Creative and Delicious Adventure
Hello, fellow crafters and culinary enthusiasts! Today, I’m excited to take you on a colorful journey that brings together creativity and a touch of whimsy: making Color-Chase Milk Surprise! This delightful drink has gained popularity among both children and adults, thanks to its visually stunning presentation and playful flavor profile. Whether it’s for a party, a special celebration, or just a fun family activity, this drink is the perfect way to add a dash of joy to any occasion.
In this detailed guide, I'm going to personally share my step-by-step process for making Color-Chase Milk Surprise. You'll learn not only how to create this vibrant beverage but also gain insights on why each step is crucial, tips for troubleshooting, and some fun variations to keep things exciting. So gather your materials and let’s dive in!
What is Color-Chase Milk Surprise?
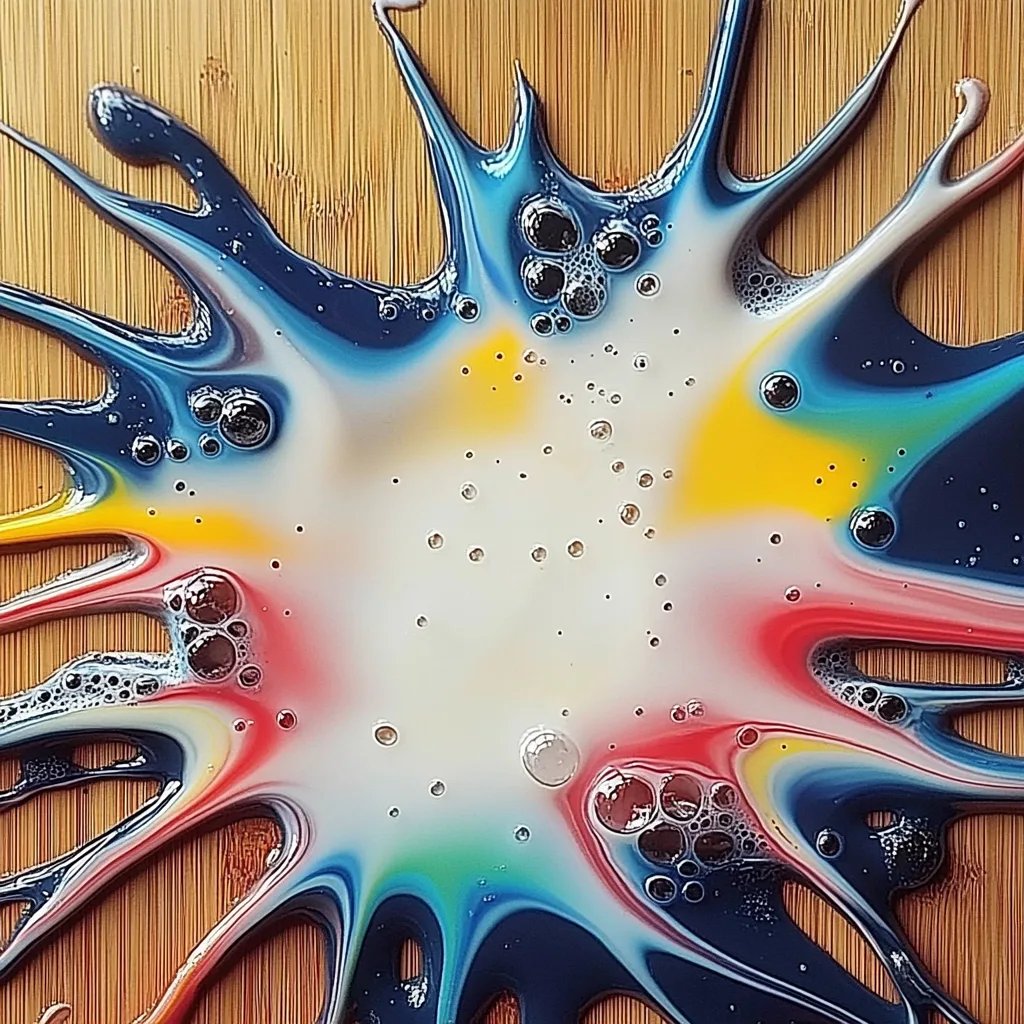
Color-Chase Milk Surprise is a vibrant drink that features layers of colorful milk created through the use of food coloring and a swirling technique. When you present this eye-catching beverage, it offers a burst of playful colors that can be swirled together for a rainbow effect. The magic lies in the combination of flavors, colors, and textures, which makes it not only a treat for the eyes but also for the taste buds!
This drink is popular for various occasions—from birthday parties and family gatherings to simple, sunny afternoons when you want to brighten up your day. The vibrant colors are not only enticing but also ignite creativity and a sense of adventure in both kids and adults alike.
Materials You’ll Need
Before we get started, let’s gather the materials you will need. This recipe calls for simple and accessible ingredients that you might already have at home:
Ingredients:
- Milk – Whole milk is recommended for its creamy texture, but you can also use almond milk, oat milk, or any other milk alternative.
- Food Coloring – Gel food coloring works best as it’s more concentrated, but liquid food coloring will also do the trick.
- Sugar – Optional, for sweetness.
- Vanilla Extract – Optional, for flavor enhancement.
Tools:
- Clear Glasses or Cups – The transparency helps showcase the color layers.
- Whisk or Spoon – For mixing ingredients.
- Small Bowls or Containers – For mixing your colored milk.
- Dropper or Toothpicks – For applying food coloring.
Step-by-Step Tutorial
Step 1: Preparing Your Workspace
Before you start crafting, I recommend setting up your workspace. Ensure you have a clean, flat surface and all your materials within reach. This organization will help you streamline the process and make it more enjoyable!
Step 2: Color Your Milk
- Measure Your Milk: Pour the desired amount of milk into several small bowls. Aim for about 1 cup of milk per color you intend to create. I usually stick to an assortment of three to five colors.
- Add Food Coloring: Drop in food coloring into each of the bowls until you reach your desired shades. Start with a small amount (one drop of gel food coloring) and gradually add more until you achieve vibrant hues. Remember, bright colors look stunning in the finished product!
Tip: Make sure to use different utensils for each color or wash them in between to avoid mixing colors too soon.
Step 3: Sweeten and Flavor (Optional)
If you like a little sweetness in your milk, this is the time to add sugar or vanilla extract. Stir each bowl gently with a whisk or spoon until fully combined. Taste a small amount to ensure the sweetness is to your liking.
Step 4: Layer Your Colors
- Layering Technique: Begin pouring the colored milk into your clear glass, one color at a time. Pour slowly and gently down the side of the glass to create distinct layers. Start with the heaviest color (usually the darkest) and follow with the lighter shades.
Caution: If you pour too quickly or too forcefully, you might disrupt the layering effect. If this happens, fear not; simply let it settle for a moment, and you can adjust the layers with subsequent pours.
Step 5: Create the Color-Chase Effect
Once you’ve layered the colored milk, it’s time to create the Color-Chase effect!
- Take a long spoon or a straw and gently swirl it through the layers once or twice. You’ll notice the colors start to blend beautifully, creating mesmerizing patterns.
What Could Go Wrong?: You might over-swirl and muddy the colors. If you do, don’t worry! Just pour in another layer of the base color to resurrect those vibrant layers.
Step 6: Final Touches and Presentation
To elevate your Color-Chase Milk Surprise, consider garnishing it with whipped cream, sprinkles, or edible glitter on top. This adds an extra flair that both kids and adults will adore!
Step 7: Enjoy and Share
Now comes the best part—enjoying your masterpiece! Gather your family or friends, showcase your Color-Chase Milk Surprise, and celebrate your creativity. Don’t forget to take some pictures; this masterpiece deserves to be shared!
Troubleshooting Tips
Creating the perfect Color-Chase Milk Surprise doesn’t come without its challenges. Here are some common issues and how to fix them:
- Muddy Colors: If your colors become muddy while swirling, it could be due to over-mixing. To resolve this, add a layer of the original milk color to bring back the defined layers.
- Too Sweeter or Bitter: Taste as you go! If it’s too sweet, consider balancing it with unsweetened milk. If it’s too bland or bitter, a little more sugar could do wonders.
- Layer Loss: If the colors merge too quickly, try chilling the milk before layering or use thicker milks, which may hold layers better.
Creative Variations
The possibilities for variations on Color-Chase Milk Surprise are endless! Here are a few creative spins you can try:
- Add Fruit Purees: For a fruity twist, incorporate real fruit purees for flavor and color. Strawberry puree, blueberry puree, or mango can add layers of both taste and color.
- Use Different Dairy: Experiment with different types of milk such as coconut milk for a tropical vibe or buttermilk for a tangy flavor.
- Themed Colors: Adjust your color palette to match specific celebrations. For instance, use red and green for Christmas or pastels for Easter!
Safety Warnings
While making Color-Chase Milk Surprise is mostly safe, remember to be cautious with food coloring, especially if you have sensitive skin. Avoid direct contact and wash your hands thoroughly after handling. Always supervise young children during the crafting process to ensure safety.
Conclusion
Crafting your own Color-Chase Milk Surprise is not just about making a drink; it's about embracing creativity and creating cherished memories with loved ones. Whether you're sipping it on a sunny day or serving it at a special gathering, this fun beverage brings colors to life and joy to the palate. With the steps and tips I've shared, you’ll be well on your way to mastering this delicious drink.
So roll up your sleeves, dive into this colorful adventure, and let your creativity run wild! Happy crafting!