How to Make Clear Glue Mosaic Suncatcher Craft: A Step-by-Step Guide
Hello, fellow crafters! Today I'm excited to share with you one of my all-time favorite DIY projects: creating a Clear Glue Mosaic Suncatcher. Not only is this craft perfect for brightening up your windows, but it also adds a touch of personal flair to your home decor. Plus, it’s an excellent activity for all ages — whether you're a parent looking for a fun project to do with kids, a teacher seeking engaging classroom activities, or simply a DIY enthusiast like me. Let’s jump right in!
What is a Clear Glue Mosaic Suncatcher?
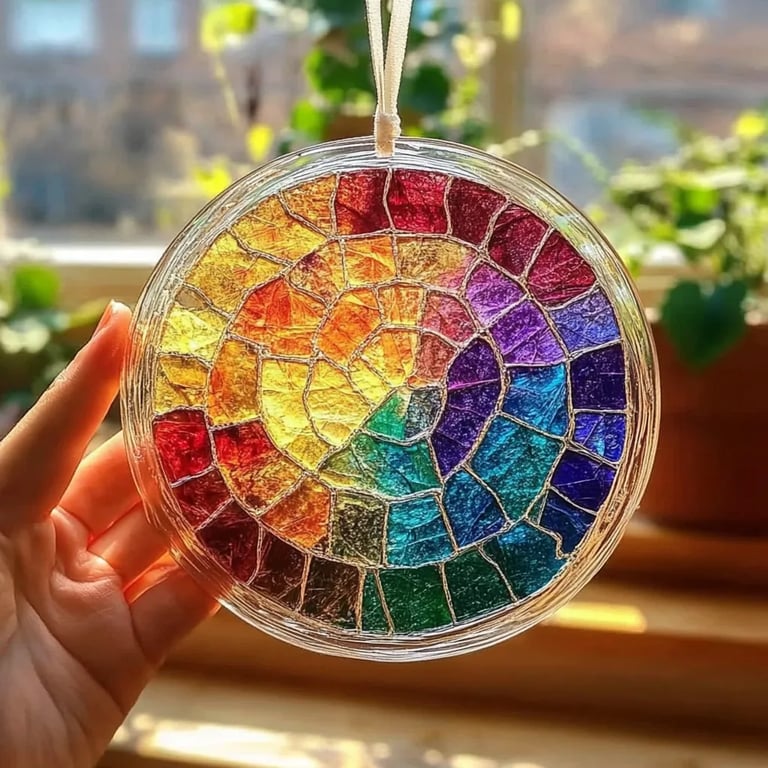
A Clear Glue Mosaic Suncatcher is essentially a work of art created using colorful materials arranged in a mosaic pattern and glued down using clear glue. As sunlight streams through your creations, it illuminates them, creating a beautiful array of colors that dance across your walls. These suncatchers can be made in any shape or design, making them highly customizable to suit personal tastes and seasonal themes.
Why is this craft so popular, you ask? Well, creating suncatchers is not only an enjoyable hands-on experience, it also allows for unlimited creativity. Plus, they make fantastic gifts, or you can simply hang them in your home to brighten your space. I often hang mine in the kitchen or my craft room, and they never fail to put a smile on my face.
Materials You'll Need
Before we dive into the tutorial, here’s a comprehensive list of materials you will need:
- Clear Glue: A gel-type clear glue works best for this project as it holds firm and dries transparent.
- Colored Tissue Paper or Craft Paper: You can opt for various colors and patterns. Feel free to experiment with different textures!
- Parchment Paper or Wax Paper: This will serve as the base for your suncatcher and prevent the glue from sticking.
- Scissors: Use these to cut your tissue paper or craft paper into small pieces.
- Paintbrush (optional): Helpful for spreading the glue evenly.
- Craft knife (optional): For more precise cuts or to create designs.
- Acrylic Sealer Spray (optional): To protect your suncatcher once it’s completed.
- Hanging tool (string or fishing line): Optional, for hanging your finished piece.
Step-by-Step Tutorial
Step 1: Prepare Your Workspace
Before starting any crafting project, it’s essential to organize your workspace. Lay out all your materials so everything is easily accessible. Consider covering your work surface with newspaper or a drop cloth for easy clean-up, as things can get sticky!
Step 2: Cut Your Paper into Pieces
This is where the fun begins! Using your scissors, cut the colored tissue or craft paper into small squares or other shapes (like circles or triangles). The size can vary, but I generally recommend aiming for pieces around 1-2 inches in size. Various shapes will add texture and depth to your mosaic later.
Step 3: Create Your Design
On your parchment or wax paper, lay out your colored pieces into a design that speaks to you. You might find inspiration in nature—think flowers, suns, or even abstract shapes. This is your chance to express your creativity.
Tip: I often take a photo of my design before gluing to make sure I can recreate it if needed!
Step 4: Apply the Glue
Once you're happy with your design, it's time to start adhering the pieces. Pour a generous amount of clear glue into a small bowl. Using a paintbrush, apply glue to the back of each piece of colored paper and lay it onto your design on the parchment paper. Ensure that the pieces are snug but not overlapping too much, as this can cause issues with dry time and transparency.
What Could Go Wrong: If you accidentally use too much glue, it may cause the colors to blur or run when drying. If that happens, don’t fret! Let it dry, and you can layer more colored pieces over those areas after the initial drying process is complete.
Step 5: Layering and Filling Gaps
Once the first layer of colored paper is glued down, you may notice some gaps. That’s perfectly normal! I recommend going back in for a second round, filling in those gaps with small pieces of colored paper. This will make your suncatcher look more vibrant.
Step 6: Let It Dry
Allow your suncatcher to dry for at least 24 hours. I know it’s hard to wait, but patience really is key here! After about 12 hours, check to see if it’s becoming firm in texture. You can speed up the process by placing it in a warm spot (not directly in sunlight, as this might warp the glue).
Step 7: Peel and Hang
Once completely dry, gently peel your suncatcher off the parchment paper. It should come off easily if you’ve used enough glue. Use a craft knife to smooth any rough edges if needed.
If you'd like to apply a coat of acrylic sealer spray, do so outdoors in a well-ventilated area. This adds an extra layer of protection and enhances color vibrancy.
Once the sealer is dry, attach a string or fishing line so you can hang your beautiful creation in the window.
Tips for Success
- Experiment with Colors: Don’t hesitate to mix and match various colors and textures. The beauty of crafting is in exploration!
- Safety First: Ensure your crafting space is well-ventilated, and keep any crafting tools away from small children unless supervised.
- Try Different Shapes: While traditional suncatchers are round or oval, you can create shapes like stars or hearts for holiday decorations!
- Gift it: Consider making suncatchers as personalized gifts. You can include themes based on the recipient’s favorite colors.
Personal Anecdote
I remember the first time I made a Clear Glue Mosaic Suncatcher with my niece. She was about six years old, and we had a fantastic time laughing and choosing colors together. Despite a few glue disasters and a lot of giggles, she made a beautiful butterfly design, and it remains one of my cherished memories! Crafting with loved ones adds a deeper layer of meaning to the project, something I encourage you to consider.
Conclusion
Creating a Clear Glue Mosaic Suncatcher is not only a relaxing and rewarding activity—it’s an opportunity to create something beautiful that serves as a vibrant reminder of your creativity. This craft is a great way to explore color, texture, and artistic expression, making it a perfect activity for anyone.
I hope this guide has inspired you to try your hand at making your own suncatcher. Remember, the only limit is your imagination! Happy crafting, and may your creations shine brightly in the sunlight!