How to Make Chromatography Coffee Filter Butterflies
Hello, fellow crafters! Today, I'm beyond excited to share with you one of my favorite projects: Chromatography Coffee Filter Butterflies. If you're looking for a vibrant and engaging craft that combines art, science, and a sprinkle of magic, you've come to the right place! These butterflies are not only aesthetically pleasing but also a fantastic way to explore the principles of chromatography while having fun.
What Are Chromatography Coffee Filter Butterflies?
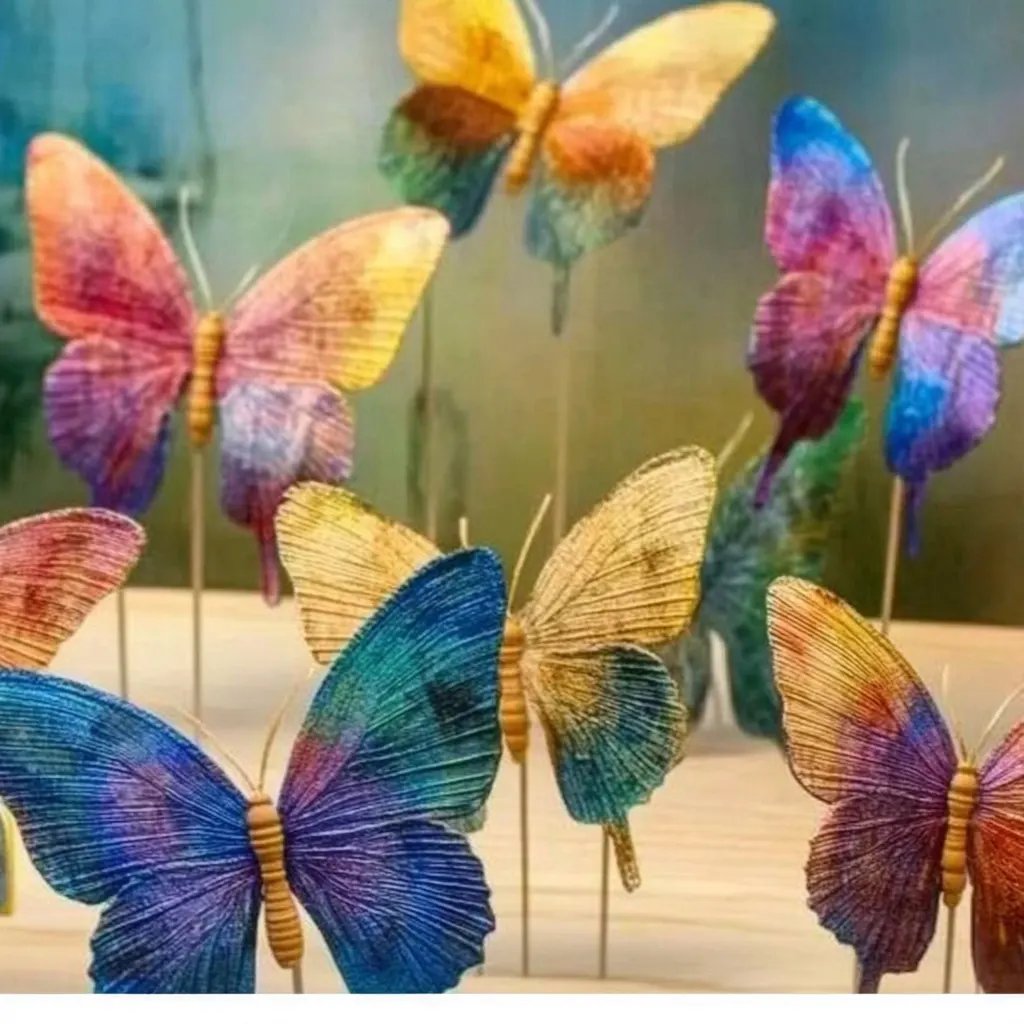
Chromatography Coffee Filter Butterflies are colorful paper butterflies created using coffee filters, water, and food coloring. The process of making these butterflies involves using chromatography to separate colored dyes, which results in a stunning array of hues and patterns. This project is popular among teachers, parents, and crafters because it's easy to execute, visually captivating, and perfect for various occasions, from educational activities to decorations for parties and springtime celebrations.
I love using them as vibrant decorations for my home, making cards, or simply as a fun craft day project with my children. The delicate textures and colors of these butterflies can brighten up any space—trust me when I say once you start making them, you'll want to create a whole swarm!
What You'll Need
To get started, gather the following materials. Rest assured, they are simple and accessible!
Materials:
- Coffee filters (round or square)— These will serve as the base for your butterflies.
- Washable markers— Choose a variety of colors that you love.
- Water— To activate the chromatography effect.
- A spray bottle or pipette— This will help in applying water to the coffee filters.
- Clothespins— For holding your butterfly together and giving it a "body."
- Pipe cleaners (optional)— For antennae.
- Plastic sheet or tray— To protect your work surface.
- Scissors (optional)— If you wish to trim your butterflies to a specific shape.
- Paper towels— Handy for cleaning spills and drying the filters.
Step-by-Step Tutorial
Ready to get your crafting hands colorful? Let’s dive right into the creation process!
Step 1: Prepare Your Workspace
Set up your crafting station with a plastic sheet or tray to catch any spills or excess colors. Trust me, things can get a little messy (in a fun way!), so having a designated workspace makes clean-up a breeze.
Step 2: Draw Your Design
Using washable markers, create a design on your coffee filter. You can draw circles, lines, spirals, or even doodle your favorite patterns. Tip: Be generous with the ink to get vibrant colors. The concentrated areas of color will produce beautiful effects during the chromatography process.
What Could Go Wrong? If your design is too light, it might yield softer, less vibrant results. Always aim to use bold strokes!
Step 3: Activate Chromatography with Water
Here’s where the magic happens! Using your spray bottle or pipette, gently mist the coffee filter with water. You don't want to drown it; just enough to see the colors start to run and blend.
Why This Matters: The water helps to dissolve the dyes in the markers, allowing them to spread and separate. As the colors travel outward, fascinating patterns emerge—this is chromatography in action!
What Could Go Wrong? If you apply too much water, the colors may bleed too much, resulting in a muddy mess instead of distinct colors. If that happens, don’t panic! Let the filter dry a bit before attempting to reposition or experimenting with another filter.
Step 4: Dry the Filters
Once the colors have spread as much as you like, place the coffee filter somewhere to dry. I typically lay them flat on paper towels. If impatience sets in, I sometimes use a hairdryer on a low setting to speed things up.
Alternative Method: If you want a quicker route, you can also place the filters in the oven on low heat (around 175°F) for a few minutes. Just keep a close eye on them to avoid burning!
Step 5: Shape Your Butterflies
Once dry, it’s time to transform these beautiful filters into butterflies! Fold the filter in half, and then gather the middle section together.
Tip: Once folded, wrap the folded section with a clothespin, as it acts as the butterfly's body. If you're feeling a little extra crafty, you can also twist a pipe cleaner around the center of the folded filter to create colorful antennas.
Step 6: Display Your Artwork
Now that your chromatography butterflies are ready, it’s time to show them off! You can hang them on strings for a fluttering display, attach them to a window for a stained-glass effect, or even create a mobile. The possibilities are endless!
Creative Variations
Feeling inspired? Here are some creative variations to personalize your butterfly-making experience:
- Add Glitter: Before layering your filter with colors, sprinkle some glitter onto the wet dye. Once dry, it adds a lovely sparkle!
- Use Food Coloring: If you don't have markers, you can use food coloring mixed with water in a dropper for a different effect.
- Themed Colors: Match colors to themes—pastels for Easter, bold colors for parties, or seasonal shades for different holidays.
Safety Warnings
Even though all the materials used are generally safe, it’s important to supervise kids during the craft to prevent any accidental ingestion of markers or food coloring. Ensure you are working in a well-ventilated area if you're using concentrated food coloring, as the fumes can be quite strong.
Final Thoughts
In conclusion, creating Chromatography Coffee Filter Butterflies offers a delightful blend of artistic expression and scientific discovery. I absolutely love how this project inspires creativity and curiosity, and I hope you find as much joy in it as I do. Remember to enjoy the process—there’s no right or wrong way to make your butterflies.
If you have any questions or want to share your colorful creations, please leave a comment below. Happy crafting, and may your butterflies be as bright as your imagination! 🦋✨