How to Make Chalk & Vinegar Pop Rockets: An Explosive Craft Adventure!
Welcome to my crafting corner! Today, I'm excited to share a delightful DIY project that merges creativity, science, and a splash of fun—making Chalk & Vinegar Pop Rockets! If you’re looking for an engaging activity that will both thrill and educate youngsters, you've hit the jackpot. These mini pop rockets are easy to make, require minimal materials, and are perfect for a birthday party experiment, a rainy day project, or simply a delightful way to introduce the wonders of chemistry to kids.
What Are Chalk & Vinegar Pop Rockets?
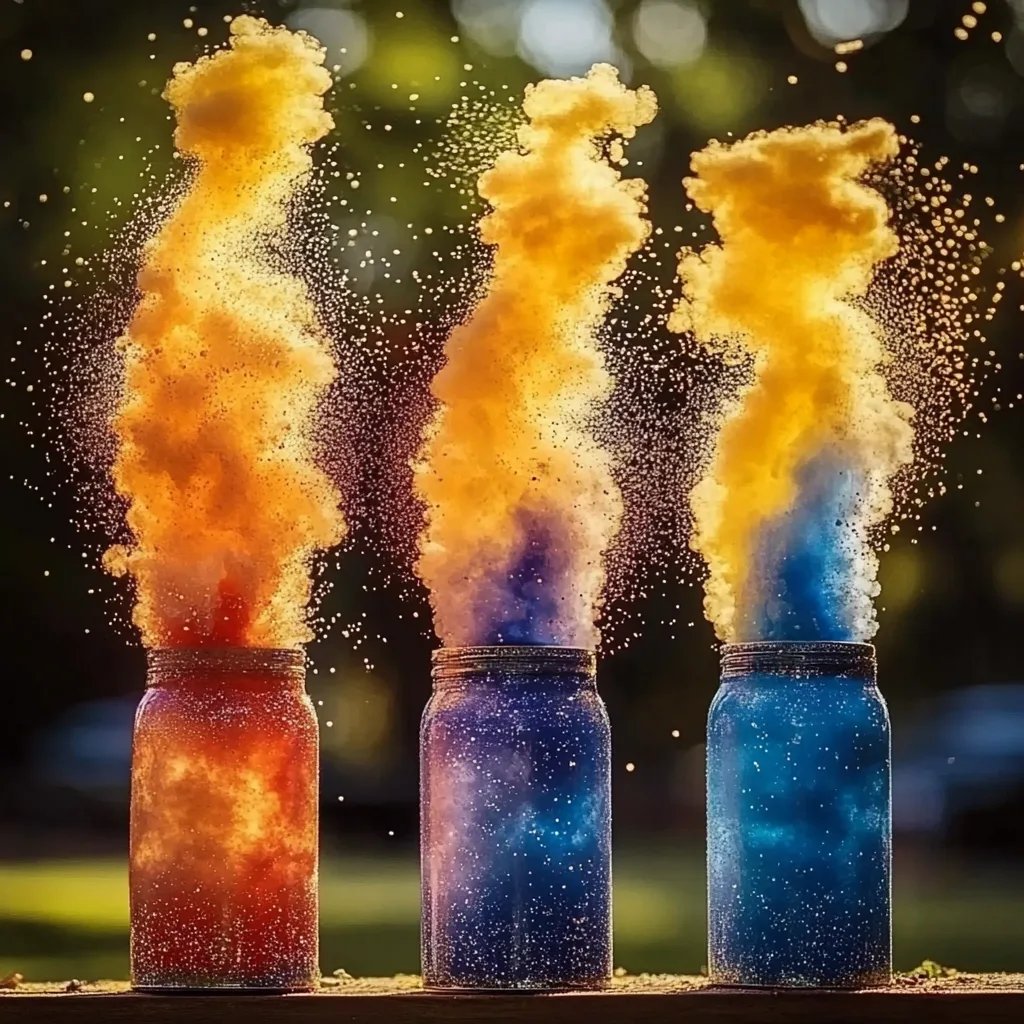
Chalk & Vinegar Pop Rockets are fascinating little devices that create a chemical reaction when baking soda (the chalk substitute) and vinegar combine, creating carbon dioxide gas that builds up pressure until it launches! This simple yet incredible performance captures the imagination and brings forth the spirit of experimentation right in your backyard. Perfect for kids and adults alike, they make a creative project for school science fairs or a fun, hands-on learning experience about chemical reactions.
Why Are They So Popular?
The allure of these pop rockets lies in their fun factor and educational value. Kids get to witness a spectacular reaction that they initiated, leading to an invaluable "wow" moment. They also present a unique opportunity for parents and teachers to discuss the principles of acid-base reactions and gas production in a very tangible manner. Plus, who doesn’t love a good explosion (in a controlled, safe manner)?
Now, without further ado, let’s jump right into the tutorial!
Materials Needed
Before we start, gather the following materials:
- Chalk (or any hard, calcium carbonate-based substance)
- Vinegar (white or apple cider)
- Baking soda (if you can’t find chalk)
- Small plastic film canisters or similar containers with a tight-fitting lid
- Measuring spoons
- Construction paper, duct tape, or small decorations (for personalizing your rockets)
- Safety goggles (for eye protection)
- An outdoor space (this is a messy but fun project, ideally suited for the yard)
Step-by-Step Tutorial on Making Chalk & Vinegar Pop Rockets
Step 1: Prepare the Chalk
Start by crushing your chalk into a fine powder. Using a bag and a hammer works wonders, but if you want to limit mess, you can also use a blender (just make sure it's clean first!). This step is crucial because the finer the chalk powder, the better it will react with vinegar.
Tip: If you're using baking soda instead, you can skip this step. Simply measure 1-2 teaspoons of baking soda instead!
Step 2: Set Up Your Launch Pad
Grab your small plastic film canisters. These will act as our rocket bodies. If your canisters don’t have a lid that snaps shut tightly, you may need to use small containers that have great pressure tolerance.
What Could Go Wrong? Make sure the lids fit well because if they are loose, you might not achieve the pressure needed for a successful launch.
Step 3: Mix the Ingredients
Add about 1 tablespoon of your crushed chalk (or baking soda) into the canister. Next, carefully measure about 1-2 tablespoons of vinegar and have it ready in a separate container — once mixed, you don’t have much time before the reaction starts!
Step 4: The Exciting Moment
Now, here’s where the fun begins! Pour the vinegar into the canister with the chalk or baking soda and quickly snap the lid on tightly. You want the lid to form a good seal to trap the gas inside.
Why This Step Matters
The reaction between vinegar (acetic acid) and baking soda (sodium bicarbonate) produces carbon dioxide gas rapidly, which builds up pressure. The tighter the seal, the higher your rocket will pop!
Step 5: Step Back and Launch!
Immediately place the canister on the ground lid-side down and stand back! Within seconds, you’ll hear a pop as the canister launches into the air.
Tip: Make sure everyone stands a safe distance back. It may not be the most effective launch every time, but that's part of the fun!
Troubleshooting
- If it doesn’t launch: Ensure the lid was fitted tightly. If the lid is too loose, the gas will escape without creating enough pressure.
- If it makes a minor mess: Remember that a bit of overflow is part of the process. Lay down some newspaper below for easy cleanup!
Safety Precautions
- Wear safety goggles during the entire process. Expect a bit of overflow and gas release, which is completely safe but it's always best to err on the side of caution.
- Don’t aim the rockets at anyone or anything.
Creative Additions & Variations
Want to step things up? Here are a few variations to customize your Pop Rockets:
- Decorate Your Rockets: Before launching, use colorful construction paper and duct tape to create unique rocket designs. Kids love personalizing their creations.
- Rocket Launch Countdown: Create a countdown with your kids before launching each rocket to build excitement!
- Try Different Containers: Experiment with different types of containers that may create different pressure levels and flight durations.
Personal Anecdote
The first time I made Chalk & Vinegar Pop Rockets with my kids, it was a stormy afternoon, and I was worried we’d end up stuck indoors. I set everything up in the garage and gave each child a platform to decorate their rocket. Their excitement grew as we timed each launch, and the joy on their faces when their creations took flight was priceless. This project quickly turned into a yearly tradition for us, and I love passing this fun activity on to others!
Conclusion
Crafting Chalk & Vinegar Pop Rockets is not only a thrilling experience but also fosters a spirit of experimentation and learning in children. The best part? It’s a fabulous way to spend time together while diving deep into the wonders of science! Whether you're in a classroom, a birthday party, or just enjoying a sunny afternoon, these DIY rockets are sure to ignite curiosity and laughter.
So, gather your materials, invite your family or friends, and unleash your inner scientist with this explosively fun project. I can't wait to hear about your rocket launching adventures. Until next time—happy crafting!