How to Make Candy Galaxy Rock Candy Sticks: A Sweet Journey into DIY Confectionery
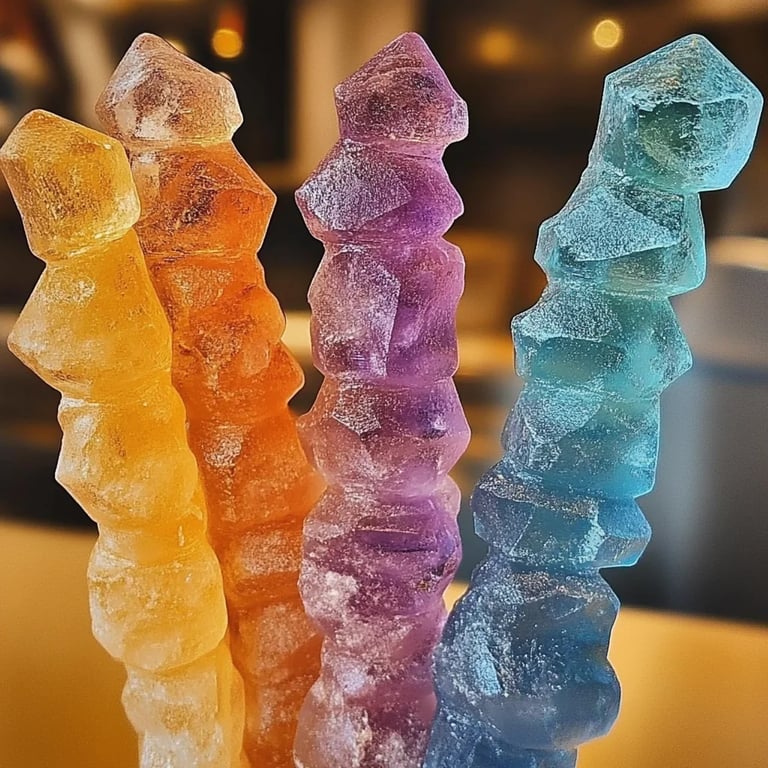
Welcome to my candy-making adventure! Today, I’m excited to share with you the whimsical world of Candy Galaxy Rock Candy Sticks—a delightful treat that glitters like the cosmos and tastes like pure nostalgia. If you’re wondering what these enchanting confections are, let me paint a picture for you. Rock candy is essentially sugar that has crystallized into beautiful, glittery structures. When we infuse them with stunning colors and flavors, they transform into Candy Galaxy Rock Candy Sticks, perfect for parties, celebrations, or simply to satisfy that sweet tooth!
Why They’re Popular
These colorful sticks aren’t just delicious; they evoke a sense of wonder and creativity. They’ve become a favorite for birthday parties, events, and weddings—not just for their taste but also for their captivating appearance. When I first made them, it was a magical experience witnessing the sugar crystallize and take form. Plus, they're a fantastic DIY project that teaches the science of sugar, making it a perfect activity for both kids and adults!
When to Use Them
You might be wondering when is the best time to whip up these delightful galaxy sticks. I’ve found they’re fantastic for:
- Birthday Parties: They can be a star attraction on dessert tables.
- Themed Events: Think celestial, magical, or birthday themes.
- Gifts: Wrapped in cute packaging, they make vibrant homemade gifts.
- Treat Yourself Sessions: Why not enjoy a little crafting and then indulging afterwards?
Gathering Your Materials
Before we dive into the process, let's gather our supplies. This will make everything smoother as we embark on our candy-making journey together!
Need-to-Have Ingredients:
- Granulated Sugar (3 cups): This is our primary ingredient. Quality matters!
- Water (1 cup): Essential for dissolving the sugar.
- Flavor Extracts (1-2 teaspoons): Vanilla, almond, or even fruity flavors can add a personal touch.
- Food Coloring (gel or liquid): Choose vibrant colors for a galaxy effect.
- Wooden Skewers or Lollipop Sticks (one per candy stick): This will form the base of our candy sticks.
- Clothespins: To suspend the skewers over the jar.
- Small Jars or Glasses: For crystallization.
Step-by-Step Tutorial
1. Make the Sugar Syrup
First things first, let's make our sugar syrup. In a medium saucepan, combine the granulated sugar and water. Heat over medium heat, stirring until the sugar is completely dissolved.
Why It Matters: Dissolving the sugar completely is crucial for even crystallization. If sugar grains remain, they can sabotage the whole process.
Potential Issues: If the mixture starts to boil too quickly while you're stirring, it can create sugar crystals prematurely. Keep the heat moderate and stay attentive.
2. Cool and Add Flavor and Color
Once all the sugar is dissolved, remove the saucepan from heat. Allow the syrup to cool for about 10-15 minutes. This step avoids cooking the food coloring and extracts, preserving their vibrant hues and flavors. When cooled, mix in your chosen flavorings and food coloring.
Pro Tip: Start with a little food coloring and gradually add more until you reach your desired shade. Creating a gradient can amplify that galaxy effect!
3. Prepare the Skewers
While waiting for the syrup to cool, prepare your skewers. Dip each skewer into the sugar syrup, ensuring it's well-coated. This “priming” helps the first crystals form and gives your candy its structure.
Why It Matters: This helps the sugar crystals have a surface to cling to, creating that signature rock candy look.
4. Pour the Mixture
Carefully pour the cooled sugar syrup into your jars, but leave some space at the top (about an inch) to prevent overflow during crystallization. Place the skewers in the jars across the rim; clothes pins can help keep them suspended and straight.
What Could Go Wrong: If the skewer touches the bottom of the jar, the crystals can form unevenly around it, making it less visually appealing.
5. Wait Patiently
Now comes the hard part—patience! Cover the jars with a clean cloth to prevent dust from settling while allowing air circulation. Place them in a cool, undisturbed location. You’ll want to check the jars daily, and within 5-7 days, you should see beautiful crystals forming on the skewers.
Personal Anecdote: I recall the joy of peeking at my jars every morning, marveling at the growth. It felt like waiting for a beautiful flower to bloom!
6. Harvest Your Candy
Once your rock candy has grown to about 1 inch or more in size (the longer you wait, the larger the crystals you can form), it's time to remove your skewers from the jars. Gently twist them out to avoid breaking the candy.
Adding the Final Touches
At this point, you might want to decorate your Galaxy Rock Candy Sticks further:
- Dip in Chocolate: Melt some chocolate and dip the bottom of the sticks for an extra layer of indulgence!
- Sprinkle with Edible Glitter: Once cooled, a dusting of edible glitter can truly give a cosmic effect.
Storage and Presentation
Store your candy sticks in an airtight container at room temperature. They're best enjoyed within a couple of weeks, although I doubt they’ll last that long once your friends and family get to them!
Creative Variations
- Layering Colors: When pouring the syrup into jars, alternate between different colors to create a layering effect.
- Different Shapes: Instead of sticks, try using silicone molds to create interesting shapes, perfect for themed parties.
- Flavor Combinations: Mix flavors—for instance, a layer of cherry followed by lemon—for a deliciously surprising twist!
Safety Tips
- Handle Hot Syrup with Care: Sugar syrup can become extremely hot—always use caution and keep kids supervised when making this treat.
- Allergy Considerations: If gifting your candy, be sure to label any ingredients that could trigger allergies.
Conclusion
And there you have it! Making Candy Galaxy Rock Candy Sticks is not just about creating a tasty treat; it’s about embracing the joy of crafting, sparking creativity, and adding a little sweetness to your life. I hope you find as much joy in this project as I do and that you inspire others with your colorful creations. Enjoy the journey and happy candy making!