How to Make Butter Slime Magic: A Step-by-Step Guide to Crafting Your Own Soft and Spreadable Delight
Hello, fellow crafters! Today, I’m really excited to share my favorite slime-making venture that will transform our understanding of this squishy phenomenon: Butter Slime Magic. If you’ve stumbled upon it online or seen it in stores, you know how mesmerizing it can be. The texture is irresistibly soft and creamy, perfect for both sensory play and just satisfying your hands as they stretch and squish it around. Let's get started on this delightful crafting journey together!
What is Butter Slime and Why is it So Popular?
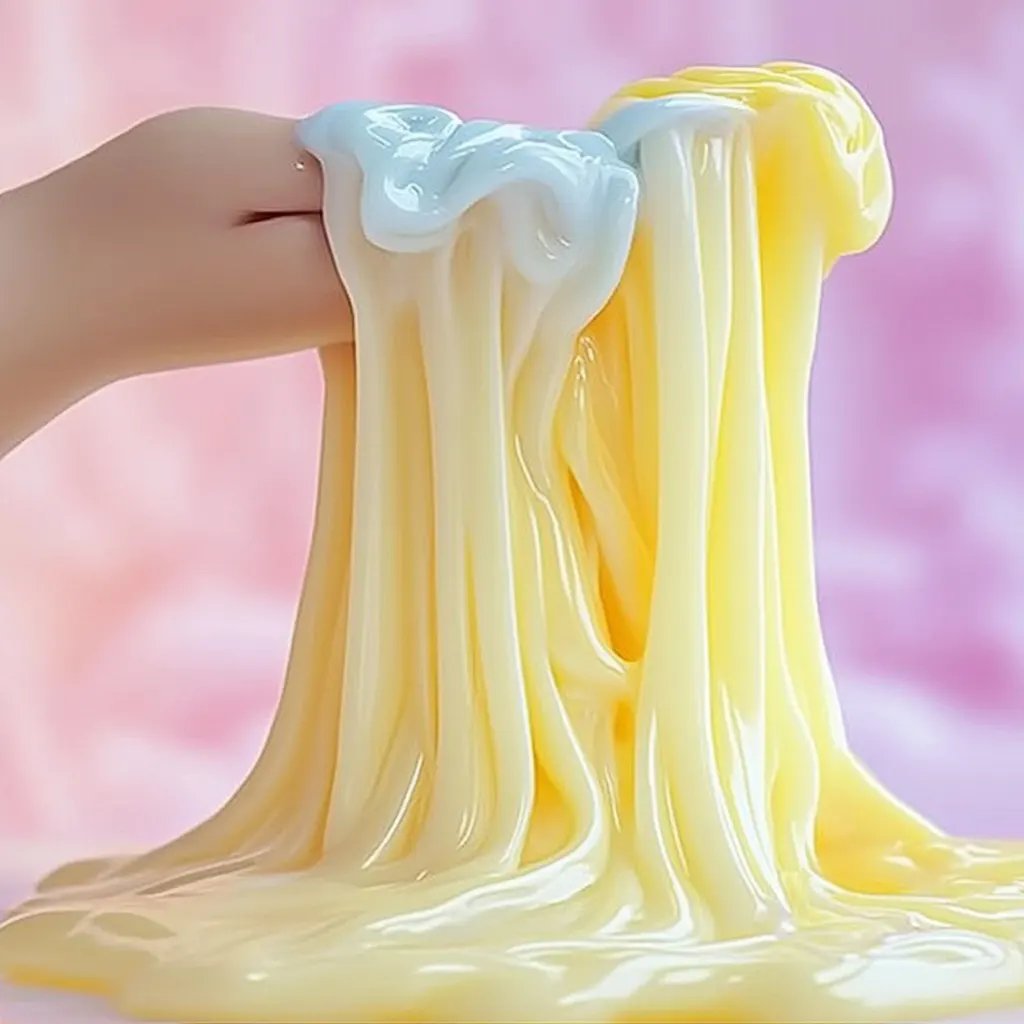
Butter slime is a unique type of slime known for its thick, fluffy, and extremely spreadable consistency. It's called "butter" slime because it resembles the creamy texture of butter, lending it a luxe, satisfying quality that regular slime just can't match. Its popularity has soared, particularly among children and teens, as it offers a refreshing twist on the traditional gooey slime experience. Butter slime is perfect for fun playdates, birthday parties, or even just a cozy afternoon at home when you need a creative outlet.
Beyond just being fun, it can also be a fantastic stress reliever. There’s something about the tactile experience of kneading and molding slime that can help calm the mind. So, whether you’re a fellow slime enthusiast, a parent seeking engaging activities for your kids, or someone just looking to explore a new hobby, making butter slime is definitely a worthwhile endeavor!
Materials You’ll Need
I believe that one of the best parts of crafting is using materials that are easily accessible. Here’s what you’ll need for your butter slime magic:
Essential Ingredients:
- White School Glue (1 cup) – This forms the base of our slime.
- Shaving Cream (2 cups) – Creates that fluffy, airy texture butter slime is known for.
- Corn Starch (1/2 cup) – Gives the slime its signature buttery consistency.
- Contact Lens Solution (1 tablespoon) – Activates the slime and helps it form.
- Food Coloring (optional) – Choose any color you desire, or omit it for a more classic look.
- Baking Soda (1/2 teaspoon) – Optional, but helps with the slime’s texture.
Optional Ingredients for Customization:
- Foam beads for added texture and crunch.
- Scented oils or essential oils to give your slime a lovely fragrance.
Safety Warning:
Before we jump into the process, it’s essential to note that while these ingredients are generally safe, always supervise children during slime-making sessions. Make sure no one has allergies to any of the ingredients, particularly if you're incorporating scents or additives.
Step-by-Step Tutorial for Butter Slime Magic
Now, let’s get down to the nitty-gritty of making our butter slime! Throughout this process, I’ll share tips, tricks, and potential pitfalls to avoid.
Step 1: Prepare Your Workspace
Before you start, ensure you have a clean, flat workspace. I like to use a large table covered in a plastic tablecloth or wax paper for easy cleanup. Gather all your supplies so you’re ready to go without any interruptions!
Step 2: Mix the Glue and Shaving Cream
In a large mixing bowl, pour in 1 cup of white school glue. Next, add 2 cups of shaving cream. As you mix these two together, you’ll start to see the fluffiness come to life! This combination is crucial because it contributes to the signature lightness of butter slime.
Tip: Use a spatula or a whisk to effectively blend the glue and shaving cream. If you find it hard to mix, add a little more shaving cream until you achieve a fluffy texture.
Step 3: Add Corn Starch
Once your mixture is uniform, it’s time to incorporate 1/2 cup of corn starch. This step is pivotal because the corn starch is what gives your slime that luxurious buttery feel. Stir it in gently until no lumps remain.
What Could Go Wrong: If you don’t mix it well, you might end up with a sticky, uneven slime. If you find it's a bit too sticky, simply add a tad more corn starch to balance the texture.
Step 4: Color Your Slime
If you want to add color, this is the time to do it! Just a few drops of food coloring will do. Mix it in until you achieve your desired hue. Remember, a little goes a long way!
Step 5: Activate Your Slime
Now, to bind everything together, add 1 tablespoon of contact lens solution. This is where the magic genuinely happens! The slime will start to lift from the sides of the bowl. For an even smoother texture, you can include 1/2 teaspoon of baking soda at this stage—just mix it in completely before adding the contact lens solution.
Important Note: If your slime seems too gooey and sticks to your hands after mixing, don’t panic! Just add a tiny bit more contact lens solution, kneading it in until it reaches the desired consistency.
Step 6: Knead Your Slime
Once it starts forming, take the slime out of the bowl and begin kneading it with your hands. This is my favorite part! The more you knead, the better the texture becomes. If it feels too sticky, you can add more contact solution, a few drops at a time.
Tip: If your slime is still too sticky after several rounds of adding contact solution, it may need more corn starch. The fundamental balance of slime is critical!
Step 7: Customize
If you want to get really creative, consider kneading in foam beads, glitters, or scented oils at this stage! I find that the foam beads add a delightful crunch that contrasts beautifully with the soft slime. The scent improves the experience too—it is entirely optional, but so fun!
Step 8: Storage
To keep your butter slime fresh, store it in an airtight container. It should last about a week or more.
Creative Variations
Now that you’ve mastered the basic butter slime, consider experimenting with other variations:
- Rainbow Butter Slime: Divide your dough into several sections and dye each a different color. Layer them for a stunning effect!
- Galaxy Butter Slime: Use dark colors with sparkles to create a cosmic vibe.
- Scented Butter Slime: Infuse your concoction with essential oils for a multi-sensory crafting experience.
Final Thoughts
Butter slime has become one of my favorite projects to share, not just because of the delightful outcome, but also because of the joy that comes from crafting it together. It’s an activity that brings out creativity and encourages both kids and adults to engage their senses in a joyous way.
So, roll up your sleeves, gather those materials, and create some magic! I promise you won't regret it. Whether you’re using it as a fun activity at home, a bonding experience with your kids, or even as a lively party favor, butter slime is your ticket to endless fun.
Happy crafting, and let your butter slime journey begin! 🌈