How to Make Bubbly Adventure Soap Foam: A Personal Guide to Crafting Fun!
Hello, fellow crafters! Today, I’m thrilled to share with you a beloved recipe from my crafting journey: Bubbly Adventure Soap Foam. This delightful concoction is not just an artistic expression but also a gateway to endless fun—perfect for those summer playdates, at-home spa days, or even backyard adventures. What exactly is it? Simply put, it’s a whimsical, bubbly foam that can transform any bathing experience into a magical escapade.
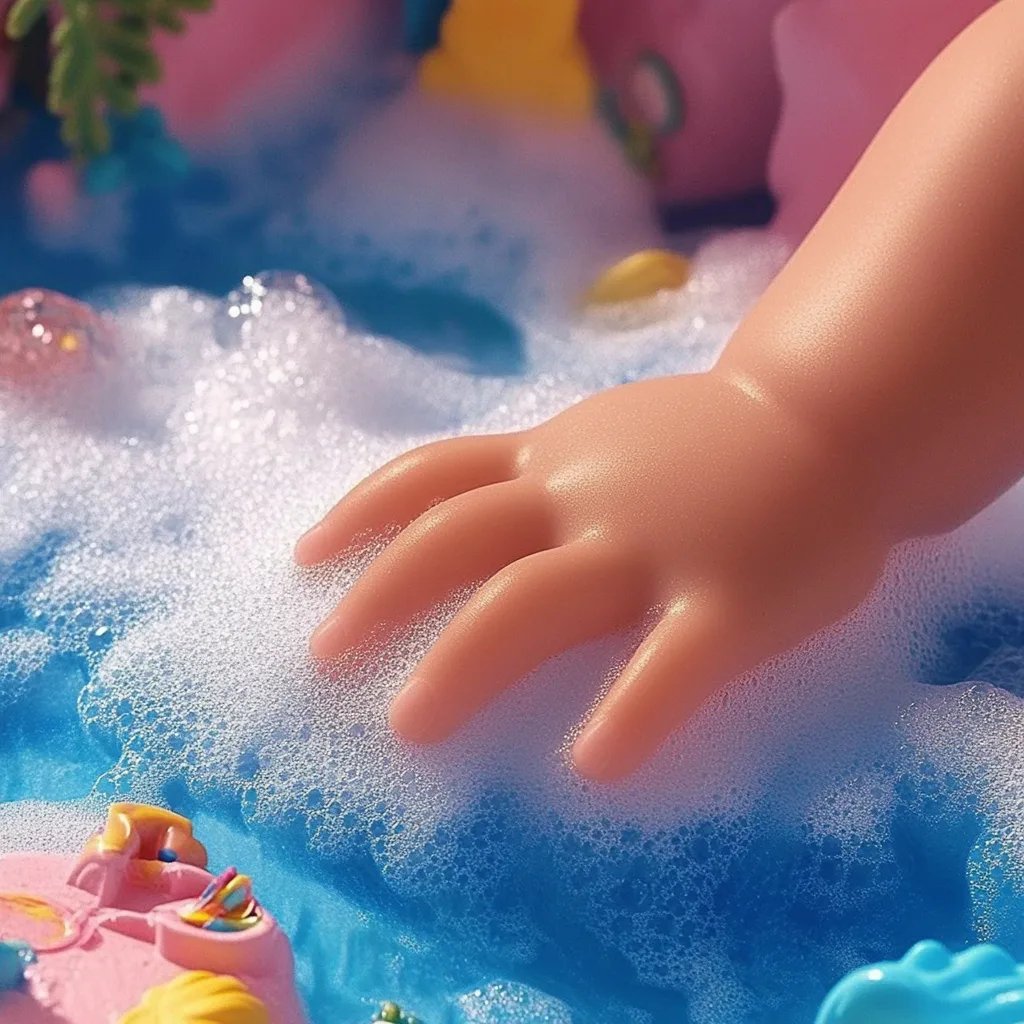
Why is Bubbly Adventure Soap Foam Popular?
There’s something undeniably captivating about foam! It’s soft, it’s bubbly, and it encourages creativity—whether through making shapes, playing with it in the bath, or even using it for art projects. It's a hit among kids and adults alike because it's fun, easy to make, and customizable! Not to mention, it’s a great way to keep the little ones entertained or even to enhance a self-care routine, adding a touch of luxury and relaxation. Moreover, making your own soap foam means you can control the ingredients, ensuring a safer experience, especially for sensitive skin.
When and How Can You Use Bubbly Adventure Soap Foam?
You can use this bubbly goodness in several ways:
- Bathtime Fun: It makes bath time entertaining for kids and relaxing for adults.
- Sensory Play: Perfect for sensory bins or outdoor play!
- Gifts: Package it up in cute jars for thoughtful gifts or party favors.
- Creative Endeavors: Use it in crafts or as a fun element for kids’ parties—who doesn’t love a foam decoration?
So, are you ready to dive in? Let me take you through a comprehensive, step-by-step tutorial!
The Simple Recipe for Bubbly Adventure Soap Foam
Ingredients:
- Liquid Soap: 1 cup (castile soap or any gentle liquid soap works well)
- Water: 2 cups (distilled or filtered preferred)
- Vegetable Glycerin: 2 tablespoons (for extra bubbles and moisture)
- Essential Oils (optional): 10-15 drops for fragrance
- Food Coloring (optional): A few drops to add color
- A Mixer (handheld or electric): This is key for creating that delightful foam!
Step-by-Step Guide to Make the Foam
Step 1: Gather Your Materials
Before diving in, I always recommend gathering all your materials. This keeps the process smooth and enjoyable. You’ll need a mixing bowl, a whisk or mixer, and a clean container to store your foam.
Why This Matters: Being organized prevents chaos, allowing your creative juices to flow instead of worrying about missing ingredients.
Step 2: Mix the Soap and Water
In your mixing bowl, combine the liquid soap and the water. Use a whisk or mixer on low speed to combine the two gently, being careful not to create suds just yet.
What Could Go Wrong: If you mix too aggressively, you might create too many bubbles and not enough foam. If you notice it froth up too much, just let it sit for a minute before proceeding.
Step 3: Add Glycerin
Once combined, gently fold in the vegetable glycerin. This is the secret weapon for a denser foam that lasts longer.
Why This Matters: Glycerin traps moisture and produces larger, more stable bubbles, which means more fun for you or the kids!
Step 4: Scent It Up
Add essential oils if you’d like a beautiful fragrance. Popular choices include lavender for relaxation, peppermint for a refreshing twist, or citrus oils for an uplifting energy burst. Alternatively, skip this step for an unscented option.
What Could Go Wrong: If using essential oils, avoid overdoing it! Too much can irritate sensitive skin—10 to 15 drops is perfectly sufficient.
Step 5: Color Your Foam
If you want to experiment with colors, this is the moment to add your food coloring. Start with a few drops, mix well, and adjust until you reach your desired shade.
Creative Variations: Instead of mixing all colors together, consider creating a multi-colored foam by separating portions and adding different hues!
Step 6: Blend to Perfection
Now, use your mixer (or whisk) once more to blend everything together until you get a fluffy foam. If using an electric mixer, start on low to prevent splattering.
What Could Go Wrong: If you notice it becoming more liquid than foam, you may have added too much glycerin or not mixed enough. Simply give it another boost with the mixer.
Step 7: Store and Enjoy!
Transfer your foam into clean containers, like jars or bottles. I always recommend using airtight containers to keep your foam fresh.
Tips from My Crafting Journey
- Safety First: Ensure all ingredients are skin-safe, especially if young kids will be using the foam. Avoid essential oils if you're unsure.
- Keep it Cool: Store your foam in a cool place—heat can affect its quality.
- Test the Waters: Before using the foam extensively, test a small area on the skin if using new fragrances or colors.
- Cleanup: Soap foam can create a glorious, but messy, playtime! Have towels handy for easy cleanup after your bubbly adventures.
Troubleshooting Common Issues
- Foam Too Thin: If your foam isn’t very thick, consider adding a touch more glycerin or soap, then mix again.
- Clumpy Foam: This can happen with too quick of a mix or impurities in the water. Try straining it before use or letting it settle.
Personal Anecdotes and Final Thoughts
As a seasoned crafter, I’ve had my fair share of experimenting with bubbles! Some of my most cherished moments have been watching my children’s eyes light up as they squirt foam into the tub. We've even used it for spontaneous “bubble art” on a canvas—what creativity could come from that!
So, my crafty friends, I hope you feel inspired to create your own Bubbly Adventure Soap Foam. It’s a simple yet fabulous project that brings joy and laughter to any occasion. Enjoy every bubbly moment!
Now get crafting, and let the adventure unfold with every soapy bubble that fluffs up! Happy crafting!