How to Make Bubbling Storm Surge Bottles: An In-Depth Guide
Hello fellow crafters! Today, I'm thrilled to share my passion for a fun and captivating project: Bubbling Storm Surge Bottles. As someone who loves to dive into the world of DIY crafts, I have found that these mesmerizing bottles not only serve as captivating decorations but also offer endless opportunities for exploration in science, art, and hands-on learning. They are perfect for parties, educational purposes, or even a calming sensory experience—think of the rippling waves of the ocean, vibrant colors swirling together to create a mini tempest in a bottle!
What is a Bubbling Storm Surge Bottle?
At its core, a Bubbling Storm Surge Bottle is a clear container filled with a delightful mix of water, oil, food coloring, and effervescent ingredients to mimic the enchanting motion of waves. When shaken, the ingredients come alive, creating a captivating swirling effect that’s both visually striking and satisfying to watch. So, why have these bottles become so popular? They’re not only beautiful but also educational—making science fun and accessible for young kids (and adults!) alike. I love using them for educational crafts with children, and they make great gifts and conversation starters.
When to Use Bubbling Storm Surge Bottles?
These bottles can be enjoyed at any time! Use them as:
- Educational Tools: Perfect for teaching young kids about density, color mixing, and basic chemistry.
- Sensory Play: Great for calming fidgety hands or creating stress relief during quiet moments.
- Decorative Pieces: Stunning additions to any table setting or shelf, particularly at beach-themed events or parties.
Ready to make your very own Bubbling Storm Surge Bottle? Let’s get started!
—
Step-by-Step Tutorial: Making Bubbling Storm Surge Bottles
Materials Needed:
- Clear Plastic or Glass Bottle with a Lid: A water bottle, mason jar, or any clear container with a tight-fitting lid.
- Water: Fill a cup for measuring purposes.
- Vegetable Oil: Any cooking oil will do. This creates the bubbling effect by being less dense than water.
- Food Coloring: Choose your favorite colors or mix for unique shades.
- Baking Soda: The fizzing agent that creates the bubbles.
- Vinegar: To react with the baking soda for that bubbling storm effect.
- Glitter (Optional): For extra sparkle.
- Spoon and Funnel: For ease of pouring.
- Optional: Small seashells or other decorative pieces for personal flair.
Step 1: Prepare Your Container
*Why It Matters*: The choice of container affects the visual experience you will create. I recommend using a clear container, which allows for stunning visibility of the colorful layers.
Take your clear bottle and wipe it clean. Remove any labels to ensure a clear view of what you’ll create inside.
Step 2: Fill with Water
*Instructions*: Using the funnel, pour water into the bottle until it's roughly one-quarter full.
*Why It Matters*: The water serves as a base and is key for the bubbling reaction later. Adjust the water level according to how high you want the ‘waves’ to go.
*Tip*: If you want a more dynamic effect, stop at about one-third, allowing room for the oil later.
Step 3: Add Food Coloring
*Instructions*: Add 5-10 drops of your chosen food coloring into the water. Use a spoon to mix if needed.
*Why It Matters*: Food coloring adds visual appeal, enhancing the whole sensory experience.
*Tip*: Try combining primary colors to create secondary colors. Mix blue and yellow for green or red and blue for purple!
Step 4: Pour in the Oil
*Instructions*: Slowly pour oil down the side of the bottle until it's full or about three-quarters of the way. You’ll notice the oil floats on top of the water due to the difference in density.
*What Could Go Wrong*: If you pour too quickly, you may mix the oil and water instead of layering them.
*Fix It*: Don’t stress! Just allow the bottle to settle; the oil will separate naturally.
Step 5: Add Glitter (Optional)
*Instructions*: For a touch of extra magic, sprinkle some glitter on top of the oil layer.
*Why It Matters*: Glitter adds a whimsical quality that reflects the movement beautifully.
Step 6: Prepare the Bubbling Storm
*Instructions*: In a separate container, mix 2 tablespoons of baking soda with about half a cup of vinegar.
*Why It Matters*: This reaction creates carbon dioxide gas, which produces the bubbles.
*Step Caution*: This mixture will fizz up, so have it prepped in a container that can handle overflow.
Step 7: Combine Ingredients
*Instructions*: Carefully pour the vinegar and baking soda mixture into your oil-water bottle.
*Why It Matters*: This is the magic moment! The mixture will create an exciting bubbling effect as it reacts with the water underneath.
Tip: You might want to do this step over a sink or outside to contain any possible spillage.
Step 8: Seal and Shake!
*Instructions*: Once your bubbling has subsided, seal the bottle tightly with its lid.
*Why It Matters*: A secure lid ensures that the physical crafting won't turn into a cleaning nightmare!
*Optional Step*: If you want an ongoing experience, shake the bottle gently to get the effects going again.
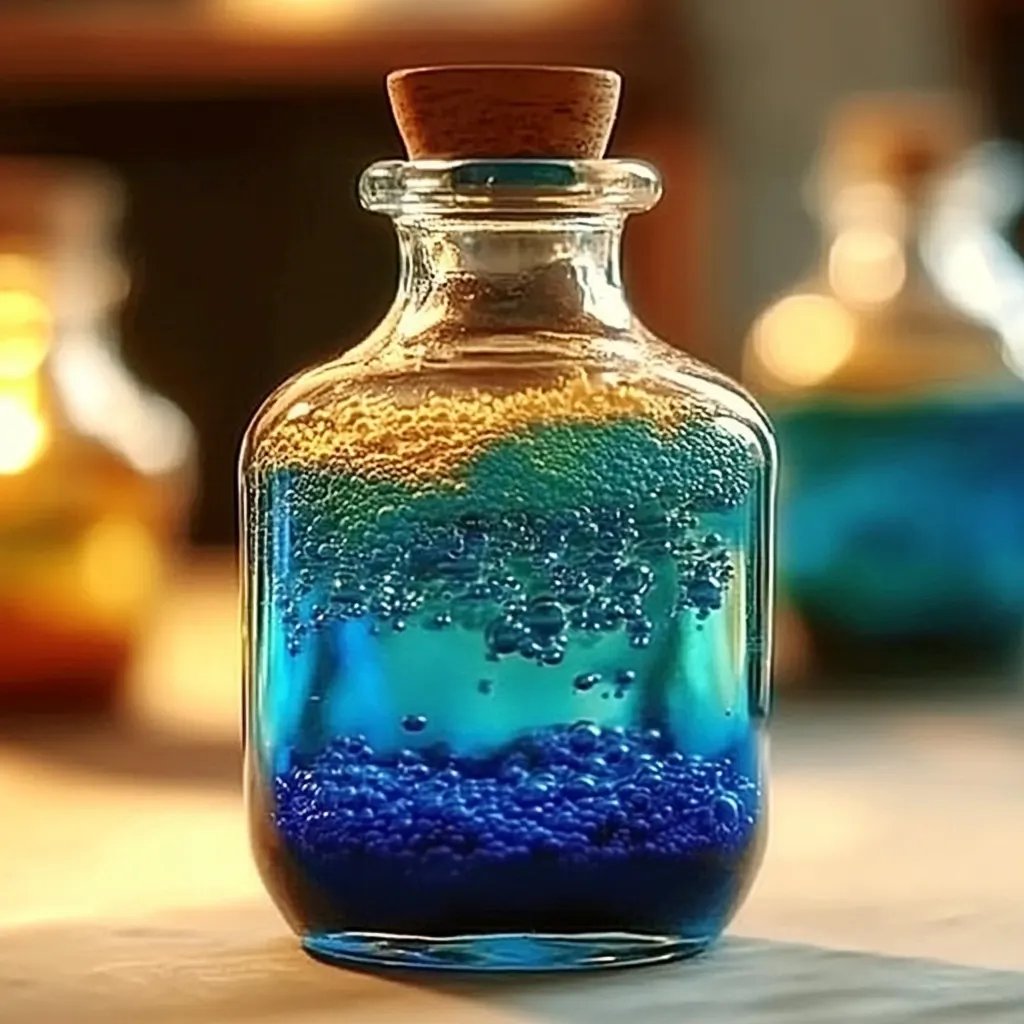
Final Product
Congratulations on crafting your very own Bubbling Storm Surge Bottle! You can now place it on display or share it with friends and family.
—
Tips and Safety Warnings
- Safety First: When crafting with kids, encourage them to handle the vinegar and baking soda process under adult supervision due to the reaction involved.
- Alternative Methods: If you want to create a longer-lasting project, consider using blue liquid soap instead of water for a different chemical reaction.
- Ingredient Substitutions: You can substitute vinegar and baking soda with Alka Seltzer tablets and water for an even longer-lasting effect!
—
Creative Variations
Once you’ve mastered the basic Bubbling Storm Surge Bottle, feel free to get creative with your designs:
- Theme it Out: Create a “space” or “forest” bottle by choosing colored materials that match your theme.
- Add Small Objects: Include items like tiny plastic fish, foam sea creatures, or charms to give your bottle a personal touch.
—
In conclusion, making Bubbling Storm Surge Bottles is not only a delightful activity but also a wonderful way to explore the fundamentals of chemistry while being creative. I hope you enjoy making these captivating keepsakes as much as I do. Happy crafting!