How to Make Bubble Painting Art for Kids: A Fun and Creative Crafting Adventure
As an avid crafter who loves sharing colorful experiences with children, I am thrilled to introduce you to the magical world of bubble painting art. If you've ever wanted to turn a simple activity into a masterpiece, this bubbly endeavor is perfect for you. Bubble painting is not only a fun way to create art, but it also serves as an incredible sensory experience that stimulates creativity and promotes fine motor skills in children.
What is Bubble Painting?
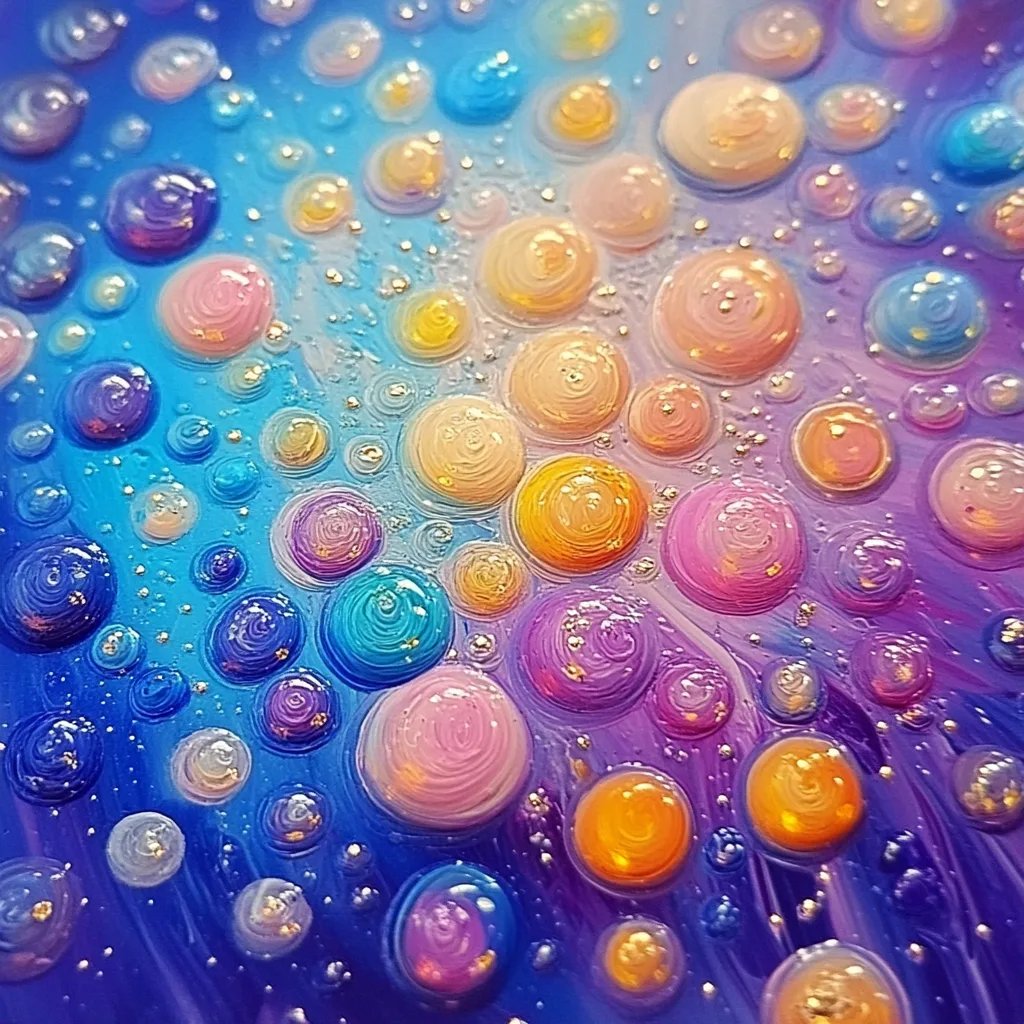
Bubble painting is a delightful craft that involves using bubbles, paint, and a few easy-to-find ingredients to create vibrant, whimsical artwork. Kids of all ages love watching the bubbles grow and pop, and when they burst, they leave behind beautiful designs on paper. It's a popular activity for birthday parties, rainy days, summer camps, or just a fun afternoon activity at home. What’s great about this project is that it can be easily adjusted to suit different ages and skill levels, making it an inclusive craft for everyone!
What You’ll Need
Before beginning our bubbly adventure, let’s gather all the necessary materials to ensure a smooth crafting experience:
- Liquid Tempera Paint: I recommend using liquid tempera paint for its rich colors and vibrant finish. If you're looking for alternatives, washable paint or even food coloring can work, though results can vary!
- Dish Soap: A good quality dish soap will create the bubbles needed for painting. Avoid using sensitive skin formulas; regular dish soap works best for this craft.
- Water: Regular tap water will do just fine.
- Straws: Simple and inexpensive, straws are vital for blowing the bubbles. Consider using eco-friendly paper straws if you want to minimize plastic use.
- White cardstock or thick paper: This is the canvas for your bubble masterpiece. Thicker paper will prevent the paint from soaking through.
- Trays or shallow containers: Perfect for mixing your bubble paint solution.
- Plastic table cover: If you're messy like me, protecting your work surface is a must!
Step-by-Step Tutorial: Making Bubble Painting
Now that we have our materials sorted, let’s dive into the exciting step-by-step process of creating bubble painting art!
Step 1: Prepare Your Bubble Solution
Mix 2 tablespoons of liquid tempera paint with 2 tablespoons of dish soap and 4 tablespoons of water in a bowl or tray. The proportions don’t have to be exact, but this ratio typically works best.
Why it matters: The combination of paint and soap creates bubbles that are essential for painting. If you use too much water, the bubbles may not form well, resulting in a less vibrant painting.
What could go wrong: If your bubble mixture isn’t producing enough bubbles, try adding a bit more dish soap. Conversely, if it’s too soapy and you’re getting foam instead of bubbles, dilute it further with water.
Step 2: Getting Ready to Paint
Once your bubble mixture is ready, grab your straws. I like to set up a station with several trays of different colors of bubble solutions for variety. Lay out your thick paper on a protected surface to avoid any mess on your table.
Tip: Consider working outside if the weather permits! This way, if things get a little messy, clean-up is a breeze.
Step 3: Blow Those Bubbles!
Here comes the fun part! Dip the straw into the bubble solution and gently blow through it. You’ll want to puff in short, steady bursts to create bubbles that are large and stable.
Why it matters: Blowing through the straw creates the bubbles that carry paint when they pop. If you blow too hard, you might end up collapsing your bubbles before they get a chance to make a beautiful mess!
Creative Variation: Try alternating colors by layering different bubble solutions. Blow bubbles in one color, then carefully place your paper over it before blowing more bubbles of a different shade.
Step 4: Press Down and Create
Once you have a nice mound of bubbles over your paper, carefully press the paper down onto the bubbles. The bubbles will pop and leave splotches of paint as they burst, creating a fun and vibrant pattern.
What could go wrong: If you press too hard or too soon, you may end up with a splatter rather than a clean print. Practice patience and let the bubbles have their moment!
Step 5: Let It Dry
Carefully lift your paper and admire your bubbly creation! Set it aside to dry completely. This typically takes about 30–60 minutes.
Tips for Success
- Safety First: Ensure that kids don’t ingest the bubble mixture, particularly if you’re using dish soap. Always supervise younger children during the activity.
- Explore Colors: Mix and match different colors for a vibrant masterpiece. But be wary of muddy colors; sometimes less is more!
- Use It for Learning: Bubble painting can double as a fun learning experience. Discuss color mixing or even patterns as you create with your kids.
Personal Anecdote
I vividly remember the first time I introduced bubble painting to my three children. The joy on their faces as they blew bubbles and created art was priceless. They loved discovering how two colors combined to create something entirely new! It sparked a conversation about color theory, and we ended up turning our crafting session into an impromptu lesson on art and science. These moments are what make bubble painting a meaningful experience.
Final Thoughts and Wrap-Up
Bubble painting art is more than just a craft; it creates wonderful memories and teaches invaluable lessons. Whether you’re engaging with your children on a lazy afternoon or hosting a playdate with friends, this activity is bound to bring giggles, creativity, and endless excitement.
So gather your materials and dive into this artistic adventure today! I can’t wait for you to see the colorful, bubbly masterpieces you’ll create together! Happy crafting!