How to Make Borax Crystal Star Ornaments: Your Complete Guide to Sparkling Holiday Decor
Hello, fellow crafters! Today, I'm excited to share with you one of my favorite DIY projects: making stunning Borax crystal star ornaments. These beautiful decorations are not only visually striking but also incredibly easy to create. I’ve crafted these ornaments for years, and they become a beloved staple in my holiday décor, brightening up my home with their shimmering presence.
What Are Borax Crystal Star Ornaments?
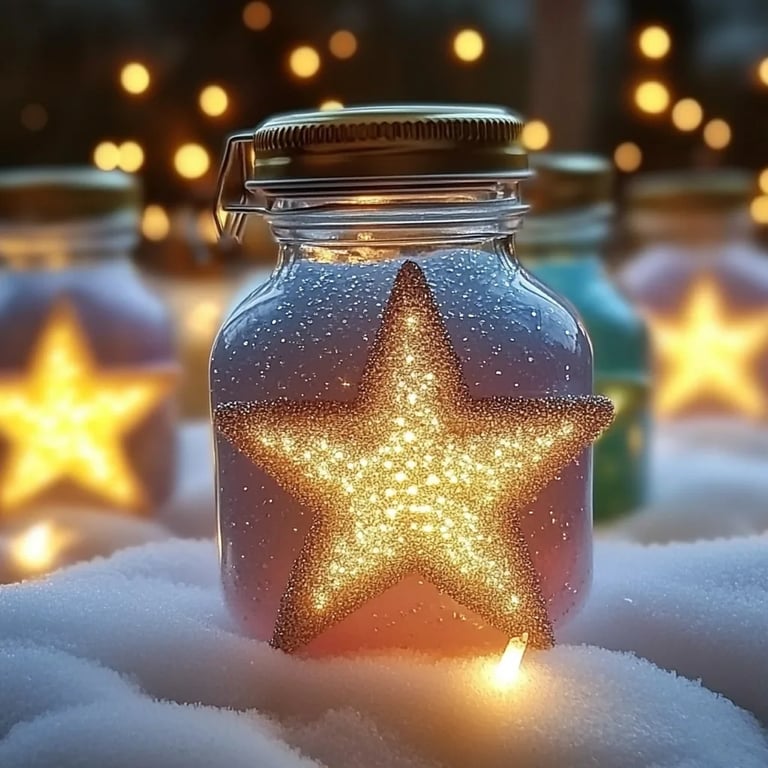
Borax crystal star ornaments are eye-catching decorations made from a simple solution of Borax (sodium borate) and water, which crystallizes into beautiful formations. When cooled, the crystals adhere to star-shaped forms or cookie cutters, creating stunning ornaments that catch the light beautifully. These ornaments are particularly popular during the holiday season, hanging on trees, in windows, or adorning gift packages.
The best part? You can customize them in various ways, from adding food coloring for a splash of color to experimenting with different shapes and sizes. So slip on your crafting apron, and let me guide you through the steps of creating your own crystal star ornaments!
Materials You’ll Need
Before we dive into the how-to, let’s gather our supplies:
- Borax Powder: This is your main ingredient. It’s readily available in supermarkets or online.
- Water: You’ll need to boil it, so make sure you have sufficient hot water for your solution.
- Star-shaped cookie cutters or star templates: This will help you form your ornaments. You can choose any size you like!
- String or Fishing Line: This will be used to hang your ornaments.
- Containers: Jar or glass containers will work perfectly to hold your ornaments while they form.
- Optional: Food coloring (for vibrant hues) and wooden sticks or forks (to suspend your stars in the solution).
Step-by-Step Tutorial for Making Borax Crystal Star Ornaments
Step 1: Prepare Your Workspace
Creating Borax crystal ornaments can get a bit messy, so it's essential to choose a clean, flat workspace. You might want to cover your table with newspaper or a craft mat. I also recommend wearing an apron to protect your clothing from spills.
Step 2: Make the Borax Solution
Why It Matters: This is where the magic begins!
- Start by boiling about 3 cups of water in a pot.
- Once the water reaches a rolling boil, remove it from heat and slowly add 1 cup of Borax powder. Stir continuously until the Borax dissolves completely. There might be some undissolved powder at the bottom, and that's okay—just make sure the majority is dissolved.
*Tip:* If you're wondering how to infuse color, add a few drops of food coloring to this boiling solution for vibrant crystals!
Step 3: Prepare Your Stars
- If using cookie cutters, place them upright in your container. If they're too short, use a piece of tape to hold them in place. You can also tie a string around the cutter for hanging.
- For suspended stars, tie a piece of string to the top of the star; ensure it’s long enough so that the star will hang freely in the solution without touching the bottom.
*Tip:* Be gentle when placing your stars into the solution. If you’re not careful, they might break!
Step 4: Pour the Solution
- Carefully pour the Borax solution into the container, covering the star completely.
- Add any additional crystals or decorative elements as desired.
*Why It Matters:* Pouring slowly can prevent any unwanted splashes, keeping your workspace tidy.
Step 5: Let Them Sit
Cover your container with a piece of plastic wrap or another lid to keep dust out and let the solution sit undisturbed for 6-12 hours. During this time, you’ll begin to see the Borax crystallizing on your stars.
Step 6: Remove and Rinse
Once the crystals have formed to your liking, carefully remove the star from the solution using the string. Rinse it under cold water to remove any excess Borax, then lay it on a piece of paper towel or wax paper to dry.
*What Could Go Wrong:* If your stars don’t have enough crystals or have spots lacking coverage, they may not look as intricate. Don’t worry; keep them in the solution longer or try increasing the amount of Borax next time!
Safety Warnings
While Borax is a useful crafting material, be sure to handle it with care. It is not safe for ingestion, so keep it away from pets and children. Always wash your hands thoroughly after crafting.
Creative Variations
Once you’re comfortable with the basics, consider these fun variations:
- Different Shapes: Use molds for other seasonal shapes like trees, hearts, or snowflakes!
- Layered Crystals: For multi-colored ornaments, let one layer of crystals set, then add more colored solution for additional layers.
- Glittery Touch: After rinsing and drying, sprinkle some fine glitter over your finished stars for extra sparkle!
Personal Anecdote
I remember the first time I attempted to make these crystal stars. I was so excited to hang them on my tree, but I got too eager and didn’t let them sit long enough in the solution. The results were lackluster, but it was a learning experience! Sometimes, the process is just as important as the finished product, and my patience has grown in crafting since then.
Conclusion
Creating Borax crystal star ornaments is not only a simple and fun project but also a delightful way to add some sparkle to your holiday décor. Whether you hang them on your tree, give them as gifts, or use them to decorate your home, these ornaments are sure to bring joy and a touch of magic to any celebration.
So gather your materials, follow the steps, and let your creativity shine! I can’t wait to see your beautiful crystal creations. Happy crafting!