How to Make Borax Crystal Star Ornaments: A Step-by-Step Guide
Hello, crafty souls! Today, I'm thrilled to share an enchanting project that will not only add sparkle to your holiday décor but also serve as a fun, educational experience for you or the little ones in your life. We’re diving into the world of Borax crystal star ornaments—a delightful combination of science and art that results in beautiful, sparkling decorations perfect for the festive season and beyond.
What are Borax Crystal Star Ornaments?
Borax crystal star ornaments are stunning crystalline formations that form when a saturated solution of Borax (sodium borate) cools and the water evaporates. As the solution dries, beautiful crystals take shape, creating ornaments that glisten in the light.
These ornaments are not only popular during the holiday season, but they can also be used to adorn windows, trees, or as unique gifts year-round! Their popularity stems from how easy they are to craft and how much fun the process can be—perfect for crafters young and old.
Why Make Borax Crystal Star Ornaments?
- Educational: The science behind crystal formation provides a fantastic learning opportunity.
- Customize: You can personalize them with colors and sizes, making each ornament uniquely yours.
- Eco-Friendly: Borax is a natural mineral, making these ornaments a safer choice compared to many synthetic decorations.
- Cost-Effective: Most of the materials are inexpensive and readily available.
The Materials You'll Need
Before we dive into the crafting process, let’s gather our materials. Here's what you'll need:
- Borax Powder: Found in the laundry aisle of your local supermarket.
- Water: Tap water works perfectly.
- Glass jar or heat-resistant container: This will be where the crystals form.
- Star-shaped cookie cutter: You can also use a template if you don’t have a cookie cutter.
- String or fishing line: For hanging the ornaments.
- Pencil: To hold the string above the jar.
- saucepan: To boil the water.
- Food coloring (optional): To tint your crystals.
- Wooden stick or straightened wire (optional): To support your ornaments in the jar.
Safety Precautions: Borax is generally safe for crafting but should not be ingested. Always wash your hands after working with it and make sure children are supervised to prevent accidental exposure.
Step-by-Step Tutorial
Step 1: Prepare Your Workspace
Before I begin any crafting project, I make sure my workspace is clear and organized. This helps to declutter my mind and ensures that I have everything at hand, minimizing distractions. I cover the table with newspaper or an old cloth for easy cleanup later.
Step 2: Boil Water
In your saucepan, bring about 2 cups of water to a boil. This hot water will dissolve the Borax effectively. Make sure to stay close to monitor the boiling process.
Step 3: Add Borax
Once the water is boiling, carefully remove the saucepan from the heat source. Gradually stir in about 3/4 cup of Borax. You'll see it start to dissolve, creating a sort of slurry. It’s important to dissolve as much Borax as you can; if you notice some leftover at the bottom, that's okay—it just means the solution is saturated!
Step 4: Add Food Coloring
If you want to add a splash of color, now's the time! Stir in a few drops of food coloring into your Borax solution until you achieve your desired shade. Keep in mind that the color might appear darker in the hot solution but will lighten as it cools.
Step 5: Prepare Your Star Shape
Using the star-shaped cookie cutter, dip it into the solution briefly to coat it with Borax. This layer acts as a base for crystal formation. You can also use a wooden stick or piece of stiff wire to support the cookie cutter.
Attach a piece of string to the top of the cookie cutter or your support mechanism, ensuring it can hang freely in the jar later. This is crucial as it keeps the ornament from touching the bottom, which could disrupt crystal growth.
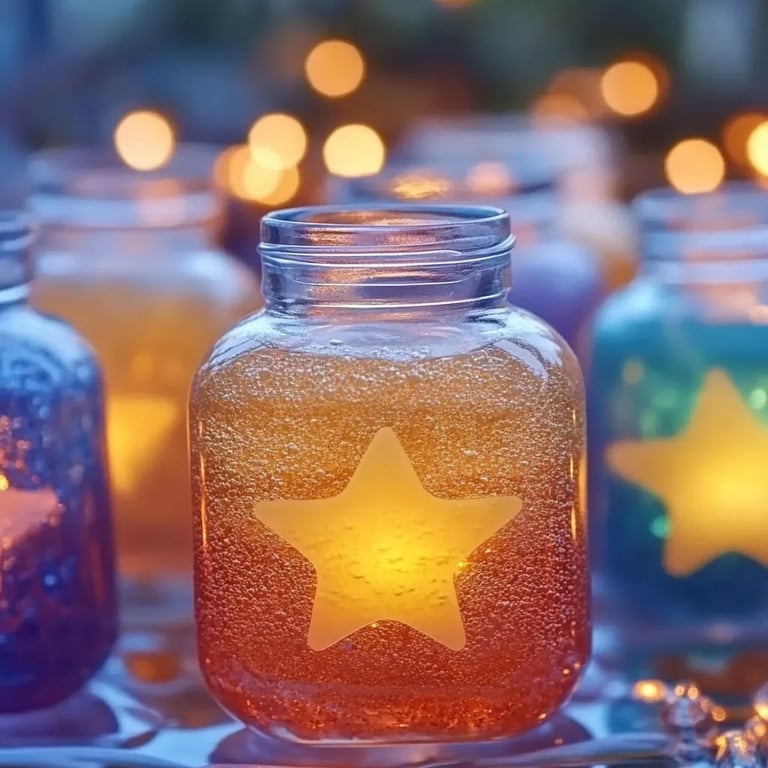
Step 6: Set Up the Jar
Pour the remaining Borax solution into the glass jar. Make sure it’s deep enough to submerge your cookie cutter without touching the jar’s bottom—ideally around 2 inches deep.
Step 7: Submerge the Star Shape
Carefully place the cookie cutter (or star shape) into the jar, ensuring it hangs freely suspended in the solution. Be careful not to touch the sides or let it rest on the bottom! Use a pencil to help hold the string in place.
Step 8: Let It Sit
Now comes the hardest part—patience! Allow the jar to sit undisturbed for about 6-12 hours (or even overnight). During this time, crystals will start to form on the star shape as the Borax solution cools and evaporates.
What Could Go Wrong?: If you notice no crystals after this time or they appear too small, it’s likely that the water cooled too quickly or the solution wasn’t saturated enough. If this happens, boil a fresh batch of water, add more Borax to create a saturated solution, and start over.
Step 9: Remove and Dry
After your crystals have formed, remove the star shape from the jar carefully. Rinse it under cold water to remove excess Borax and pat it dry with a paper towel. Then, let it sit on a dish to dry completely.
Step 10: Finishing Touches
Once dried, you can tie a string to the top for hanging. You now have a beautiful Borax crystal star ornament!
Tips for Success
- Experiment: Don’t be afraid to try different shapes, colors, and sizes! Larger shapes may take longer to crystallize.
- Timing: For optimal crystal growth, place jars in a warm area without drafts. This can make a big difference in your results.
- Use Clear Containers: The clearer your jar is, the more you can enjoy the sight of your crystals forming.
Creative Variations
- Color Layers: Try creating layered colors by allowing each layer of crystals to dry before dipping in a new colored solution.
- Different Shapes: Instead of stars, try hearts or snowflakes! You can make multiple shapes to hang together as a whimsical decoration.
- Themed Ornaments: For a festive touch, create red or green ornaments for Christmas, or pastel shades for Easter.
Personal Anecdotes
The first time I made these ornaments, I remember the joy on my kids’ faces as they rushed to the window the next morning to check on their creations. The wonder of watching the crystals grow brought a delightful mix of science and magic into our home, and every time we hang them up, we reflect on those precious moments.
Closing Thoughts
Crafting Borax crystal star ornaments is not just a project; it's an experience that allows you to engage with science, spark creativity, and spend time with loved ones. I hope this guide assists you as you embark on your crystal-making journey. Remember that crafting is about exploration and expression, so enjoy every step along the way!
Happy crafting, and may your ornaments shine bright! ✨