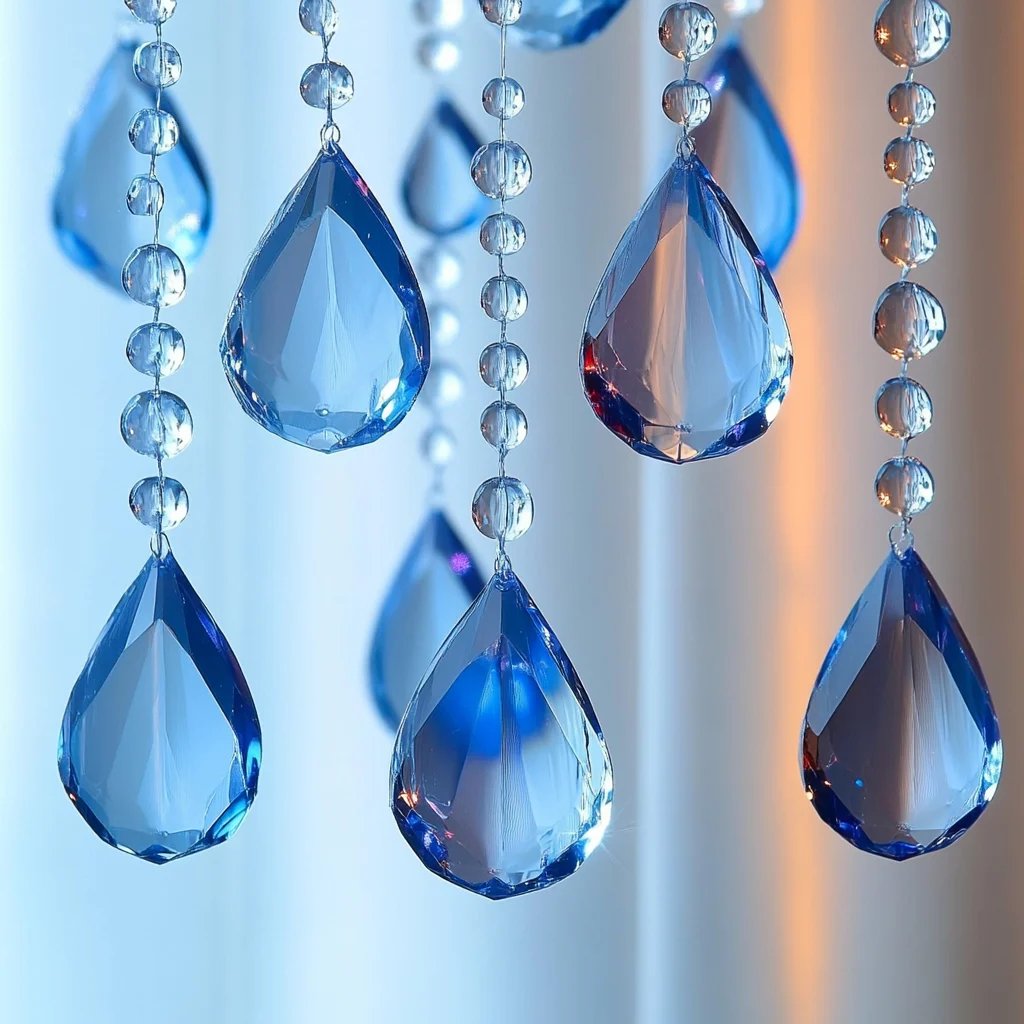
How to Make Blue Crayon Raindrop Suncatchers: A Step-by-Step Guide
As an avid crafter and someone who finds joy in creating art with everyday materials, I’m excited to share the delightful process of making Blue Crayon Raindrop Suncatchers with you! These vibrant suncatchers not only serve as lovely decorations but also bring a touch of whimsy and color to any space. They’re perfect for brightening a room, creating a cheerful atmosphere for special occasions, or simply enjoying a rainy day indoors.
Why Blue Crayon Raindrop Suncatchers?
Suncatchers are a popular craft because they capture light in a gorgeous way. When sunlight streams through these crayon creations, you'll be mesmerized by the bright blue hues that dance around the room. Blue, often associated with tranquility and creativity, is an excellent choice for a calming suncatcher experience. Moreover, not only do these crafts look beautiful, but they also provide an opportunity for personal expression and are an excellent project for both kids and adults alike.
Gathering Materials
Before diving into the fun, gather the following materials. Don't worry; they’re all simple and easy to find:
- Blue crayons (several shades)
- Wax paper (two sheets)
- An iron (and an ironing board or a flat surface)
- Pencil sharpener (for shaving crayons)
- A sheet of cardstock or heavy paper (to create a backing)
- Scissors
- A hole punch (optional)
- String or fishing line (to hang your suncatchers)
- An old towel or cloth (to protect surfaces)
Step-by-Step Tutorial
Step 1: Preparing the Crayons
Start by sharpening your blue crayons to create shavings. This is where the fun begins! Choose a variety of shades, such as sky blue, navy, and teal, to add depth and interest. I’ve found that including different tones gives the suncatcher a more dynamic look.
Tip: Use a container to catch the shavings. If you have children helping out, they’ll love this part, and it’s a great way to involve them in the project!
Step 2: Layering the Crayon Shavings
Take one sheet of wax paper and place it on a flat surface. Carefully spread the crayon shavings onto the wax paper. Don’t hesitate to experiment—create patterns or swirl them together for an abstract look. Aim for a nice even layer without any gaps, as these will be the beautiful colors that create light reflections.
What Could Go Wrong: If the layer is too thick, it may not melt evenly. Conversely, a layer that’s too thin won’t have the desired effect.
Fix It: You can always fold a second sheet of wax paper on top and iron it again if needed.
Step 3: Ironing the Shavings
Preheat your iron to a low setting to prevent any burns. Place the second sheet of wax paper on top of your crayon layer. Then, using the old towel, place it over the top. This will protect your iron and the surfaces beneath from any melted wax.
Now, gently move the iron over the towel for a few seconds, ensuring you don’t linger too long in one spot. As you do this, you’ll see the colors begin to melt and blend beautifully.
Safety Warning: Be careful with the hot iron; always supervise children during this step.
Step 4: Cut Out the Raindrop Shapes
Once the crayon has melted and cooled for a few moments, peel off the top layer of wax paper. This part should be easier than expected, and if it's sticking, wait a little longer. Using scissors, cut the melted crayon sheet into raindrop shapes. You can create any size, but I personally prefer medium-sized drops that are easy to display.
Step 5: Creating a Backing
To make your suncatchers sturdy, attach them to a piece of cardstock or heavy paper. You can either glue the raindrops directly onto the cardstock or use a hole punch to make holes at the top of your raindrop and thread a piece of string through for hanging.
Step 6: Display Your Creation
Now that your Blue Crayon Raindrop Suncatchers are complete, hang them in a sunny window! They’ll catch the light beautifully, giving your space a lovely blue hue.
Tips and Creative Variations
- Color Combinations: While blue is stunning, you can experiment with other colors or even mix blues with greens or purples for a more eclectic feel.
- Add Glitter: To enhance their sparkle, sprinkle a little fine glitter over the crayon shavings before melting.
- Seasonal Themes: Change the colors according to the seasons – icy blue for winter, vibrant shades for summer.
Personal Anecdote
I remember the first time I made these suncatchers with my niece on a rainy afternoon. We filled our home with laughter, experimenting with different shades and shapes. It brought us closer and created a memory I cherish to this day! Not to mention, the suncatchers added life to an otherwise dreary day.
Conclusion
Crafting Blue Crayon Raindrop Suncatchers is not only satisfying but also a fantastic way to spend quality time with loved ones. With this guide, you should have all the insights you need to create your vibrant creations. Embrace the process, let your creativity flow, and most importantly—have fun! Don’t hesitate to make variations or try new combinations. Happy crafting!