How to Make Blue Crayon Raindrop Suncatchers: A Step-by-Step Guide
The joy of crafting lies not just in creating, but in the stories we tell and the memories we make along the way. One of my favorite projects that combines simplicity, beauty, and a touch of whimsy is making Blue Crayon Raindrop Suncatchers. Not only do they add a splash of color to any window, but they also dance with the light, casting cheerful blue patterns throughout the room. Plus, they're a fantastic way to recycle broken crayons and engage children in a fun, creative activity. Let me walk you through the enchanting process of creating your own suncatchers, sharing tips, insights, and personal anecdotes to inspire you on your crafting journey.
Why Are Blue Crayon Raindrop Suncatchers So Popular?
These suncatchers are loved for several reasons. Firstly, they harness the beauty of natural light, turning ordinary sunlight into a spectacular light show. Secondly, the use of blue crayons evokes images of soothing rain and calm waters, creating a serene atmosphere in your home. These suncatchers can be displayed year-round, brightening your space even on the gloomiest days. Whether for a rainy day activity, a creative home decor project, or a unique gift, they tick all the boxes!
The Perfect Time for Crafting
I find that making suncatchers is particularly delightful during rainy days or on weekends when you just want to relax and let your creativity flow. With the school year in full swing, it's also a fantastic activity for kids—perfect for art classes or weekend craft sessions.
Materials You’ll Need
Before we begin this wonderful crafting adventure, gather these simple materials:
- Blue Crayons (old or new will work!)
- Wax Paper (you can use parchment paper as an alternative, but wax paper is preferred)
- Iron (engage an adult if working with children)
- Scissors
- Pencil (or a similar tool for tracing)
- Template: A raindrop shape template (you can print one from online)
- Cardstock (optional): For backing
- Hanging tape or string: To hang your suncatcher
- Towel or old cloth to protect your workspace
Step-by-Step Tutorial
Step 1: Gather and Prepare Your Crayons
The first step is all about selecting your crayons. I always recommend using old and broken crayons—this project is a perfect way to recycle! Start by peeling off the paper wrappers and breaking the crayons into small pieces. Aim for pieces about half an inch in size, as they will melt more evenly. Remember, this is a great way for kids to learn about recycling in a fun way!
Tip: If you find the wrappers stubborn, soaking the crayons briefly in hot water can help them come off easily.
Step 2: Create Your Raindrop Template
While you're preparing your blue crayon pieces, it's time to create your raindrop template. I usually print out a basic raindrop shape or draw one freehand on a piece of cardstock to get the perfect shape. It can be helpful to have different sizes; larger raindrops can create a more dramatic effect when hanging.
Step 3: Lay the Wax Paper
Take a piece of wax paper and lay it flat on your workspace, secured with a cloth if necessary to prevent shifting. Place the raindrop template underneath the wax paper so you can see the outlines—this will guide your crayon placement.
Step 4: Arrange the Crayon Pieces
Now comes the fun part! Scatter the crayon pieces within the raindrop outline, leaving a little space around the edges to ensure they don’t overflow when melted. Get creative here! You can create patterns or simply mix various shades of blue, from sky blue to deep navy.
What Could Go Wrong: If you crowd too many pieces, the crayon may not melt evenly and could stick together, resulting in a clumpy texture. If this happens, simply break off any excess and re-melt if needed!
Step 5: Ironing the Crayons
Cover the crayon-filled wax paper with another piece of wax paper. Carefully press the hot iron on top of the wax paper for about 10-15 seconds. You want a low heat setting—too hot, and you could burn the wax or scorch the paper. Lift the iron and check if the crayons have fully melted.
Safety Warning: Be sure to supervise children during this step, as the iron is hot. Always use caution, and don’t let children handle it alone.
Step 6: Cooling and Cutting
Once the crayons are melted and the colors are blended, remove the top layer of wax paper carefully. Place the melted sheet on a cooling rack or a flat surface to harden for about 15 minutes.
After cooling, carefully cut out the raindrop shape following the outline of your template.
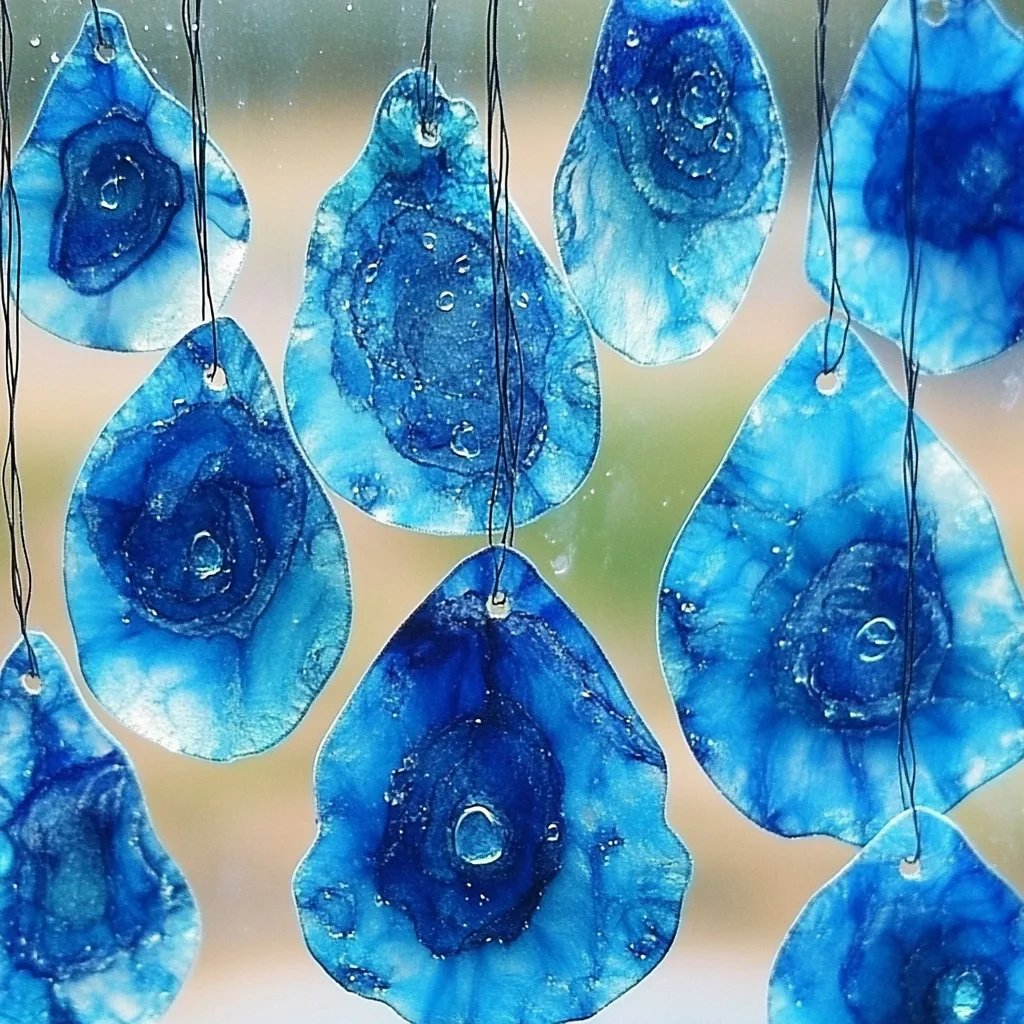
Step 7: Adding a Window Hanging
To finish your suncatcher, punch a small hole at the top of your raindrop. You can use string or tape to hang it in your window. I love using fishing line for an invisible look, but any string or ribbon will do!
Creative Variations: Consider creating multiple drops in varying sizes and colors for a more dynamic display!
Tips for a Successful Crafting Experience
- Color Variations: While I focus on blue, don’t hesitate to mix in other shades or even other colors to create a rainbow effect. Kids love personalizing their crafts!
- Protect Your Workspace: Always have an old towel or cloth ready to catch any wax drips during the melting process.
- Use Nice Wax Paper: Cheap wax paper can burn more easily; investing in quality paper ensures a smoother melting process.
- Experiment with Shapes: Try other shapes, such as stars or hearts, to expand on this project.
- Add Glitter: For those who love a bit of glamour, sprinkle some glitter into the melted crayon for a sparkly touch.
Final Thoughts
Creating Blue Crayon Raindrop Suncatchers is a delightful way to spend time with family or simply enjoy a therapeutic crafting moment by yourself. This project combines creativity, artistry, and recycling in a way that brightens up any space.
I encourage you to try this out—don’t worry if it doesn’t come out perfectly the first time. Crafting is about the journey and letting your imagination soar. I can’t wait to hear about the magical suncatchers you create. Happy crafting!