How to Make Blue Bead Ocean Suncatchers: A Crafting Journey
Hello, fellow crafters! Today, I’m thrilled to share an exciting project that brings the beauty of the ocean right into your home: Blue Bead Ocean Suncatchers. These shimmering creations not only catch sunlight and create a dazzling display of colors but also evoke the tranquil essence of the sea. Whether you hang them in your window, garden, or patio, these suncatchers are perfect for adding a touch of summer bliss year-round.
Why Blue Bead Ocean Suncatchers?
The popularity of suncatchers lies in their ability to transform ordinary spaces into vibrant, inviting environments. They make great gifts for friends and family, add charm to your home decor, and can even serve as a meditative crafting experience. When I first made my Blue Bead Ocean Suncatcher, I was amazed at how a few simple materials could create such a beautiful piece of art. Plus, with each shimmering bead, I felt connected to the beauty of the ocean.
Whether it’s summer or winter, the soothing blue hues of the ocean can bring calm to your living space. Every time sunlight hits those beautiful blue beads, you’ll be reminded of gentle waves and sunlit shores, making this project one you won’t forget.
Materials You’ll Need
Before diving into the crafting process, gather these materials:
- Beads: Opt for a variety of blue tones, including light blue, teal, and dark navy. You can use glass beads for maximum shine or acrylic for a lightweight option.
- Fishing Line or Clear Nylon Thread: This keeps your suncatcher looking clean and won’t get in the way of the light.
- Metal or Wooden Hoop: A circular frame will serve as the base for your suncatcher. You can find these at craft stores or even use upcycled items.
- Scissors: A sturdy pair for cutting the fishing line.
- Glue (optional): For securing any loose beads.
- Decorative Elements (optional): Seashells, starfish, or small ocean-themed charms to enhance your suncatcher’s design.
Now, let’s get started on our crafting adventure!
Step-by-Step Tutorial
Step 1: Prepare Your Workspace
Create an inviting workspace free from clutter. Gather all your materials within reach, and consider laying down a craft mat to protect your surfaces. This step is crucial because an organized area helps keep the creative flow uninterrupted.
Step 2: Cut Your Fishing Line
Cut a piece of fishing line about 4 feet long. This length should give you enough to create a lovely cascading design. Don’t worry if it seems long—having extra line is better than running out halfway through your project.
*Tip:* Always cut in one clean motion to avoid fraying the ends. A frayed line can make stringing beads more challenging.
Step 3: String Beads
Starting from the center of your fishing line, begin stringing your blue beads. I recommend using a pattern or randomizing the colors, but make sure to include contrasting shades for depth.
Why This Step Matters: The way you arrange your beads will determine the look of your finished suncatcher. A clear progression of shades can mimic the ocean’s waves, while a more random mix lends itself to a fun, playful vibe.
*Common Mistake:* If a bead gets stuck and won’t slide, it’s usually because the fishing line has frayed. To remedy this, simply trim the end and make sure you’re inserting the line cleanly through the bead.
Step 4: Secure the Ends
Once you’ve strung beads to your liking, tie off the ends securely around your hoop. For added security, make sure to double knot. If you’re feeling creative, you can also try wrapping the fishing line around the hoop several times before knotting.
Step 5: Add Decorative Elements
Here’s where the fun begins! If you have shells or charms, now is the time to attach them. Tie them onto additional strands of fishing line for a more organic look, allowing them to hang in varying lengths for visual interest.
Personal Anecdote: When I created my first Blue Bead Ocean Suncatcher, I added a small starfish charm I found during a beach trip. Every time I look at it, I remember the sound of waves and the breeze on my face.
Step 6: Final Assembly
Check that all beads and decorations are secure. If any beads are loose, add a tiny drop of glue to keep them firm. Hang your suncatcher near a window where it can catch the light.
Optional Step: Add a Loop for Hanging
Cut a piece of fishing line about 6 inches long. Tie it through the top of the hoop, forming a loop. This makes it easy to hang your suncatcher.
Troubleshooting and Tips
While making suncatchers may seem straightforward, here are some potential pitfalls and how to address them:
- Beads Falling Off: If a bead falls off, re-thread it onto the line, and double check that your knots are secure.
- Design Imbalance: If one side looks heavier than the other, you can always adjust by removing a few beads or shifting their positions.
- Fishing Line Visibility: If the fishing line feels too visible, try using clear glue to dab along the back of beads to keep them flat against the hoop.
Safety Warnings
When crafting, always be cautious with scissors and any tools you use. Keep small beads away from young children to prevent choking hazards.
Creative Variations
- Mix Colors: Don’t limit yourself to just blues! Introducing greens, aquas, or clear beads can evoke a wider ocean palette.
- Use Different Shapes: Experiment with different bead shapes—round, teardrop, or even faceted ones for extra sparkle.
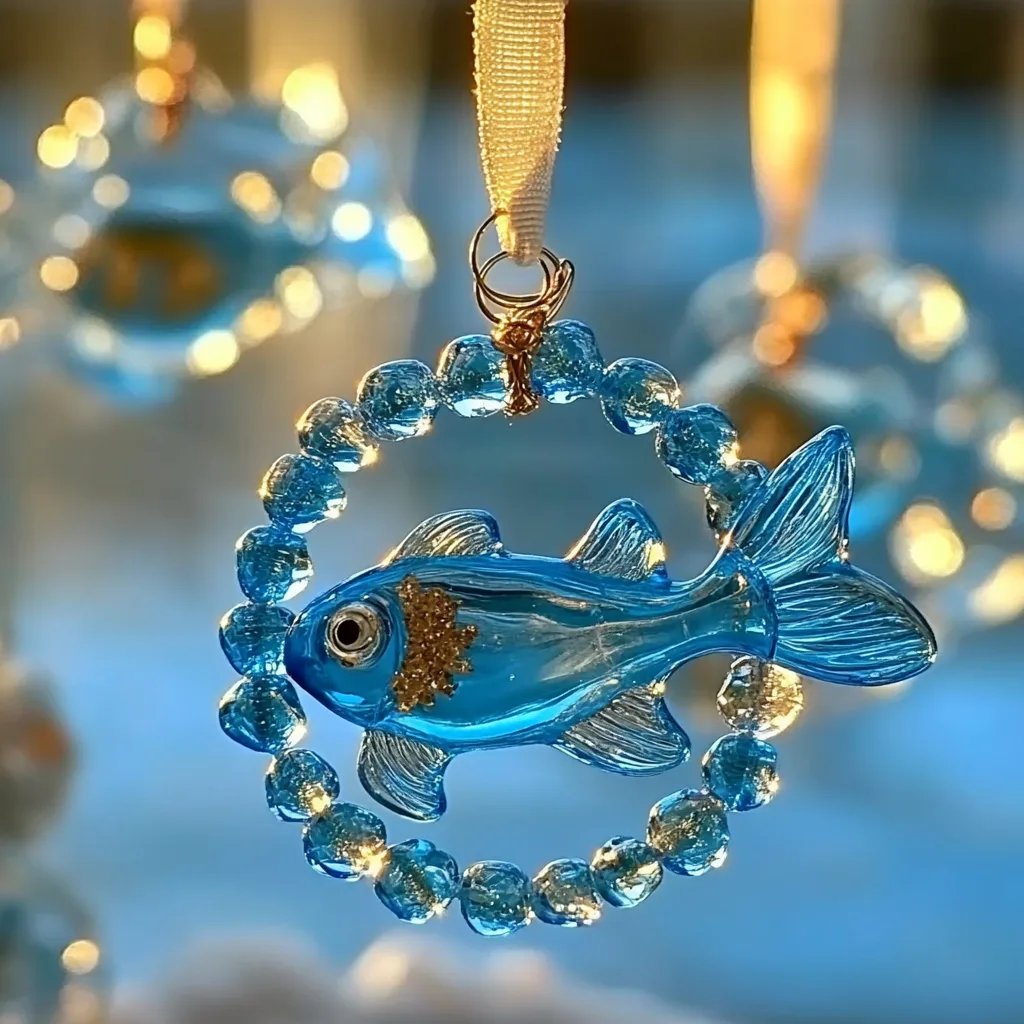
- Theme It: Create suncatchers based on ocean life like fish or coral by thoughtfully choosing and arranging your decorative elements.
Final Thoughts
Creating Blue Bead Ocean Suncatchers is not only a satisfying craft but also a fantastic way to bring a piece of the beach into your home. As you hang your suncatcher, take a moment to appreciate the time and energy you put into your creation. I hope this guide inspires you to experiment, make mistakes, and enjoy the beautiful world of crafting!
Happy crafting, and may your suncatchers shine brightly! 🌊✨