How to Make Aquarium Slime: A Step-by-Step Guide
Hello, fellow crafters! Today, I’m excited to share my personal journey into the enchanting world of Aquarium Slime—an incredibly fun and versatile craft project that’s taken the DIY community by storm! If you've ever marveled at the mesmerizing, wiggly texture of slime, you may have thought it was just a kids’ toy. But I assure you, Aquarium Slime is more than just fun; it's an excellent way to explore your creative side, bond with friends and family, and even spark some joy in your everyday life!
What is Aquarium Slime?
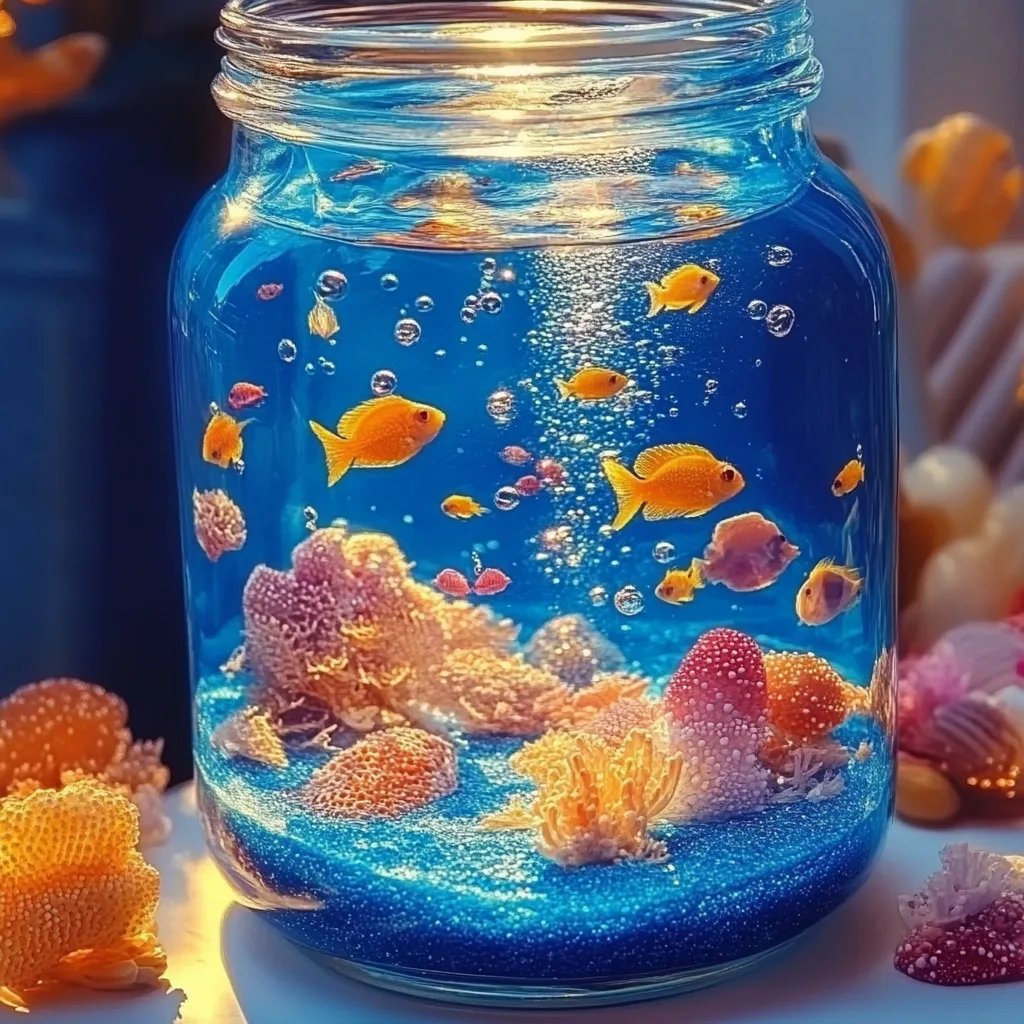
Aquarium Slime is a unique and fascinating slime variant, often adorned with beads and glitter, mimicking the vibrant life beneath the waves. It's immensely popular among children and adults alike due to its sensory experience, appeal for decoration, and sheer enjoyment in stretching and squeezing. You can use it as a playful stress reliever, a decorative item for your desk, or even a party favor or gift!
Essential Materials
Before diving into the crafting process, let’s gather our supplies. Don’t worry; all the materials are straightforward, inexpensive, and widely available:
- White school glue (about 1 cup) – This will serve as our main binding agent.
- Water (1/2 cup) – Helps create a smooth consistency.
- Boric acid (this can be found in some laundry detergents, or you can purchase it separately) or contact lens solution – This is your activator for forming slime.
- Baking soda (1 teaspoon) – For thickening.
- Glitter and beads (optional) – For that extra splash of creativity!
- Food coloring (optional) – Customize your slime to represent the shimmering waters you love.
- A mixing bowl and spoon – Any basic household products will do!
Step-by-Step Tutorial
Now that we have everything ready, let’s get started with making our Aquarium Slime! I'm here to walk you through each step—let’s put on our crafting hats!
Step 1: Mixing the Glue and Water
In a mixing bowl, combine 1 cup of white school glue with 1/2 cup of water. Stir until you achieve a smooth, blended mixture.
Why This Matters:
This step allows the glue to be less viscous, making it easier to mold into a slime texture later.
Common Pitfall & Fix:
If the glue doesn’t seem to mix well with the water, keep stirring! Adding water gradually can help prevent lumps.
Step 2: Adding Baking Soda
Now, add 1 teaspoon of baking soda to your mixture. Stir again until the baking soda is fully incorporated. This not only thickens the slime but helps to set the slime and gives it that delightful stretch.
Safety Tip:
Baking soda is safe to handle, but be cautious if you’re allergic to any compounds. Always do a patch test if unsure.
Step 3: Mixing in the Activator
Here comes the fun part! Depending on what you're using, slowly mix in boric acid solution or contact lens solution (start with about 2-3 tablespoons). You'll notice the slime starting to form immediately!
Why This Matters:
The activator reacts chemically with the glue, turning it into that beloved slime texture.
Common Pitfall & Fix:
If your slime isn’t coming together, it might be too sticky. In that case, add more activator, a little at a time, until you achieve the desired consistency.
Step 4: Kneading
At this point, you might find it’s still a bit too sticky. Dust your hands lightly with cornstarch or flour and knead the slime for a few minutes. This step helps to further improve the texture and remove excess stickiness.
Personal Insight:
I always think of kneading as akin to kneading dough. It takes patience, but it’s rewarding!
Step 5: Adding Colors and Decorations
Once your slime has reached a pliable consistency, it’s time to add a touch of magic! You can mix in food coloring, glitter, or small beads. Go wild—this is where your personality shines through!
Tip: If you want different colors, split your slime into portions before adding the color.
What Could Go Wrong:
Overloading on beads or glitter can lead to a crumbly texture. Aim for moderation—about 1-2 tablespoons of each is a good esthetic.
Step 6: Storing Your Aquarium Slime
Once you’re satisfied with your creation, store your slime in an airtight container. It can last several weeks, provided you manage it well.
Creative Variations
Feeling adventurous? Here are some variations you can try out:
- Beach-themed Slime: Add fine sand and blue food coloring for a beachy vibe.
- Glow-in-the-Dark Slime: Incorporate phosphorescent powder for a slime that glows eerily in dim light!
- Scented Slime: A few drops of essential oils can add a delightful aroma to your slime.
Wrap-up and Encouragement
There you have it! You've now wandered into the world of Aquarium Slime making, and I hope this process inspires you to create more. Don’t forget—the most important part of crafting is to have fun!
Final Tips
- Always wash your hands before and after making slime.
- If you're crafting with kids, supervise them while handling the ingredients, especially with boric acid.
- Experimenting is key! Feel free to adjust the quantities to find your ideal slime texture.
Thank you for joining me on this bubbly adventure into Aquarium Slime. I can’t wait to hear about your experiences and what creative variations you come up with! Happy crafting!