How to Make an Ocean Sensory Bin: A Step-by-Step Guide from an Experienced Crafter
Introduction
Ah, the ocean! It’s a world filled with vibrant colors, fascinating creatures, and soothing sounds of the waves. As both a crafter and a passionate advocate for sensory play, I often find that creating an ocean sensory bin is not only a fun craft project but also a fantastic way to engage children’s imaginations and stimulate their senses. Sensory bins have surged in popularity for good reason; they provide a hands-on escape into a world of exploration and creativity, perfect for children of all ages—a joyful blend of play and learning.
When and How It's Used:
I’ve found this ocean sensory bin to be perfect for hot summer days when outdoor play isn’t feasible, or for rainy afternoons when the beach feels so far away. It's also an excellent tool for homeschooling parents or teachers who want to introduce marine biology concepts in an interactive manner. Plus, it can simply serve as a calming activity for kids who need a little quiet time to explore and reflect.
In this guide, I’ll walk you through every step of creating an engaging ocean sensory bin, sharing personal anecdotes and insights that I’ve gathered over the years. So let’s dive in!
Materials You Will Need
Before we begin, gather the following materials. I always recommend checking what you already have at home to save both time and money!
Basic Materials:
- Bin: A plastic storage bin with a lid or a shallow container—something that allows for play without too much mess (around 10-15 gallons is a good size).
- Base Material: Blue rice, colored sand, or water beads to imitate the ocean. I’ll share how to make colored rice later!
- Ocean Creatures: Plastic sea animals (fish, crabs, starfish, whales, etc.). You can find these at craft stores or online.
- Decorative Items: Items such as seashells, faux coral, pebbles, or even tiny treasure chests to enhance the theme.
- Tools: Measuring cups, scoops, empty containers, and small toys can be added for scooping, pouring, and imaginative play.
Optional Materials:
- Scented oils (like ocean breeze fragrance) to add a calming sensory aspect.
- Water if you prefer a water-themed sensory bin.
- Food coloring/gel to dye rice or any materials that need an oceanic touch.
Safety Precautions:
When crafting with children, always supervise and choose child-safe materials, especially when dealing with small items. If you’re using items like food coloring, consider wearing aprons or doing the dyeing outdoors to avoid stains.
Step-by-Step Tutorial
Step 1: Prepare Your Base Material
Start with creating the look of the ocean. My favorite method is to make blue rice because it’s easy to handle and versatile.
How to Make Colored Rice:
- Measure 2 cups of uncooked rice and place it in a ziplock bag.
- Add 1 tablespoon of white vinegar and a few drops of blue food coloring.
- Seal the bag and shake until the rice is evenly coated.
- Spread the rice on a baking sheet and let it dry for about an hour.
*Alternative Ideas*: If you want to skip the dyeing process, you can collect blue craft sand or buy pre-dyed kinetic sand.
Step 2: Fill Your Bin
Once your rice is dry, pour it into your bin until it covers the bottom. Make sure to pack it down slightly; this will create a more stable base for your ocean creatures.
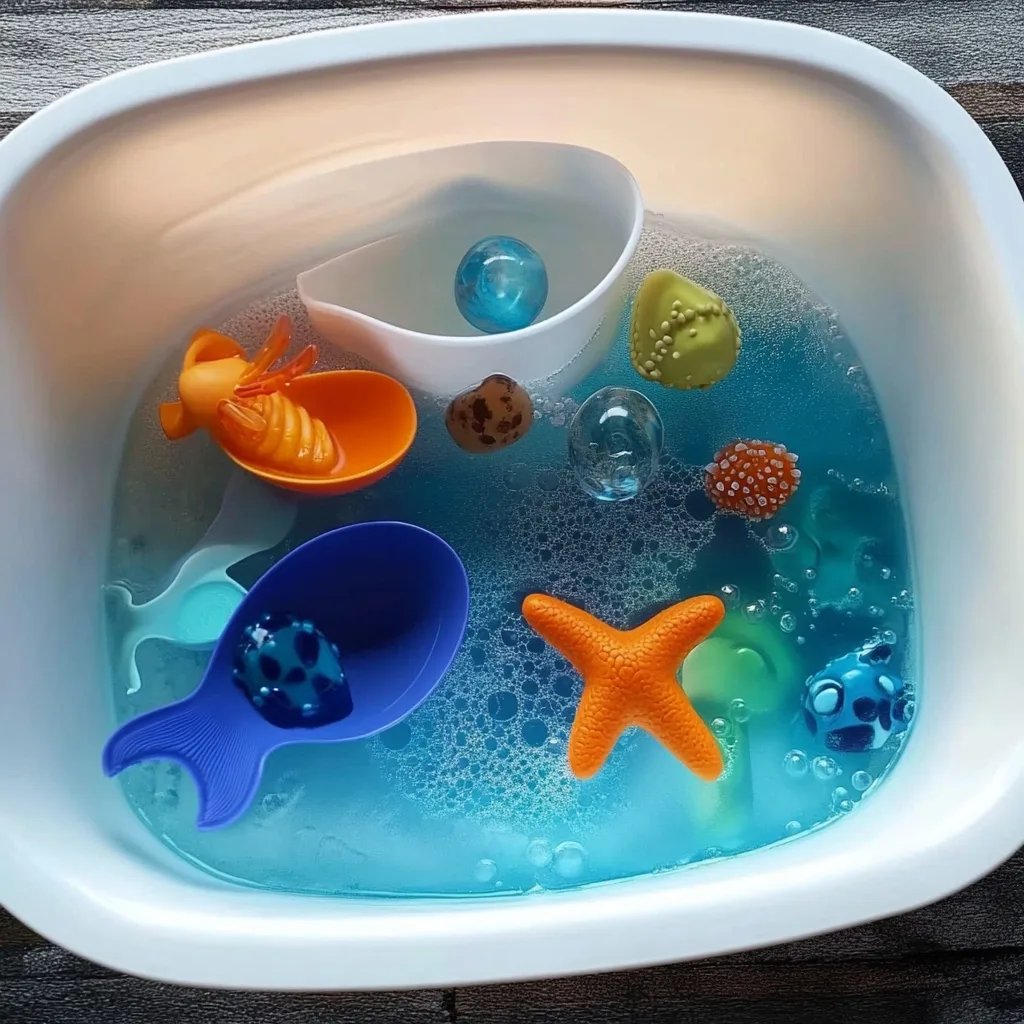
Step 3: Add Ocean Creatures
Now comes the fun part! Scatter the plastic ocean creatures throughout the rice. You can either place them somewhat hidden for a scavenger hunt or arranged in a way that children can immediately see them.
*Tip*: Try to create a varied ecosystem by arranging animals from different parts of the ocean. You might even share a fun fact about each creature while introducing them!
Step 4: Decorate with Natural Elements
Enhance the sensory experience by adding seashells, pebbles, and faux coral. I love the texture these elements bring—children really enjoy picking them up and running their hands over different surfaces.
*Insider Tip*: If you have any real seashells collected from previous beach trips, include those! Just make sure they are clean and safe for little hands.
Step 5: Introduce Tools and Containers
Adding scoops or small containers will encourage kids to explore varying measurements and practice fine motor skills. You might say, “Can you fill this small cup with rice?” This engages them in playful learning without them even noticing!
*Avoiding Chaos*: Some kids might dump everything at once; that’s okay! Setting up boundaries (like telling them to keep the contents within the bin) can help contain the mess.
Step 6: Sensory Experiences
To take sensory play to the next level, adding scents provides an olfactory element. You can lightly dab cotton balls with ocean-scented oils and place them around the bin.
*Safety Tip*: Avoid allergens, and conduct a patch test if there are concerns right before introducing the scent.
What Could Go Wrong and How to Fix It
Like any crafting or play activity, you might run into a few hiccups. Here are common issues and handy solutions:
- Color runs from the rice: If you find the rice has stained your hands, have kids wash their hands with soap and water. Ensure it’s completely dry before they start playing next time.
- Items get mixed or lost: Consider a durable mesh bag to store smaller creatures when playtime is over.
- Interest wanes quickly: Change the theme! Add toys or story prompts based on marine tales like "The Little Mermaid" to rekindle excitement.
Personal Anecdotes and Creative Variations
One lovely memory I cherish was when my niece and I created an ocean sensory bin on a stormy day. After spending just a few minutes building the bin, we ended up with an entire afternoon of deep-sea adventure, complete with “storytelling sessions” where she made up stories about the animals in the ocean.
You can also switch things up by pulling in a different theme—change the colors to represent a sunset at the beach or add tiny pirate figures and treasure maps for an adventure twist!
Conclusion
Creating an ocean sensory bin is more than just a project; it's an opportunity for exploration, learning, and connection. I hope this guide empowers you to embark on this crafting journey. Not only is it a beautiful tribute to the ocean, but it also offers endless hours of imaginative play.
So gather your materials and get ready to dive deep into a world of sensory exploration. Remember, the journey is just as important as the end result. Happy crafting!