How to Make an Ocean in a Bottle: A Captivating DIY Craft
Welcome to my crafting corner! Today, I’m thrilled to take you on an exciting journey where we’ll create a mesmerizing Ocean in a Bottle. This charming DIY project has captivated many, and for good reason—it’s not only a delightful decorative piece but also a meditative one that brings the beauty of the ocean right into your home. Whether you're looking for a fun activity with kids, a unique gift idea, or just a moment of tranquility to escape into the waves, making an Ocean in a Bottle encompasses it all.
What is an Ocean in a Bottle?
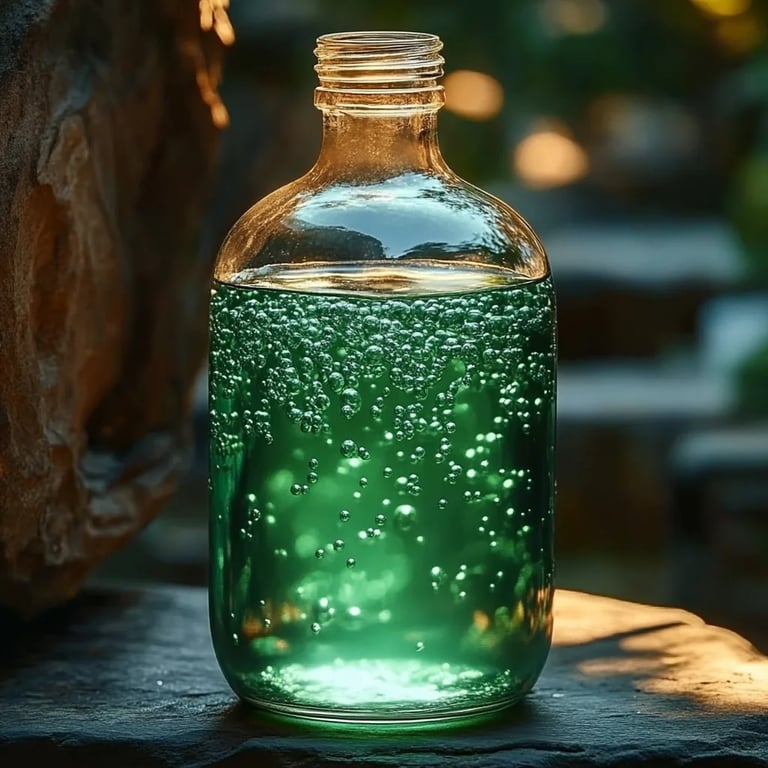
An Ocean in a Bottle is a simple yet captivating craft that simulates the color, movement, and elements of the ocean. When made correctly, it captures shimmering light in a mesmerizing way, leaving viewers enchanted by the gentle swirls of "water." This craft is popular among crafters of all ages because it is easy to make, requires minimal materials, and can be customized to suit anyone's style—all while bringing a touch of nature into our everyday lives.
When can you use it? An Ocean in a Bottle is perfect for decorating your home, setting a serene ambiance in an office, or even as a sensory tool for relaxation during stress relief. They also make fantastic gifts for ocean lovers or anyone who appreciates handcrafted decor.
Materials You'll Need
Before we dive into the crafting process, gather the following materials:
- A clean, empty plastic or glass bottle (an empty soda bottle, an old mason jar, or any clear container with a lid work great)
- Blue food coloring (this will give your ocean its beautiful color)
- Water (distilled or tap water will work just fine)
- Oil (baby oil, vegetable oil, or mineral oil; oil is essential to create that ocean-like wave effect)
- Glitter (optional, but highly recommended for that sparkle; use fine glitter or larger sequins for added effect)
- Small shells, tiny plastic sea creatures, or decorative beads (optional; a great way to add personality to your ocean)
- A funnel (to make pouring easier)
- A hot glue gun (to seal the lid and prevent spills)
- Food-safe gloves (if you're concerned about getting your hands messy)
- A stirring stick (like a chopstick or skewer for mixing)
Step-By-Step Tutorial
Step 1: Prepare Your Bottle
Start by cleaning your bottle thoroughly to ensure it’s free of any residue. If you’re using a label, you can soak the bottle in warm, soapy water to remove it more easily. Once it's clean, let it dry completely.
Step 2: Add Water
Using the funnel, pour in about halfway full of water. If you’ve chosen a smaller bottle, adjust the amount accordingly. The water will mix with the oil to provide that captivating ocean wave effect.
Why This Matters:
Adding the right amount of water is crucial. Too little, and your ocean might look sparse; too much, and it will overflow when you add the oil.
Step 3: Color Your Ocean
Now, add a few drops of blue food coloring to the water and stir. The beautiful blue hue will mimic the ocean's deep colors. Adjust the intensity to your personal preference—more drops for darker water, a single drop for a lighter shade.
Common Mistake:
Avoid adding too much food coloring at once. Start with a drop or two, and mix thoroughly before deciding to add more.
Step 4: Add Glitter and Beach Treasures
Sprinkle a tablespoon of glitter into the mix to simulate the sun’s reflection on the water. Next, if you wish, carefully place your tiny shells, sea creatures, or decorative beads into the bottle. This is where you can get creative—let your personality shine!
Step 5: Top It Off with Oil
Now for the transformative part! Carefully pour in oil until you reach the bottle's rim. You’ll notice that the oil will form a distinct layer on top of the water. This separation is key to achieving that wave-like motion you expect in an ocean.
Important Tip:
Pour the oil gently to prevent mixing with the water. If you see bubbles forming, that’s perfectly okay—they will settle!
Step 6: Seal the Bottle
Use your hot glue gun to seal the lid. This is a crucial step, as it ensures your ocean bottle doesn’t leak or spill. Allow it to dry completely.
Safety Warning:
Be cautious when using a hot glue gun—if you're crafting with children, make sure to supervise this step or handle it on your own.
Step 7: Enjoy Your New Ocean
Once everything is set, give your bottle a gentle swirl. Watch how the sparkles move and the layers are revealed. Place your Ocean in a Bottle where you can admire it—on a bedside table, a desk, or even as a centerpiece.
Creative Variations and Tips
- Color Variations: Experiment with different food colorings or even add a hint of green to represent seaweed.
- Texture Additions: Consider using coarse salt or sand for added texture at the bottom of your ocean.
- Themes: Customize your ocean with themed treasures—think pirate themes with toy ships or fairy tales with tiny mermaids!
- Seasonal Versions: Change the decorations based on seasons; add autumn leaves in fall or snowflakes in winter for a fun twist.
Personal Anecdotes
I remember the first time I made an Ocean in a Bottle with my kids. We laughed, talked, and created something together that sparked our imaginations. Each of us customized our bottles, and it became a lovely little family competition to see who could create the most beautiful ocean!
Having these memories captured in a unique craft brought us closer and filled our home with joyful energy.
Troubleshooting
If you find that your ocean isn’t swirling the way you imagined, gently swirl to help the glitter and decorations move around. If there's too much water and it spills when you try to mix the oil back in, you can carefully pour out a bit of the water and add more oil.
In essence, crafting an Ocean in a Bottle is manageable and incredibly rewarding. I've shared my steps, tips, and variations with you, but remember that crafting is about finding what feels right for you. Embrace your creativity, and let it flow as freely as the waves themselves!
Happy crafting! 🌊