How to Make an Apple Volcano Experiment: A Hands-On Guide to Fun and Learning
Welcome to my crafting corner! Today, I’m excited to share one of my all-time favorite science experiments that’s not just educational but also incredibly fun — the Apple Volcano Experiment. I’ve seen this activity bring joy and learning to kids (and adults) alike, and I can’t wait to guide you through the process step-by-step.
What is the Apple Volcano Experiment?
The Apple Volcano Experiment is a delightful concoction of science and creativity, demonstrating how chemical reactions can create an explosive effect (in the non-dangerous, delightful sense, of course!). Essentially, you'll transform a simple apple into a volcano, using everyday materials to create a bubbly eruption that mimics a lava flow. It's an engaging way to learn about acid-base reactions, and it’s perfect for family gatherings, classroom activities, or just an enjoyable afternoon at home.
Why It’s Popular
This experiment has gained traction for its simplicity and the wonders it brings to young minds. It merges food with science, making it an interactive learning experience for children. Plus, it’s a great way to introduce concepts like acids, bases, and chemical reactions while keeping the fun factor high. I remember the first time I did this with my niece; her eyes lit up with every bubbling reaction, and I knew we had sparked a new fascination for science!
When and How to Use This Experiment
You can conduct the Apple Volcano Experiment anytime you want to blend learning with play. It’s especially perfect for birthday parties, science fairs, or rainy days when you’re stuck indoors. Plus, it's a fantastic way to encourage teamwork and communication as kids work together to make the volcano erupt!
Let’s Gather Our Materials
Before we dive into the experiment, let’s prepare our crafting toolkit. Here's what you'll need:
Materials:
- 1 apple (a firm one works best)
- A small knife (for adult use only)
- A spoon or melon baller (to hollow out the apple)
- Baking soda (1-2 tablespoons)
- Vinegar (1/4 cup)
- Dish soap (1-2 tablespoons; this helps create more bubbles)
- Optional: food coloring (for a lava-like effect)
- A nice plate or tray to catch the overflow
- Safety goggles (for kids, just in case)
Step-by-Step Tutorial
Step 1: Prepare the Apple
Start by taking your apple — this will be the main body of your volcano. Using the small knife (adult supervision recommended), carefully cut a circular hole at the top of the apple. You’re essentially creating a crater.
Why This Matters: The size of the crater can affect the eruption. A small hole may result in a smaller reaction, while a larger one allows for a more dramatic overflow.
Common Pitfall: Be careful not to cut too deep; you don’t want to slice through the bottom or sides, or it can leak prematurely, and we don't want that! If you do accidentally cut too deep, just place the apple in a bowl to catch any spills.
Step 2: Hollow Out the Apple
Now, using the spoon or melon baller, scoop out some of the apple flesh to create a small bowl within the apple. This will hold your baking soda and vinegar later on.
Why This Matters: A hollow center allows room for the bubbling reaction, maximizing the eruption effect.
Common Pitfall: Don’t go overboard with hollowing it out. You want to maintain the apple’s integrity. If you find it’s too thin, a frustrated volcanic eruption won’t do much. Just make sure it’s thick enough to hold its shape.
Step 3: Mix the Ingredients
In your hollowed-out apple, add 1-2 tablespoons of baking soda. You can also add a couple of drops of dish soap and food coloring for added effect and visual appeal.
Why This Matters: The baking soda is a base that reacts with vinegar, which is acidic. The soap captures air bubbles, making the eruption frothier and more exciting.
Common Pitfall: Mixing too little of either ingredient can reduce the eruption. If you want an extra burst, add a little more baking soda!
Step 4: Get Ready for the Eruption
Now it’s time to prepare for the big moment! On your tray or plate, place the apple volcano. It’ll help contain the mess while enhancing the presentation.
Tip: Always do this in a space you don’t mind getting a bit messy. That’s the way with science experiments!
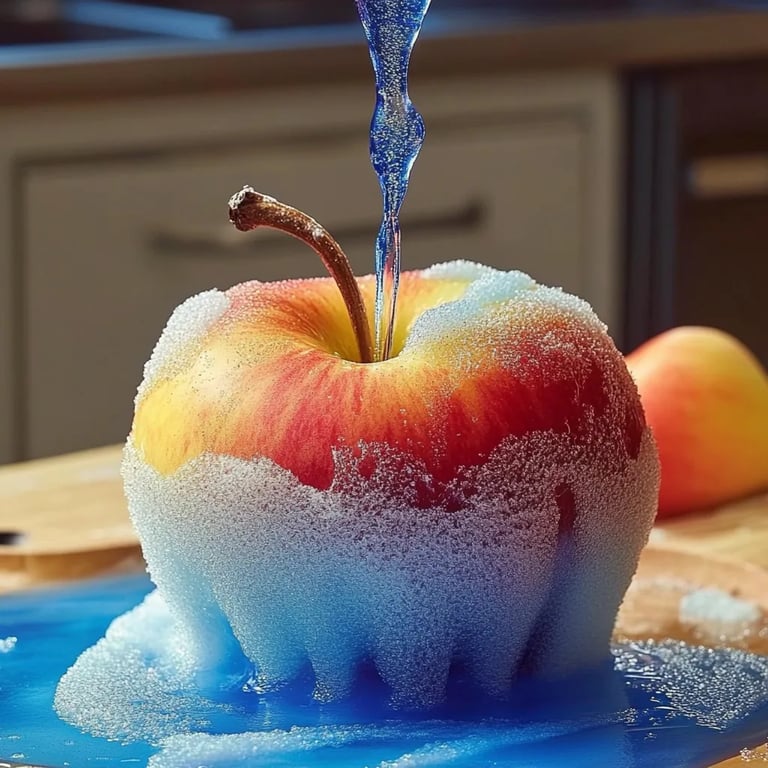
Step 5: Add the Vinegar
Finally, take your 1/4 cup of vinegar and pour it into the apple's crater. Stand back and watch as the reaction occurs!
Why This Matters: The vinegar will react with the baking soda, creating carbon dioxide gas, which causes the explosive fizzing and bubbling — just like a real volcano!
Common Pitfall: If nothing happens after adding vinegar, try adding more baking soda. Sometimes the reaction needs a little boost to get going.
Troubleshooting and Tips
- If the Reaction is Weak: Check the amounts of baking soda and vinegar. You can always adjust quantities until you get the desired effect.
- For a Longer Eruption: Conduct the experiment outside on a warm day. The heat can sometimes enhance the bubbling effect!
- Use Different Fruits: Experiment with different fruits as your volcano. Pears or oranges can also make for fun variations.
Safety Warnings
- Adult supervision is required, especially when using a knife or any sharp tools.
- While vinegar and baking soda are generally safe, it’s still a good practice to avoid letting kids ingest the mixture.
Creative Variations
Once you get the hang of it, feel free to play with your volcano! Here are some ideas:
- Colorful Lava: Try using different food coloring to create multiple “lava” colors.
- Environmentally Themed: Set up a small landscape around your volcano using pretzel sticks as trees or graham crackers as mountains.
Personal Reflection
I’ll never forget the look on my niece’s face when the apple erupted; it was pure joy! It reminded me that science isn’t limited to the classroom — it’s about exploration, creativity, and fun. Experiments like these can foster a love for learning that lasts a lifetime.
Conclusion
And there you have it — the Apple Volcano Experiment in all its bubbling glory! You’ve just completed a fun DIY that teaches both science and creativity. I hope you enjoy every moment of this magical transformation as much as I have! Encourage those young scientists in your life to explore further, maybe even creating their own variations. Let the results be your guide, and remember to have fun with it!
Happy crafting and experimenting! Always remember that curiosity leads to exploration, and who knows what wonders you might uncover next. If you enjoyed this tutorial, feel free to share it, and stay tuned for more fun crafting adventures!