How to Make an American Flag Suncatcher: A Step-by-Step Guide to Celebrate Patriotism
Hello, fellow crafting enthusiasts! Today, I’m thrilled to share with you one of my favorite DIY projects that evokes a sense of national pride and adds a splash of color to any space—the American Flag Suncatcher. This vibrant piece of art can infuse your home with charm and warmth, illuminating your windows with the colors of our flag.
What is a Suncatcher?
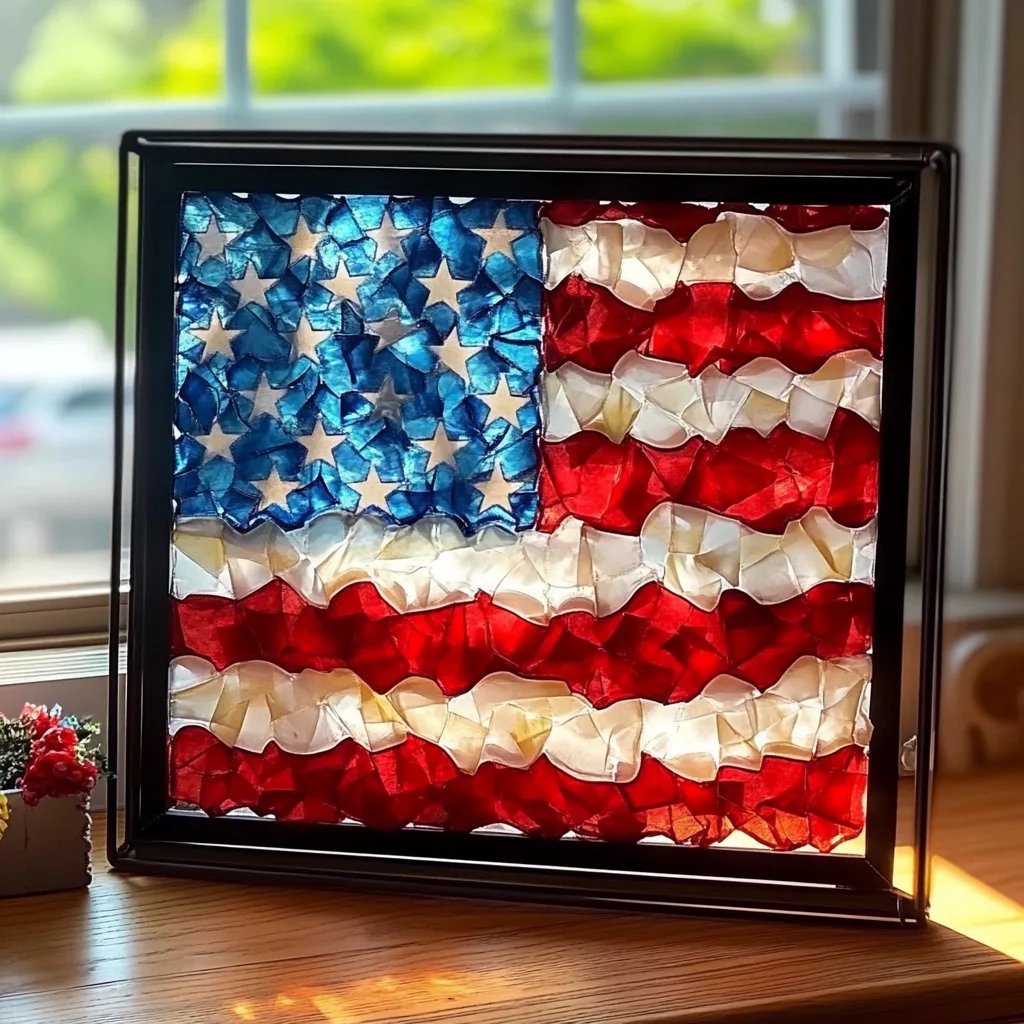
A suncatcher is a decorative item that allows sunlight to pass through—creating beautiful, colorful reflections on walls and surfaces. American Flag Suncatchers, in particular, are a popular craft, especially around patriotic holidays like the Fourth of July, Memorial Day, or Veterans Day. Watching the sunlight stream through a suncatcher while it proudly displays the colors of our flag brings a feeling of joy and celebration!
Why Make an American Flag Suncatcher?
- Express Your Patriotism: It’s a beautiful way to showcase your love for your country.
- Fun for All Ages: This craft is suitable for both children and adults, making it an excellent group activity.
- Educational Opportunity: It offers a chance to discuss the history and significance of the American flag.
- Simple and Accessible: The materials are easy to find, and the process is straightforward, perfect for crafting beginners.
Materials You'll Need
Before we dive into the tutorial, let's gather our supplies:
- Transparency sheets or clear plastic lids: These will serve as the base for your suncatcher.
- Red, white, and blue paint (non-toxic acrylic or glass paint works best).
- Paintbrushes: A variety of sizes, including small detail brushes.
- Scissors: For cutting out shapes or your base, if needed.
- Pencil or marker: To outline your design.
- Additional decorations (optional): Glitter, sequins, or gems for added sparkle.
- Suction cups or string for hanging your suncatcher.
- Craft glue: If you choose to embellish your suncatcher with other materials.
Step-by-Step Tutorial
Step 1: Sketch Your Design
What to Do: Start by sketching your suncatcher design lightly on a piece of paper. Focus on the layout of the American flag—consider the blue star field and the alternating red and white stripes.
Why It Matters: Having a clear plan will make the painting process easier and more fun.
Tip: If you’d prefer, you can find some templates online—printing one out can save time and help with symmetry!
Step 2: Prepare Your Base
What to Do: If you're using plastic lids, ensure they're clean and dry. If using transparency sheets, cut them to your desired size; a rectangle shape mimicking the flag's proportions works great.
Common Mistake: Not cleaning the surface well can lead to paint not adhering properly, so make sure you wipe them down!
Fix It: If the paint does not stick, try using a primer designed for plastic before painting.
Step 3: Beginning to Paint
What to Do: Using your pencil or marker, lightly outline where each color will go on the transparency or plastic. Begin painting stripes red and white, leaving the blue section for last.
Why This Order Works: Doing the base colors first gives you a better foundation to work from when detailing the stars.
Tip: Use painter’s tape for clean edges between colors if desired. Just be sure to remove it before the paint dries!
Step 4: Add the Blue Section
What to Do: Paint in the blue star section. You can mix in some glitter paint if you want it to sparkle in the sunlight!
Common Mistake: Painting too thickly can cause drips, so use a light hand.
Fix It: If drips occur, you can gently wipe them away with a damp cloth before they dry.
Step 5: Detailing with Stars
What to Do: Once your blue paint has dried, use a fine brush to add white stars. There are 50 stars, and you might want to use a stencil for uniform shapes.
Why It Matters: Stars represent the states and are crucial for the authenticity of your suncatcher!
Tip: For added depth, you can layer a little bit of silver or gold glitter on the wet paint after applying your stars.
Step 6: Finishing Touches
What to Do: After everything has dried, take a moment to inspect your artwork. Feel free to add extra embellishments like sequins or fabric to give it some character.
Common Mistake: Rushing to add extra decorations before the paint dries can lead to smudging.
Fix It: Patience is key; allow adequate drying time depending on the paint instructions.
Step 7: Hang Your Suncatcher
What to Do: Use a suction cup or string to hang your masterpiece in a sunny window where the light creates a beautiful display.
Safety Tip: Ensure that the hanging mechanism is secure, especially if you’re decorating with children, to avoid any accidents!
Personal Insights
I remember the first time I created a suncatcher. It was a fun afternoon filled with laughter and paint splatters everywhere (yes, I covered my hands in paint!). Working alongside friends and family, I learned that crafting isn’t just about the final product but the memories created along the way.
Variations to Consider
- Seasonal Themes: Change out designs with fall leaves or winter snowflakes.
- Different Flag Designs: Consider creating suncatchers from flags of different countries or even your family's heritage!
- Collaborative Projects: Host a crafting day where friends or family can design suncatchers in their favorite colors or styles.
Final Thoughts
Creating an American Flag Suncatcher is more than just arts and crafts; it’s about infusing your space with love for your country and creativity. Following these steps can transform simple materials into something truly special.
As always, if you run into any hiccups or have questions, don’t hesitate to ask! I hope you enjoy this craft as much as I do. Happy crafting, and may your suncatchers shine bright in the sunlight!