How to Make Air Dry Clay Pencil Toppers: Your Complete Guide
Hello crafty friends! Today, I’m thrilled to share with you one of my favorite projects—making adorable air dry clay pencil toppers. These little decorative pieces are not only functional (adding a pop of personality to your stationery), but they also make wonderful gifts or party favors. I find them particularly charming because they can be customized to suit any occasion or personal style. From cute animals to whimsical flowers, the design possibilities are endless!
Why Air Dry Clay?
Air dry clay has become a staple in the crafting community for good reason. It’s incredibly versatile, affordable, and easy to work with, making it perfect for crafters of all ages, especially beginners. Unlike traditional clay, air dry clay hardens at room temperature, so there’s no need for a kiln—just your creativity and a bit of patience! Plus, it can be painted, sanded, and even varnished once dry, which opens up a world of artistic expression.
When and How Can They Be Used?
These pencil toppers are perfect for:
- Back-to-school: Brighten up your child’s stationery with fun designs.
- Gifts: Create personalized toppers for friends, family, or coworkers.
- Parties: Use them as fun party favors for kids' birthdays or themed events.
- Decor: They can be decorative accents on desk pens or even plant stakes in potted plants.
What You'll Need
Before we dive into the crafting process, let's gather our materials. You’ll need:
- Air Dry Clay: Choose any color you like. I recommend starting with white or a neutral shade for easy painting later.
- Basic Tool Set: This includes a rolling pin, sculpting tools, and a craft knife.
- Pencil: The standard #2 pencil works great.
- Paints: Acrylic paints are ideal for decorating once your clay is dry.
- Sealer (optional): If you’d like to add a protective finish.
- Water: For smoothing and adjusting the clay.
- Paper Towels: For cleanup.
Optional Materials:
- Glitter or Beads: For extra flair!
- Pliers: If you wish to add any small embellishments.
- Molds: For specific shapes (like hearts or stars).
Step-by-Step Tutorial: Making Your Pencil Topper
Step 1: Prepare Your Workspace
Before starting, set up your workspace. Lay down a clean surface to protect your table, and gather all your materials. You'll want to ensure you have enough room to roll and sculpt the clay. It’s also a good idea to have a small bowl of water nearby to moisten your fingers and tools.
Step 2: Condition the Clay
Take a chunk of air dry clay (about the size of a golf ball) and knead it between your fingers to make it pliable. This step is crucial; if you skip this, your clay may crack during modeling since it needs to be soft and manageable. If the clay feels dry or crumbly, dampen it slightly with water and continue to knead it.
Tip: If you find that your clay is too sticky, you can dust your hands and the work surface with a bit of cornstarch.
Step 3: Form the Base
Roll the conditioned clay into a cylindrical shape that fits snugly over your pencil. I like to create a base that’s about 2 to 3 inches long, depending on how tall I want my topper to be. Make sure it's not too tight; you want it to slide onto the pencil easily.
Step 4: Create Your Design
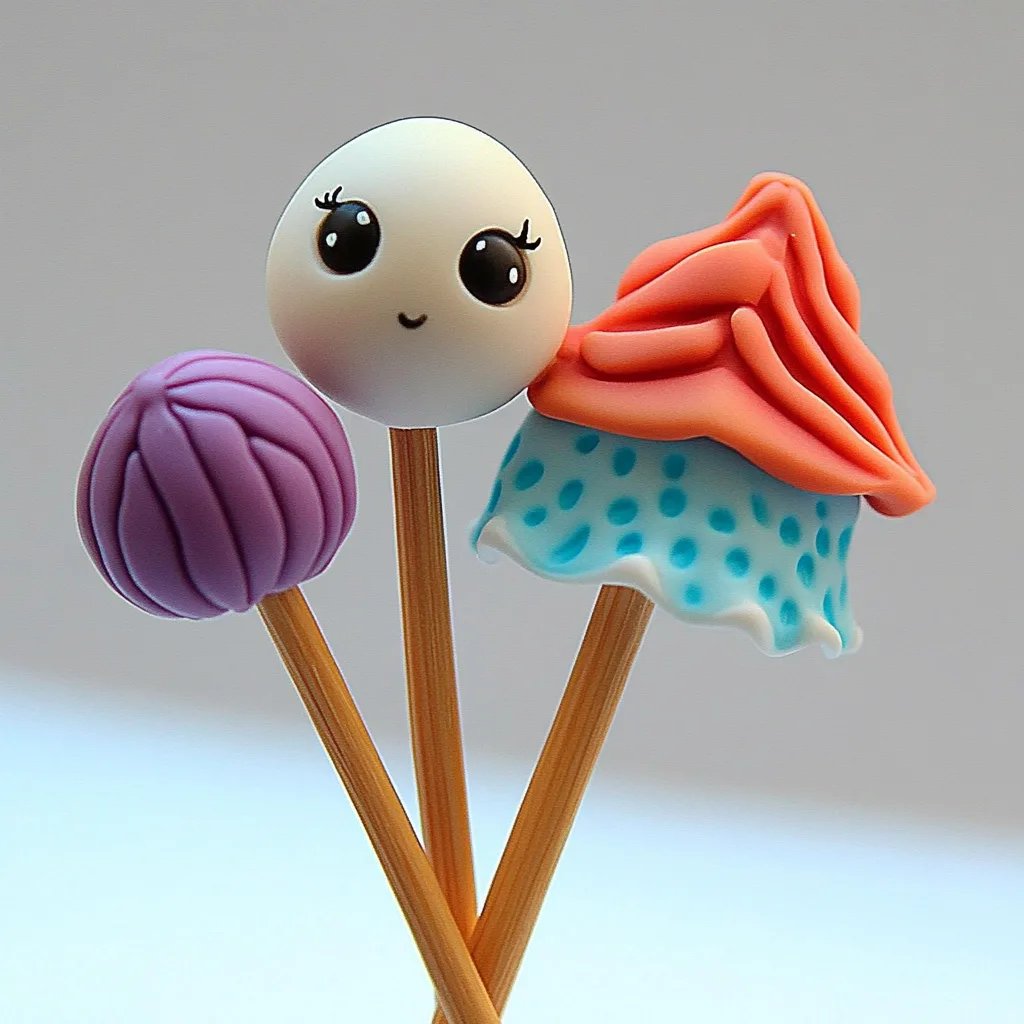
Now comes the fun part—creating your design! Whether you choose to make a cute animal, a flower, or a simple geometric shape, the key here is to work steadily. Here’s a general process if you’d like to create a simple flower topper:
- Sculpt Petals: Roll small balls of clay and flatten them into teardrop shapes for the petals. Attach them to the top of your base, pressing gently to adhere.
- Add Detail: Use sculpting tools to carve lines into the petals and give them texture. This adds a professional touch!
- Central Detail: Roll a small ball for the flower center and press it into place.
Step 5: Attach the Topper
Gently slide your new creation onto the pencil to make sure it fits well. If it's too tight, carefully trim the clay at the base until it fits snugly without being loose.
Tip: Use a damp cloth or a baby wipe to clean any excess clay from the pencil for a polished look.
Step 6: Drying Time
Place your completed pencil topper on a flat surface lined with parchment paper and allow it to dry completely. Depending on the thickness of your design, this can take between 24 to 72 hours. It’s crucial to make sure it’s thoroughly dried; otherwise, the finish may crack when painted or sealed.
Step 7: Painting and Sealing
Once your topper is dry, it’s time to add color! Use acrylic paints to decorate your design. I often start with a base coat and follow up with highlights and details.
Important Note: Allow the paint to dry fully between coats to prevent smudging.
Once you’re satisfied with the look, consider applying a sealer if you want to keep it looking fresh. A clear acrylic spray varnish works wonders.
What Could Go Wrong?
- Cracking During Drying: This is most often caused by the clay being too thick or not thoroughly conditioned. If you notice cracks, you can mix a small amount of wet clay to fill them in, but it’s best to ensure it’s smooth from the start.
- Paint Smudging: Be patient and let each layer dry completely, especially if you’re layering colors.
- Clinging Too Tightly to the Pencil: If your topper is too tight, it may break upon removal. Adjust the size by trimming carefully before it dries.
Personal Anecdotes and Tips
I remember the first time I made these pencil toppers; my kids loved them so much, they insisted I make one for each of their friends! It was exhilarating to see their responses as I unveiled these quirky little designs. They began mixing colors, adding glitter, and even using small beads for embellishments.
One of my favorite variations involves making cartoon characters—a fun challenge that led to numerous giggles and "who’s that?" from their friends. Another idea is to turn these toppers into themed decorations for holidays—think pumpkins for Halloween or snowflakes for winter.
Creative Variations
- Animal Toppers: Make whimsical creatures—cats, dogs, or even mythical creatures like unicorns!
- Seasonal Themes: Use seasonal colors to craft toppers for holidays; green shamrocks for St. Patrick’s Day or colorful eggs for Easter.
- Personalized Messages: Leave a little space on the topper to write names or inspirational messages.
Safety Warnings
While air dry clay is non-toxic, it’s always best practice to wash your hands after crafting. If you’re crafting with children, supervise them, especially with sharper tools. Make sure they don’t eat any materials!
Conclusion
And there you have it! A comprehensive guide on making delightful air dry clay pencil toppers. With a little patience, creativity, and the right materials, you can create personalized decorations that are sure to bring joy to anyone who receives them.
Happy crafting! I can't wait to see what designs you come up with. Remember, every piece is a reflection of your unique style, and there’s no wrong way to create. So roll up those sleeves, and let’s get crafting!