##How to Make Adorable Pom-Pom Love Bugs: A Fun Craft for All Ages
Hello, fellow crafters! I’m excited to share one of my favorite DIY projects with you today: Pom-Pom Love Bugs! These little cuties have quickly become a staple in my crafting repertoire. They’re not only charming and whimsical, but they’re also incredibly versatile. Perfect for decorating your home, embellishing gift packages, or even as fun classroom projects, Pom-Pom Love Bugs are sure to capture hearts young and old.
Whether it's Valentine’s Day, a birthday celebration, or just a casual crafting afternoon, these love bugs can bring joy and a sprinkle of creativity into any occasion. Not only are they simple to make, but they're also an excellent way for kids to refine their fine motor skills and for adults to unwind and enjoy the process of creating something delightful.
So, roll up your sleeves and let’s dive into the wonderful world of crafting adorable Pom-Pom Love Bugs!
Materials Needed
Before we get started, let's gather our materials. Don’t worry; most of these are easy to find either at your local craft store or in your own home!
- Yarn: Choose vibrant colors for your love bugs. You’ll need at least two colors—one for the body and another for the wings and antennae.
- Scissors: A sharp pair will make cutting your yarn easier.
- Cardboard: This will serve as the pom-pom template. A cereal box will work just fine!
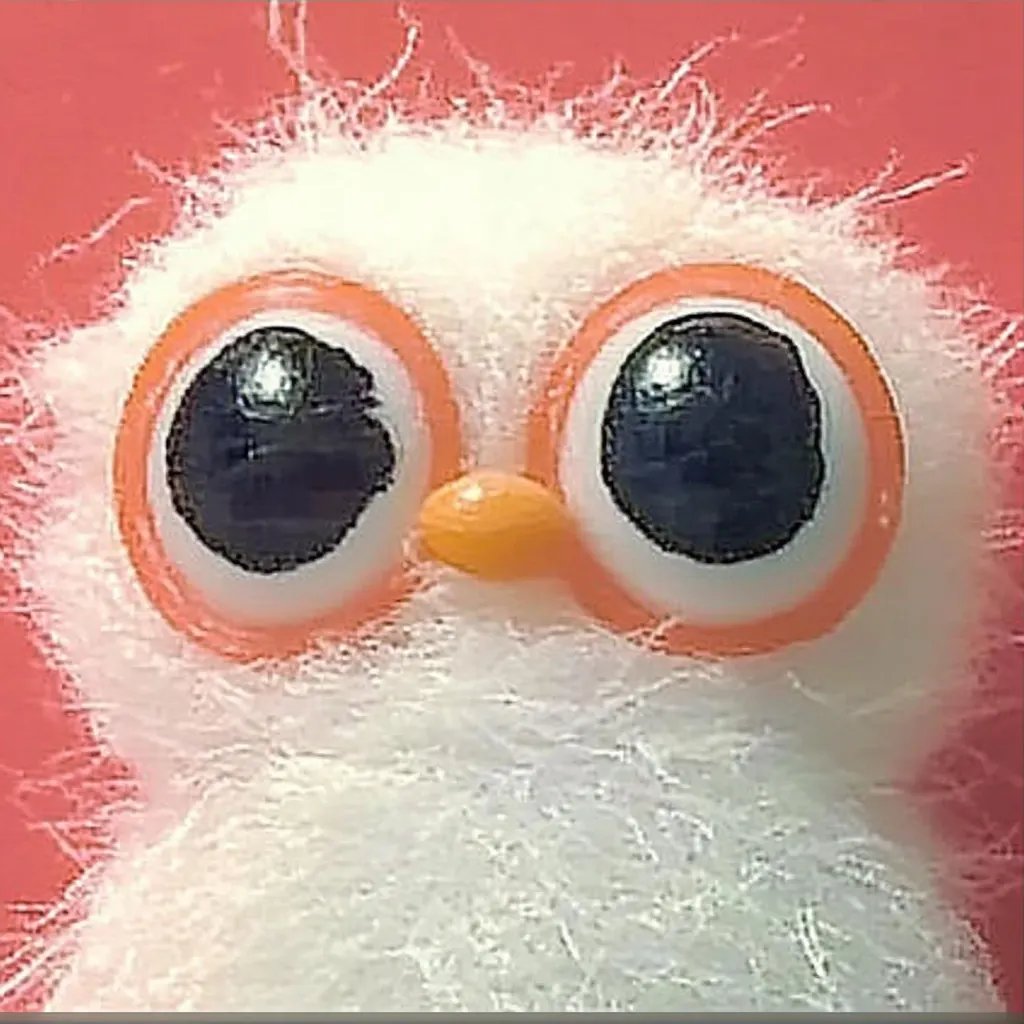
- Googly Eyes: The bigger, the better! These add character and charm to your love bugs.
- Felt or Craft Foam: This will be used for the wings and optional feet. Choose bright colors to match your yarn.
- Fabric Glue or Hot Glue Gun: If you're working with kids, opt for fabric glue as it’s safer.
- Pipe Cleaners: These will be used to create the antennae. You could also use string or additional yarn if you prefer.
Step-by-Step Tutorial
Step 1: Create Your Pom-Pom Template
Using your cardboard, cut two identical circles. The size of the circles will determine the size of your pom-pom. I typically use a circle with a diameter of 4 inches for a medium-sized pom-pom. If you're dealing with very young crafters, I recommend pre-cutting the cardboard to make this step easier.
Why this matters: A uniform shape and size help your love bugs look more cohesive and appealing.
Step 2: Wrap the Yarn
Taking your chosen yarn color, start wrapping it around the cardboard circles. Begin from the outside and work your way in, covering as much of the cardboard as you can. Aim for at least 100 wraps, but the more you wrap, the fluffier your pom-pom will become.
What could go wrong: It's common to accidentally cut your yarn too early while unsnarling it. If that happens, simply overlap the broken strands to maintain a full appearance.
Step 3: Cut and Secure Your Pom-Pom
Once you’re satisfied with the yarn wrapping, carefully slide a pair of scissors between the two pieces of cardboard and cut through the yarn. This step is a bit tricky, but it’s crucial!
Why this matters: Cutting the yarn releases the tension, allowing the pom-pom to fluff up properly.
Now, take a piece of yarn about 12 inches long, slide it between the two cardboard circles, and tie it tightly in a double knot. This will secure your pom-pom.
Tip: Make sure the knot is very tight. If it slips, your pom-pom will fall apart.
Step 4: Fluff and Trim
Remove the cardboard, and give your pom-pom a gentle shake. Fluff it out and use your scissors to trim any uneven strands. I love taking this opportunity to create a nice rounded shape.
Safety tip: Be cautious while handling scissors. Ensure that younger children are supervised during this step.
Step 5: Assemble Your Love Bug
Now comes the fun part! Choose your second color of yarn or felt for the wings. Cut out two heart shapes from your felt or foam—roughly 3 inches each works well. Glue the wings onto the back of your pom-pom.
Why felt?: Felt holds its shape well and adds a nice texture to your love bugs.
Next, stick on your googly eyes and either twist pipe cleaners to create antennae or use additional yarn. Place these securely on the top of your pom-pom.
Creative variations: You can even use colored beads or sequins for added charm!
Step 6: Personalize Your Love Bug
This final step is where your personality shines through. You could add feet using felt, create unique wing designs, or even attach little hearts or other embellishments. I love adding a bit of glitter or sparkly glue around the edges of the wings for some extra flair!
Warning: If using glitter, prepare for a little mess. It has a tendency of getting everywhere!
Troubleshooting Common Issues
- Pom-Pom Is Flat: If your pom-pom appears flat, try wrapping it with more yarn. A denser pom-pom will stand out more.
- Loose Ties: If your pom-pom unravels, it might be due to a loose tie. Just re-tie it tightly and trim any loose threads.
- Difficulty Cutting Yarn: If you're struggling to cut the yarn between the cardboard, ensure you are using sharp scissors. Maybe even enlist a more experienced helper if necessary!
Safety First!
When crafting with children, always supervise them closely while using scissors and glue guns. Opt for non-toxic materials wherever possible, especially if the love bugs will be given to young ones.
Conclusion
Creating Pom-Pom Love Bugs is not only a wonderful way to explore your creativity but also a fantastic bonding activity with family and friends. With this step-by-step guide, I hope you feel empowered to dive into this project and make it your own.
Feel free to share your creations and variations! Every love bug can carry a unique charm that reflects the person who made it. Happy crafting!