How to Make Adorable 4th of July Bugs: A Crafting Adventure!
Hello, fellow crafters! As the 4th of July approaches, I can't help but feel excited about the vibrant celebrations that unfold every year. Barbecues sizzle, fireworks illuminate the night sky, and the spirit of independence is palpable everywhere you turn. In the midst of this festive atmosphere, I’ve found a charming and captivating project that’s sure to add a splash of creativity and whimsy to your holiday decorations: 4th of July Bugs!
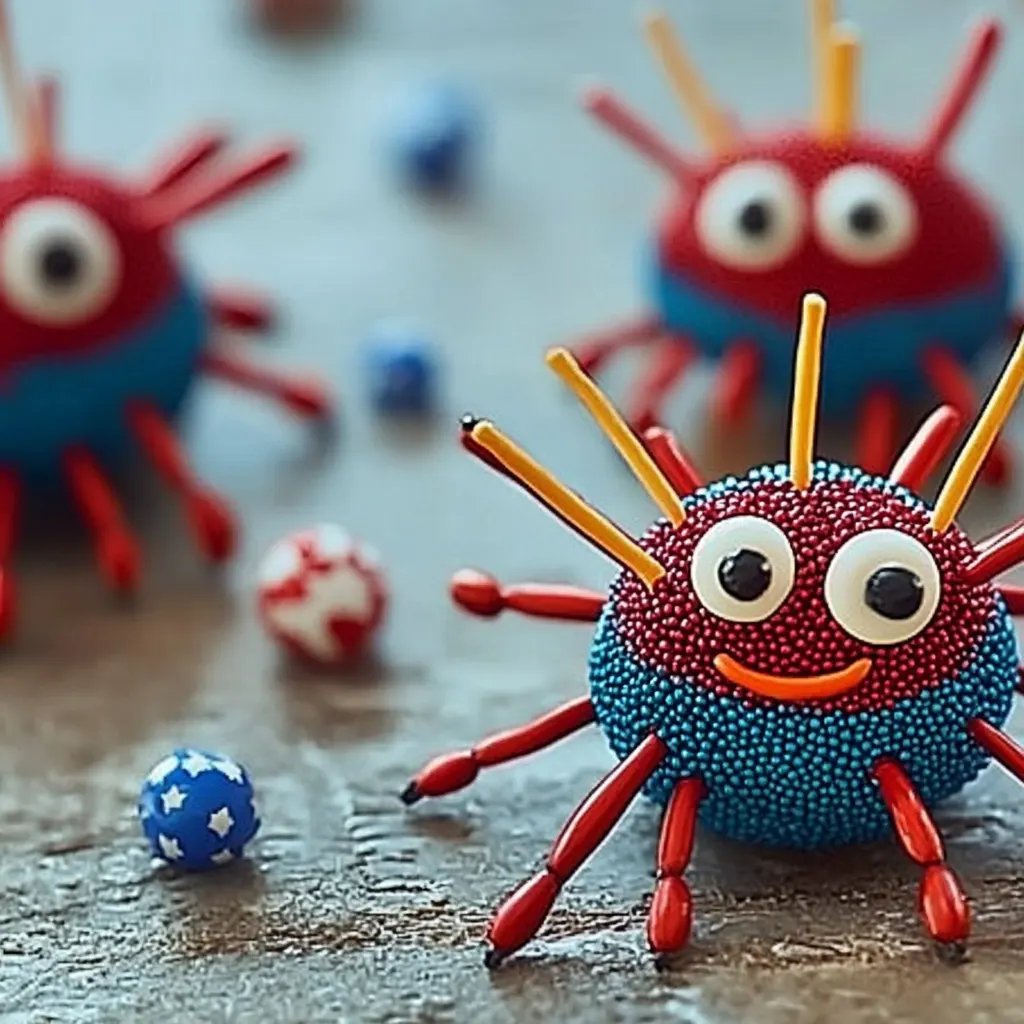
If you’re wondering what these delightful creations are, let me paint you a picture. 4th of July Bugs are colorful, handcrafted critters adorned in red, white, and blue—perfectly embodying the patriotic spirit of the holiday. Not only do they serve as adorable decorations for outdoor barbecues and family gatherings, but they can also double as fun and festive activities for kids and adults alike. Imagine colorful bugs buzzing around your picnic spread, sparking joy and conversation among your guests!
In this article, I am thrilled to share my step-by-step guide to making these charming 4th of July Bugs. I’ll provide you with all the tips and tricks I’ve learned over the years, and together we'll create some festive little friends that will dazzle. So grab your crafting supplies, put on some fun music, and let’s fly into this crafting journey together!
Materials You'll Need
To make your 4th of July Bugs, here’s a list of accessible materials that you probably already have around the house or can easily find at your local craft store:
- Craft foam or cardstock in red, white, and blue
- Scissors
- Googly eyes (various sizes for a fun, whimsical touch)
- Glue (hot glue gun works best for quick adhesion, but craft glue is fine too)
- Pipe cleaners (in coordinating colors)
- Markers or paint (red, blue, white, and any other colors you may want to add)
- Decorative embellishments (glitter, stickers, or sequins for added flair)
- Wire or small wooden dowels (for body support if needed)
- Optional: A foam ball or small plastic egg (for a rounded body shape)
Step-by-Step Tutorial
Now that we've gathered all our materials, let’s dive into making our festive bugs!
Step 1: Designing Your Bug Shapes
Start by deciding what type of bug you want to create. Whether it’s an adorable butterfly, a charming ladybug, or even an imaginative firefly, the design is entirely up to you!
Why This Step Matters: Establishing a clear design will make the crafting process smoother and more enjoyable.
Tip: I often sketch my designs lightly on paper before cutting anything out. This can help you visualize the final product.
Common Issues: If you’re unsure about your design, don’t rush the cutting. Use a pencil to trace the shape of your bugs onto the foam or cardstock first, then cut out carefully.
Step 2: Cutting Your Bug Shapes
With your designs ready, it’s time to cut out your bug shapes from the foam or cardstock. Use sharp scissors for precision. You can create wings, antennae, and bodies in various shapes and sizes.
Variant Ideas: Experiment with different shapes like star-shaped wings for a more unique look.
Safety Warning: If working with children, supervise closely while they use scissors. You might even consider pre-cutting the shapes for younger crafters.
Step 3: Assembling the Body Parts
Now, let’s put our bugs together! Use glue to attach the wings to the top of the body and the antennae above. If you’re using a spherical base (like a foam ball), adhere the wings and let them dry for a few minutes.
Insider Tip: If you have a hot glue gun, it’s the quickest way to attach multiple layers. Just be sure that children do not handle the hot glue gun.
Step 4: Adding Googly Eyes and Details
Once your basic structure is solid, it’s time for the fun part—adding googly eyes and other embellishments! You can make your bugs come to life with various decorative elements. Use markers or paint to create patterns on the wings or the body, giving your bug even more character.
Why This Matters: Personal touches make your crafts unique and can be a fun way to express your creativity.
Fix-It Tip: If you accidentally smudge glue or paint, have a damp paper towel handy to clean it up before it dries.
Step 5: Completing the Look with Pipe Cleaners
Finally, pipe cleaners can add that extra touch of charm and stability. Use them to create curvy antennae or legs. Simply cut them to your desired length and glue or poke them into the body for added support.
Troubleshooting Common Issues
- Too Much Glue: If you find that you accidentally used too much glue and it’s seeping from the edges, use a toothpick to gently spread it around or dab it with a damp cloth to clean up the excess.
- Shape Not Holding: If your bug’s shape isn’t holding well, consider reinforcing it with wire or skewers. Insert the wire through the body and out the back, then cover it with foam to hide it.
Personal Anecdote
I remember the first time I made 4th of July Bugs with my children. We gathered around our dining table, materials sprawled everywhere, and the laughter echoed as we colored and designed our critters. The joy was palpable when they saw their creations come to life. That year, we decorated our entire patio with our handmade bugs, and every time we sat down to eat, we were greeted by our cheerful, buzzing friends. It turned an ordinary picnic into a themed celebration, and it quickly became a cherished family tradition.
Creative Variations
- Theme Variations: Instead of just red, white, and blue, try contrasting colors with gold and silver sparkles for a glamorous twist.
- Seasonal Bugs: Adapt the idea for other holidays like Halloween Bugs (think orange and black) or Thanksgiving Bugs (in fall colors like brown and yellow).
- Use Natural Elements: Consider incorporating real leaves and twigs for an earthy, whimsical bug appearance.
Conclusion
Crafting 4th of July Bugs is not just about the finished product—it’s about the joyful experience of creating something beautiful. Whether you’re celebrating with family, hosting friends, or simply enjoying a solo crafting session, these charming bugs can brighten up your space and bring smiles to everyone’s faces.
So grab those supplies and let your imagination take flight (pun intended)! I can’t wait to see what adorable creations you come up with. Happy crafting and have a wonderful 4th of July!